
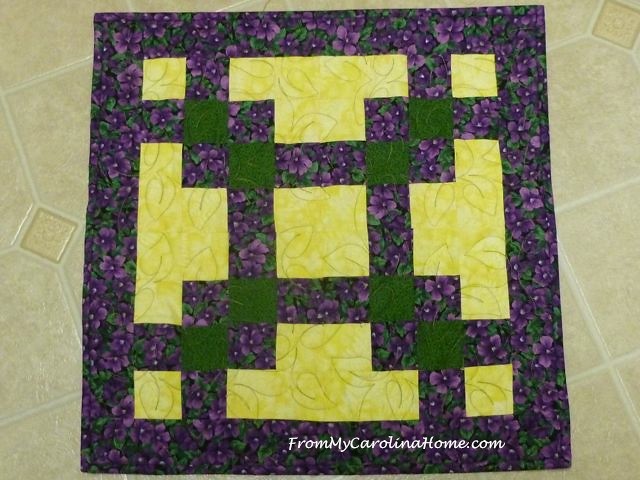
Tomorrow is Worldwide Quilting Day, and our local guild is having an exhibit for the day. If you are local, please stop by the Blue Ridge Mall in Hendersonville, NC on Saturday, March 16, 10 am to 3 pm to see the 34 challenge quilts and cast a vote for your top three favorites. The challenge was to take page 42 from a non-quilting magazine as the inspiration for a wall hanging size quilt. Page 42 is for our 42nd year as a guild. Viewer’s choice winners get some great prizes, and our local quilt shop, Beginnings, will be there with discount coupons for everyone who votes. Of course, if you see this one and like it, you could vote for it (hint, hint, shameless plug).

Since I began designing quilts some years ago, I stopped doing anyone else’s patterns. But at our recent retreat, one of the gals put together a top in just two days, and I thought it would be a good pattern for a jelly roll I had purchased earlier in the year. (Yes, smartypants, I did report it in Stashbusters.) Anyway, the pattern is called The Lady and it is a Villa Rosa pattern card, very simple! I unrolled the jelly roll, and found I didn’t like the prints. So much the better that this will be a quick finish that can go to the Quilt Shoppe in May.

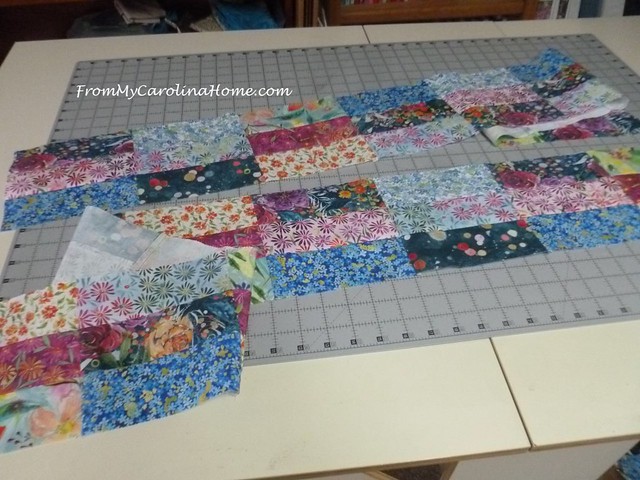
The pattern calls for five jelly roll strips to go with one background strip. The colors were bright so I choose a dark green for the background. I laid these out on my longarm rail so I could be sure not to end up with the same one twice on a block.

Then I selected the nine strips for the top and bottom rows that have no background.

Next, I pulled out my bobbin box, and got out a bunch of bobbins that had thread on them. These prints are such a riot of color that the thread color won’t matter. I put a yellow one in the bobbin, and loaded the rest on the top. I’ll use these as the top thread, working from the least amount of thread to the most amount on each bobbin. This will clear out at least six bobbins for use with other projects.

Sewing machine threaded, and away we go. The strips are cut in half, so they are only 22 inches long. The strips are sewn in sets of three, then cut into 6-1/2-inch blocks. Each strip set produced three blocks.

Not long after, I had the top and bottom sections done. There are nine blocks in these sections.
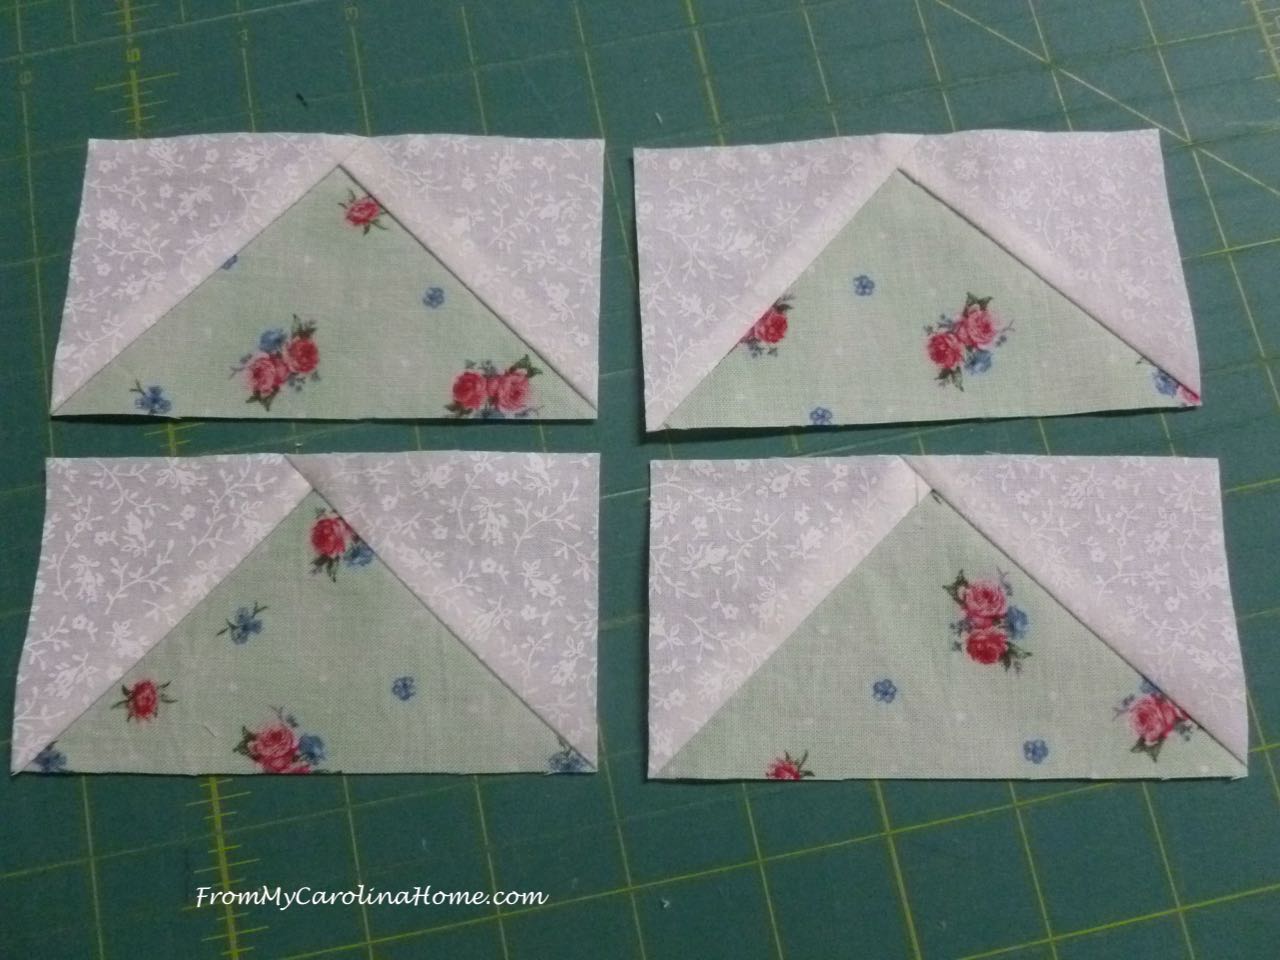
Then, I began sewing the individual blocks. I pressed all of them to the side with three strips so when I invert half of them, the seams will nest.

After lunch, I worked on getting all the blocks done. Next was to pull out four blocks for the ends, and sew the remaining ones into sets of two.
At the end of day one, I had the two-block units done.

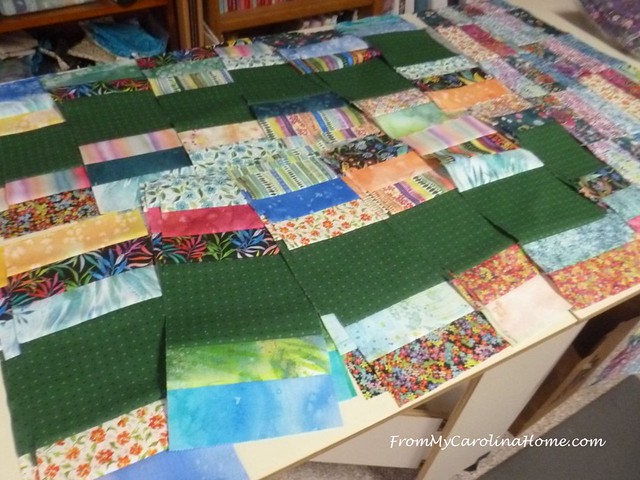
The next day, the two block units were sewn into rows, adding a single unit to one end. This created the rows of nine blocks.

Then the rows were sewed together and the top is done. It is an easy project that can be made in a weekend. I’ll quilt it, then it will go to the show for sale.

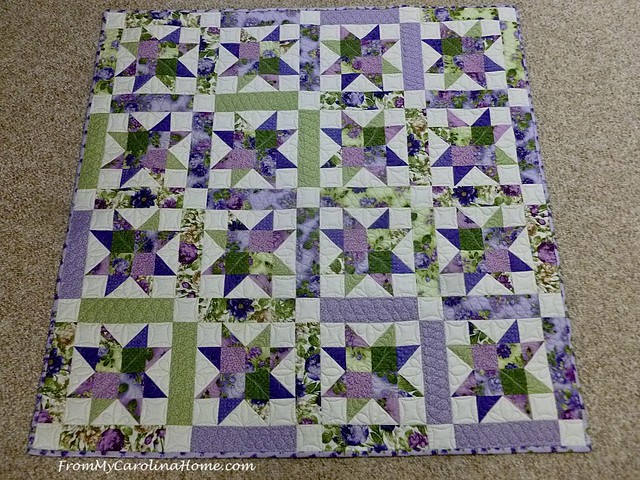
Now, dear readers, here is a lineup of just a few of my original free patterns for you to celebrate. Last year, I did a quilt along for you with a free pattern designed for Jelly Rolls. See the posts with this link – Oh, My Strippy Stars – and scroll down to the fifth post to begin and get the pattern. Then you can look at the other four posts for tutorials and finishing, including my custom quilting design.
See this post for a free pattern for an Embroidered Table Runner.
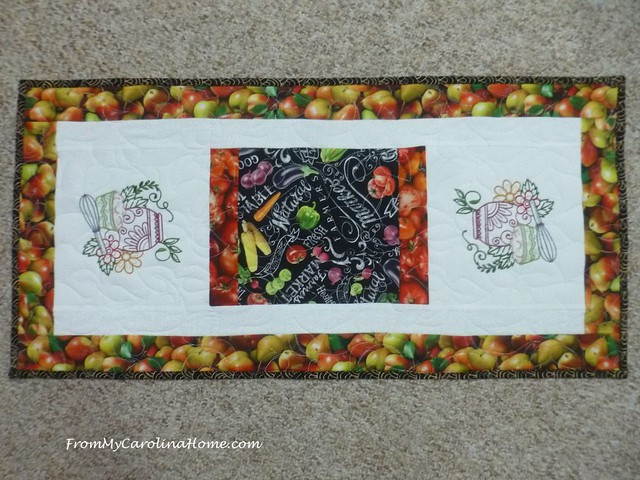
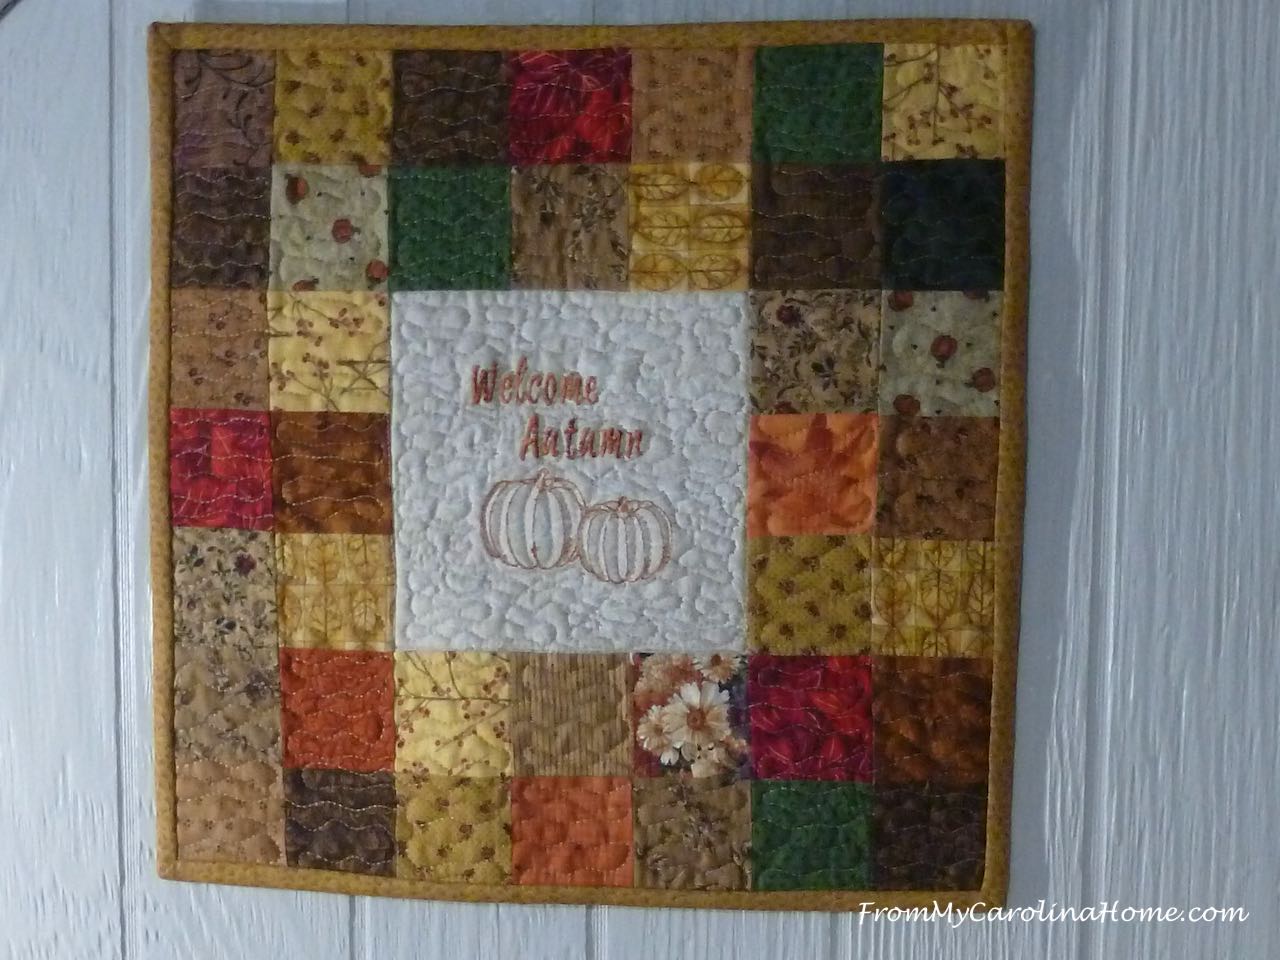
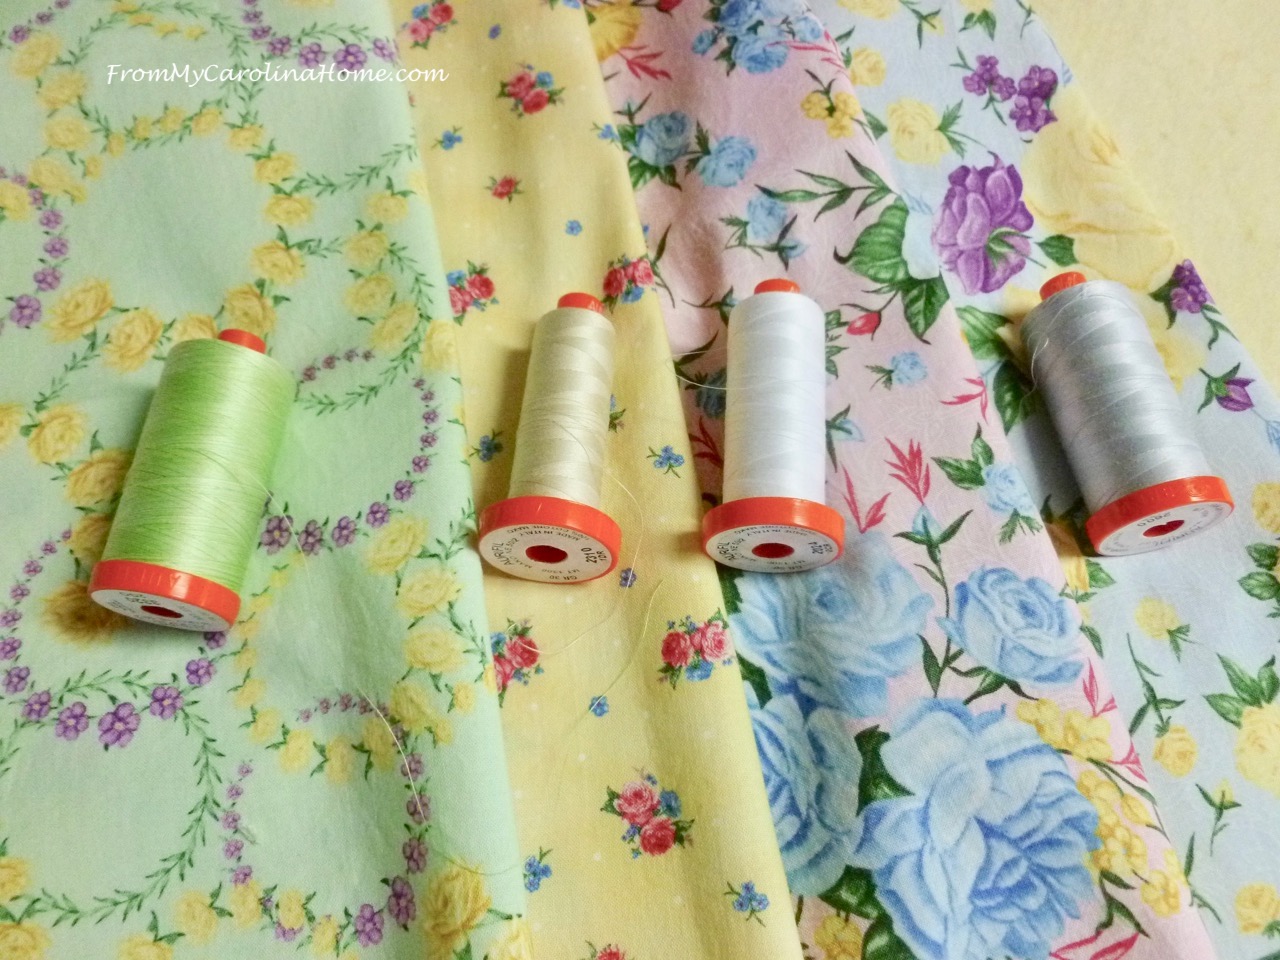
This embroidery idea for a wall hanging could be made up in any number of themes. I did Christmas, with four Santas and Christmas themed fabrics. But four flowers or birds with pastel fabrics would be lovely for spring, snowmen and soft blues with silver would be fun for winter. The tutorial is on my Christmas In July posts, click on Part 1 for the fabric requirements and stitchery, and Part 2 for the finishing.

We did the same idea with a single embroidery for Autumn Jubilee in 2022. There are 8 years worth of free patterns from previous Autumn Jubilees, just use the Autumn Jubilee category on the side bar to see all of them.
This Sewing Kit is easy to make, has no hand sewing, and can be used for jewelry too! The link has a full tutorial.

Need a quick accessory for a new outfit? Make my Purse in a Day project.

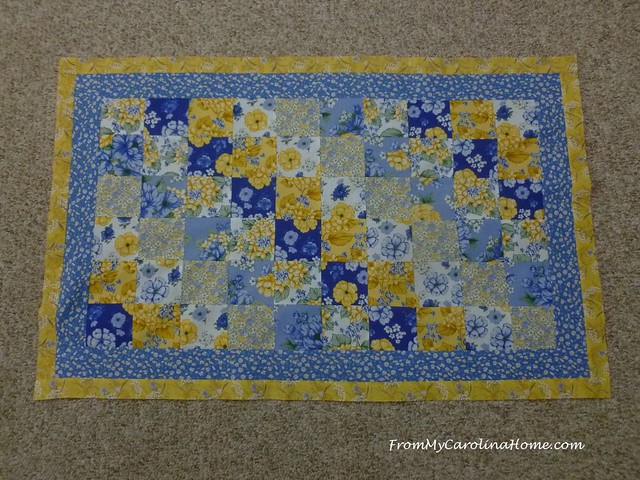
Use the tube method to strip piece a Blue and Yellow Table Topper.
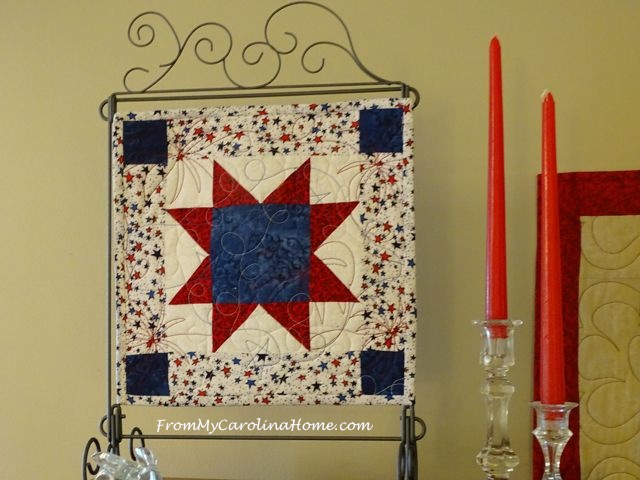
I’ve done several tutorial posts on Mini Quilts, like this one that is patriotic themed with three quilting designs, one each in red, white and blue. Patriotic Star Mini Quilt.
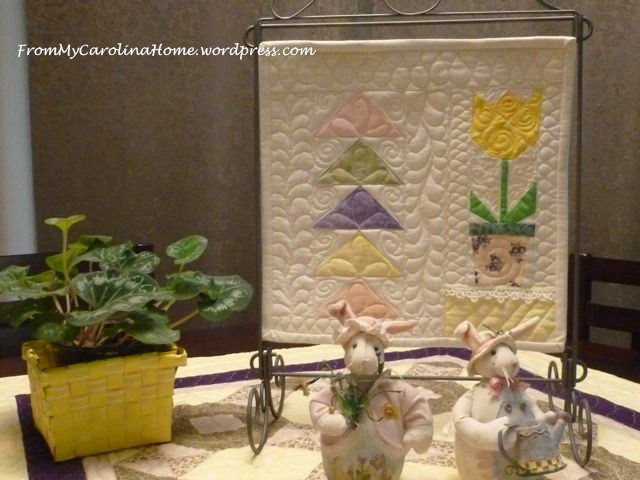
This Spring Tulip Mini Quilt is paper pieced and custom quilted. New to paper piecing? See my tutorial – Paper Piecing Basics and Tips.
The Quick Squares Table Topper went together in a day. Once again, the colors can be changed to suit your decor or holiday theme.
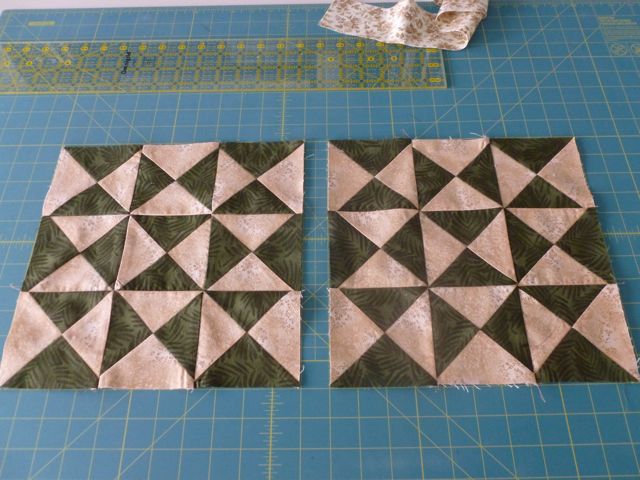
I’ve done so many free projects, I cannot list them all here. I also have a lot of tutorials for you. Here are just a few. First, my most viewed tutorial is on Quilt Borders – Understanding the Why. I take you through why it is important to put borders on properly and what happens when you don’t. I made two identical mini quilts and put the borders on with two different methods to show you what happens.
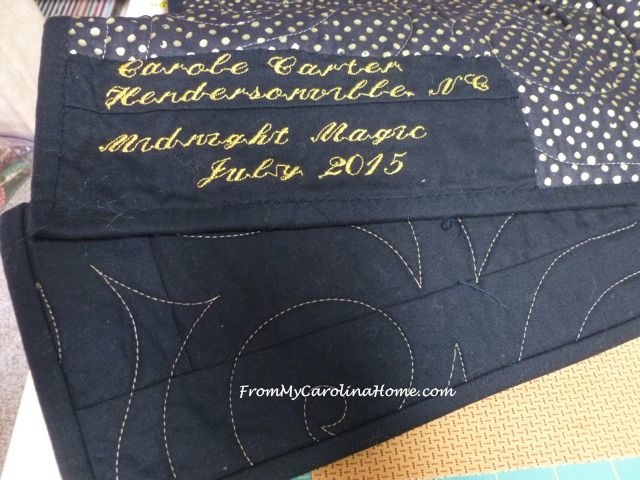
It is so important to label your creations and I tell you why in Labeling Quilts.
Need some help figuring out which colors from your stash go together? See my post on Choosing Colors and Fabrics for Quilts.
I often make flying geese for quilt blocks and sometimes borders. See my tutorial on the classic technique of No Waste Flying Geese which includes a tutorial on how to use a square ruler to trim them if you don’t own a specialty ruler.
Put your quilt together in lightening fast time and in perfect order with the Web Method of Quilt Assembly, originally created by Eleanor Burns.

Washing large pieces of fabric becomes a breeze with the Fan Fold Method of washing quilts, originally created by Mary Jane Holcomb. See how in my post A Brilliant Tip.
So have fun, try something new tomorrow, get out that ruler you bought but never used or the book / pattern you haven’t tried and celebrate Worldwide Quilting Day with a fun project. Share your project in our Friends of From My Carolina Home Facebook group! Come to Blue Ridge Mall and see our Quilting Day exhibit.
What are your plans for the day?
************************
Celebrate Worldwide Quilting Day with Fat Quarter Shop! This weekend, get a FREE Fat Quarter Style Quilt Book with shippable orders of $40 and over! Use promo code: QUILT24. Then, check out Today’s Flash Sale at Fat Quarter Shop. March Sale 20% off the Basic of the Month Essex by Robert Kaufman, 30% Off the Notions of the Month from Dritz, Patterns of the Month from Lella Boutique, Books of the Month from Annie’s Sewing, and see the Precuts of the Week!
St Patrick’s Day Sale at Milk Street! From today until Sunday, get 35% off sitewide (exclusions apply) on your order from the Milk Street Store with code LUCKY35

What a huge collection of beautiful things!
Happy World Quilting Day — and if I was in the area or could vote online, I’d vote for you — and not just because you’re you! I LOVE that piece — it’s wonderful!
looks like a fast jelly roll quilt once the fabric is selected. Love your idea on using up bobbins
Happy Worldwide Quilting day! I hope the exhibit goes smoothly and good luck with your entry. 🙂
Wow – the way you set up your bobbins to be used up is brilliant. I never would have thought of that Carole. Just brilliant!!!
Great tips and tutorials today!! Your blog is such fun, so many things to read about. I love the variety in your blog.
It would be so fun to see your challenge exhibit in person! I know you’ll share some photos on the blog for us faraway friends. That’s a great design for a quick quilt – I like how you connected those busy prints with the green. Happy Worldwide Quilting Day! I’m planning to try to get my round robin quilt finished up.
I too am impressed with your tip on using up the leftover bobbins as top thread when stitching multicoloured fabrics. Thanks for the tip, simple and easy, but we needed you to tell us about it!
Happy Worldwide Quilting Day, one day in advance. I think Oh My Strippy Stars is the prettiest jelly roll pattern, it really showcases the fabrics. Often it’s hard to distinguish fabrics in strip sets & racing patterns. In the interest of time, I just finished a strip set quilt primarily because I only had small amounts of fabric & I knew it would be a fast finish. We’re attending a St. Patrick’s Day party tomorrow, sounds like I have to wait until the 17th to get back in the sewing room.
Enjoy Worldwide Quilting Day Carole. I’m very fortunate to be on a quilt retreat this weekend – perfect timing!
I did make the strippy stars – and it “disappeared” off my table! Most of my quilts go for charity and I didn’t even get a photo – a friend came in and snagged it for a dog rescue fundraiser – I’d forgotten how much I liked it and how easy it was (after I stopped over thinking…) Thanks!
Hope you enjoyed WWQuilting Day – I was quilting so I am just catching up. Thanks for sharing all your beauties. I do love your version of The Lady!
Love your way to clear out a bunch of bobbins. Very clever. Wish I could see your entry in the exhibit. I thought it turned out lovely when you made it. I’m late reading this blog, you probably already know how you fared with the competition. It’s a winner in my book!