
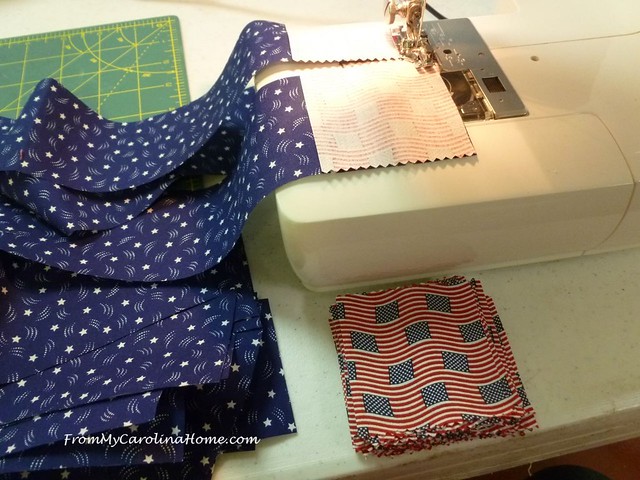
These nine patch star blocks were started last October at an overnight retreat, and then I set them aside for completion later. I had managed to get the stars mostly done, but had to bring them home to complete them as I didn’t have the corner white squares with me. I made 20 stars in all with nine-patch centers using a jelly roll in patriotic colors.

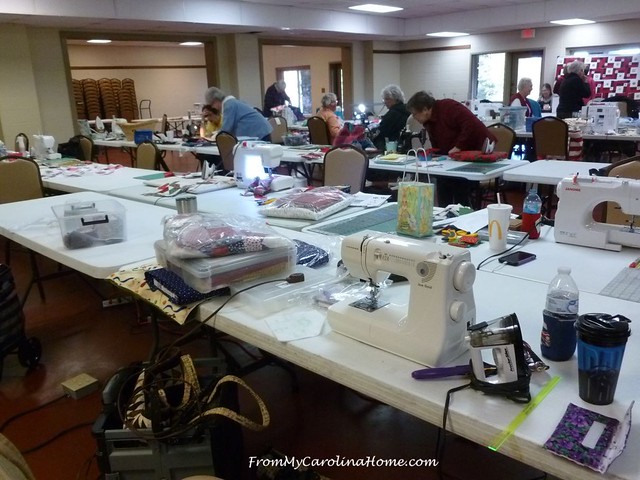
At the end of February, our local group held its bi-annual quilt retreat, where we can leave our machines for three days, but we sleep at home. Due to travel, I could only go one day, but it was super fun, and as usual I got a lot done. This project was my main focus, but I also did two other small things, and sneaked in a step for my mystery quilt and no one knew, LOL!!!
I wanted to do sashing on these blocks, to make this quilt different than the To The Nines pattern. We have seven of that pattern to give away now, so this one needed something different.

This is a good time to talk about sashing, and the two methods to do it. First method is to put strips between the blocks in rows, then do long strips between the rows. This isn’t my favorite way, as it has several long strips that can easily get distorted unless they are pinned well. It is like adding borders to several quilts at once, and is a recipe for too much fullness unless measured really carefully.
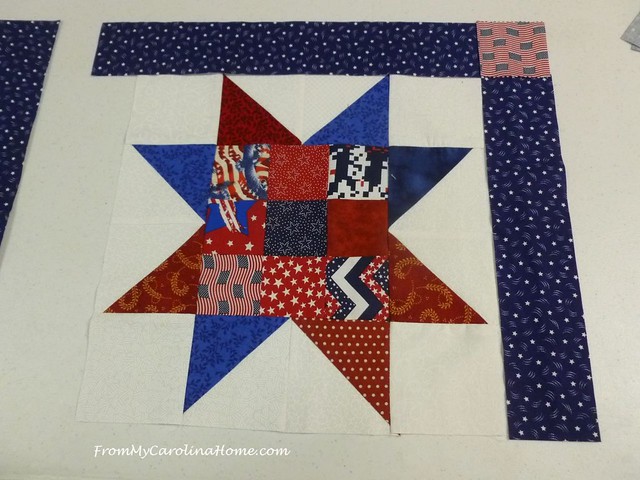
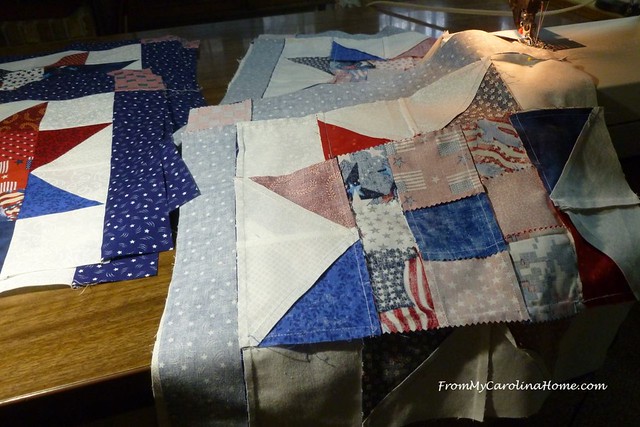
I like the method of adding strips to two sides of the blocks, then putting the blocks together. It makes adding cornerstones easier too. The big benefit of this method is that you cut your strips to the measurement they should be, in this case, 12-1/2-inches. This will help corral any fullness in the blocks and ensure that the top lays flat. In this photo, the top strip was cut 14-1/2 inches, and I moved it over to see what the cornerstone would look like. I cut it off to the proper measurement before I began sewing.
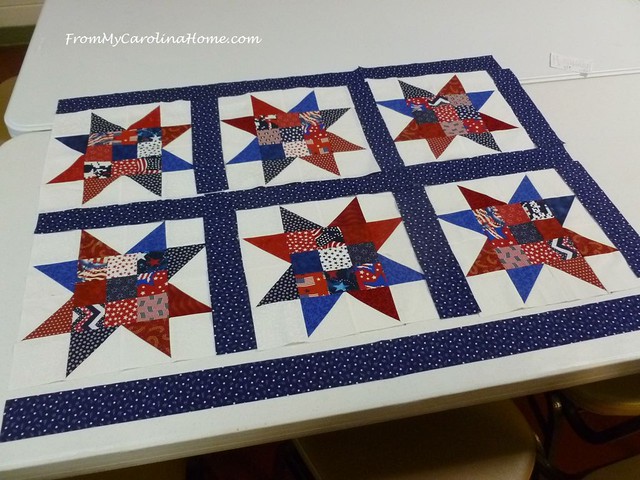
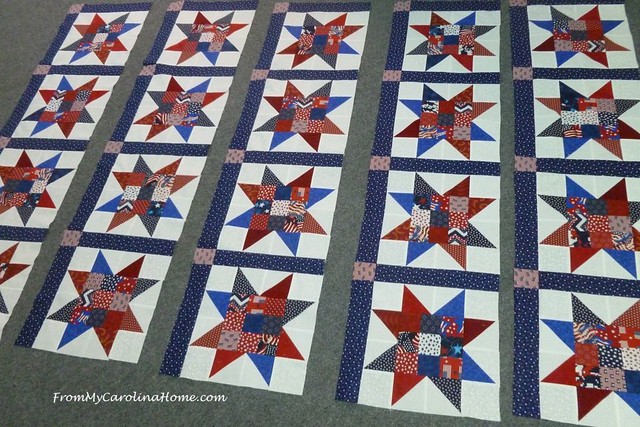
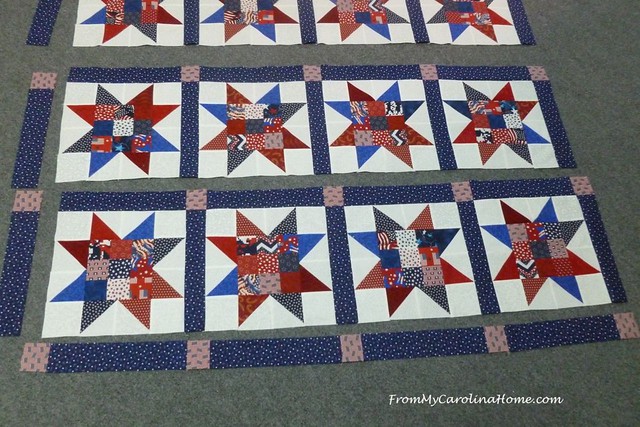
Laying it out, the blocks will be sashed on the upper side and the right side, then one block will get sashing on the left end. The only long strip needed will be across the bottom.
I chain-sewed all the upper strips with cornerstones that I would need. Then I began attaching them to the blocks.
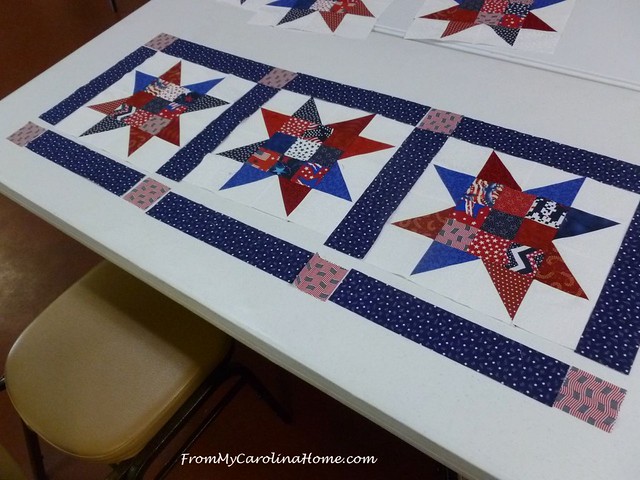
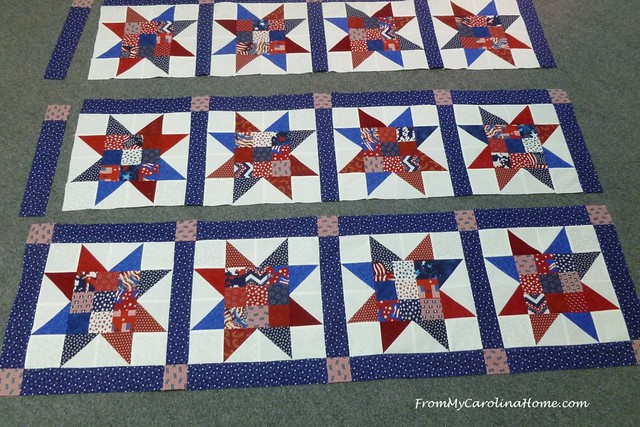
The next day at a QOV sewing day, I laid out the blocks on one of the design walls and finished the individual block sashings. I cut the additional strips and squares I would need as well.

Then back at home, I began construction of the rows.
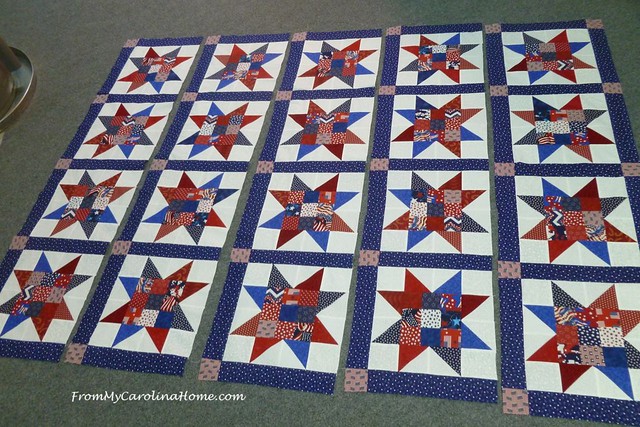
Because I had 20 blocks and would be making the top 4 x 5 blocks, I started with sewing the blocks in pairs.

Then I sewed set of two pairs into rows of four. You can see the sashing is almost done.
Next, I made cornerstone strips for the left edge of the rows. These will be put onto individual rows.
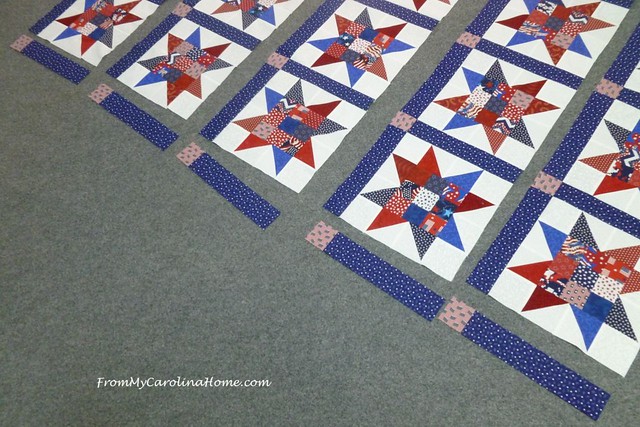
The only long strip will be across the bottom. I sewed that strip first.
Then, starting with the bottom, I put the left edge strip on. Next, I added the bottom strip. This is easier to do with just one row, instead of waiting until the whole top is constructed.
The side strips were added to the other four rows. I pressed the seams in opposite directions to make joining the rows easier and more accurate.
Then the rows are put together, carefully pinning all the sashing seams.
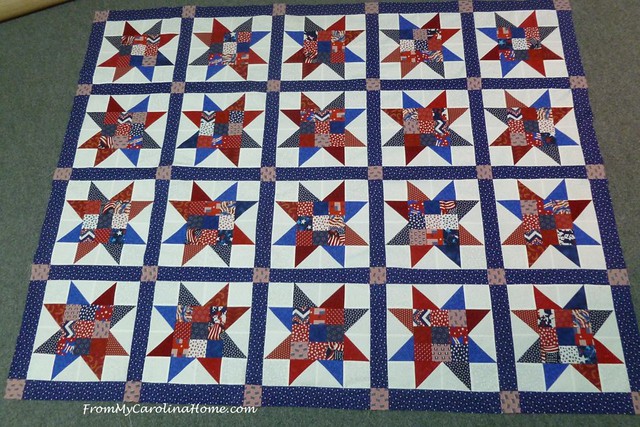
At this point, the quilt is big enough to meet the minimum, but I think it needs a small outer border to frame it nicely. So, I’ll add that before I quilt it. The quilt will come out to about 66 x 78 at that point. This one will be designated for a special event later in the year honoring military nurses.
How do you do your sashings, by the block or by the row?
See the newest Quilting Books on Sale at Amazon.

Excellent instructions!
Well that is how I’m doing my sashing from now on!!! A much easier & far more accurate method! Thankyou!
I do my sashings with cornerstones by block just like you showed with one minor difference. For the strip with the stone, I would have cut a 2 1/2″ WOF and a 14 1/2″ WOF and sewed them together. Then I would have subcut that into 2 1/2″ units for the block tops. I think sewing the sashing by block makes for a more stable and accurate quilt. Just a thought!
Aren’t retreats the BEST!!??!! My next sleep-at-home 3-day retreat is in June and ir can’t get here soon enough. Have a great week, Carole, and thanks for sharing. I’m sure there will be many quilters that try this method.
Wow, have you got the energy! I am jealous. Love the To The Nines quilt and this variation. Can’t wait to try them both. Will be in your neck of the woods the end of March for a retreat at Lake Junaluska. Will probably be doing one of these patterns. Thanks for being so energetic and sharing.
Mary Ed
Love it…..I have my blocks made and now I will be making the sashing like you did…I know…call me a copy cat! But it will be perfect for a Quilt of Valor.
Those are beautiful stars! That definitely looks perfect for using a jelly roll to make. I like to make sashings with cornerstones – it seems like I get the most accuracy that way.
This is such a pretty quilt!
These days I seem to prefer to border each block on 2 sides with the sashing, and then usually sew the blocks together in 4 quarters, and put those together.
I have done a quilt top in the webbing style lots of times and I like that way too.
I’ve always done my dashing by the row.
I think I will try your way to see how it works. Thank you.
This quilt is beautiful. I love it and would some day like to try to make it. Thanks for sharing. I am a new quilter and just made a quilt for a veteran. ACC.
I have been quilting for years and have never thought of doing it this way. Thanks for the instructions.
A beautiful quilt top and excellent instructions, thank you!
Thanks for showing me another way to attach sashing with cornerstones.
Is there a reason for choosing the long row method for the bottom of the quilt? I would make my bottom row blocks with sashing on 3 sides.
Thanks for this post. What a wonderful way to do the sashing.
Many thanks for sharing this idea, I have never thought of doing the sashing this way. Will certain,y try this method on my next quilt.
Hello Carole, I do not believe that I have ever done my sashing in the method that you have described so greatly today. As I was reading it, I just kept shaking my head and quietly saying to myself “that makes perfect sense”! I am in the process of rearranging my fabric storage room and have discovered many unfinished projects that this will be a great way to practice and learn this method. Thank you so much for sharing another brilliant method in quilt piecing! I almost forgot to tell you that your QOV is beautiful! It is always a good decision to change quilt patterns that we use frequently in order to keep our interest in that pattern. I hope that makes sense. Thank You again for sharing your knowledge, creative ideas, love of quilting and your fantastic desire to just share your heart with helping people in every way you can!
This is a great tutorial and makes me go…..DUH!!! OF COURSE! This will make it easier to get a lot more accuracy in those sashings!!! Thank you.
I have done them only by the row, but I like the way you did it better!! I think I would add the extra sashings to the outside blocks individually, to eliminate the need for a long strip – I don’t like them either!! Love how this quilt turned out!!
Excellent sashing instructions, and much better than sewing those long rows! Thanks Carole, for the great tip and for showing us your beautiful QOV.
This is positively another perfect solution. So easy to do without all the ungainly length. I also shared your blog and post about Mardi Gras tablescape with my Bee and they were also wowed! I finished the Mardi Gras quilt top, baby quilt sized – mine in blue, yellow and green – where my workmanship failed the pattern shone. (Arrowhead Puzzle). Everyone wanted the pattern. Now to quilt and bind. Thanks for that pattern as well.
I like to add sashing with corner stones, too. It keeps my quilts much neater as the rows line up perfectly. No waves.
Love seeing these stars together.