
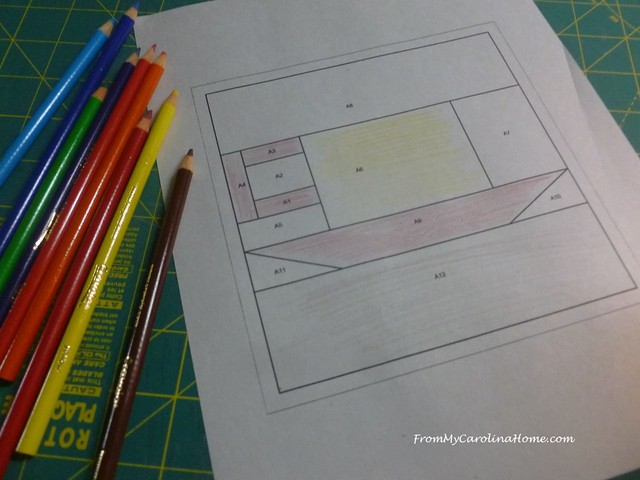
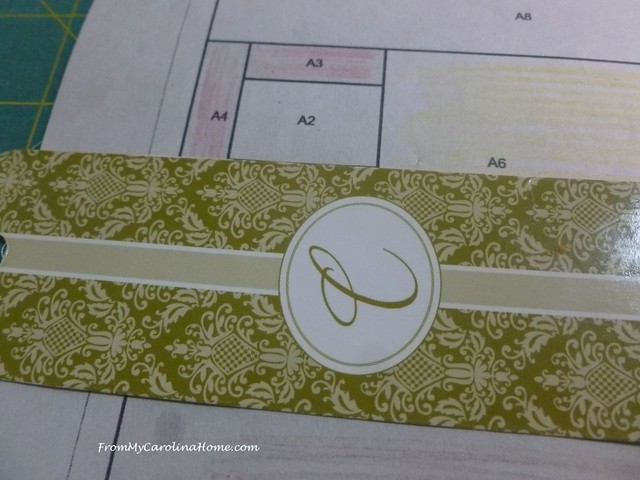
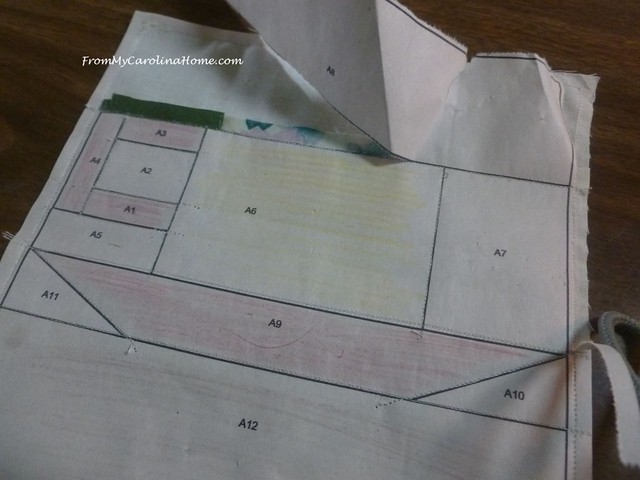
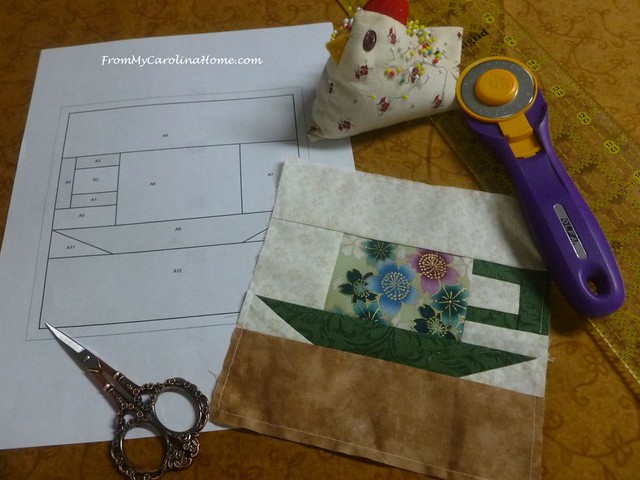
The Teacups Quilt Along is a go, so I thought I would do a primer on paper piecing in advance of the kickoff post. Today, I’ll show you how I sew paper pieced blocks, and give you some tips and tricks I use to make it easier. This is a long and picture heavy post, so bear with me. I did some bullet points at the end to sum it all up. First, use some color pencils and color the pattern so you can be reminded of what goes where.
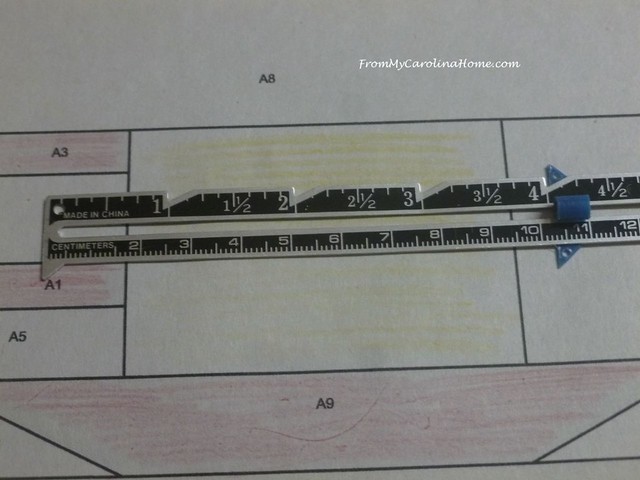
Take some measurements of the pieces you need and make a list. Understand that there is more waste with paper piecing. I think sometimes the frustration is in trying to ‘mirror’ the pattern piece with an exact fabric bit. Then, the pieces get off the lines and don’t have the right amount of seam allowance. You will need to have at least 1/4-inch more on all sides for a seam allowance, and I use a bit bigger for comfort. For odd shape pieces, triangles and five sided bits, use a larger square or rectangle. It will reduce your cutting time, and save you endless frustration when the block goes together quickly.
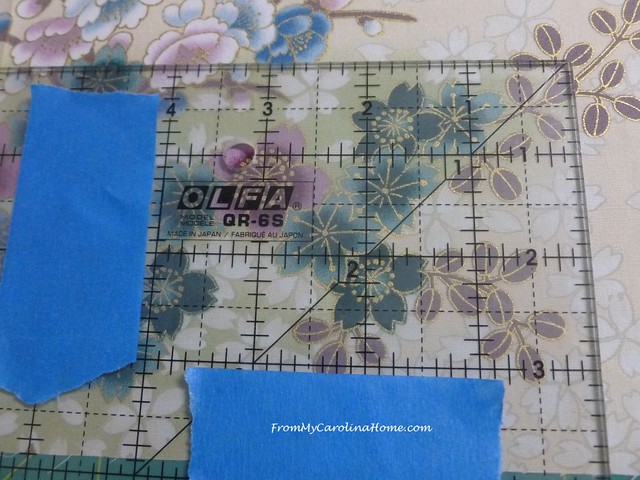
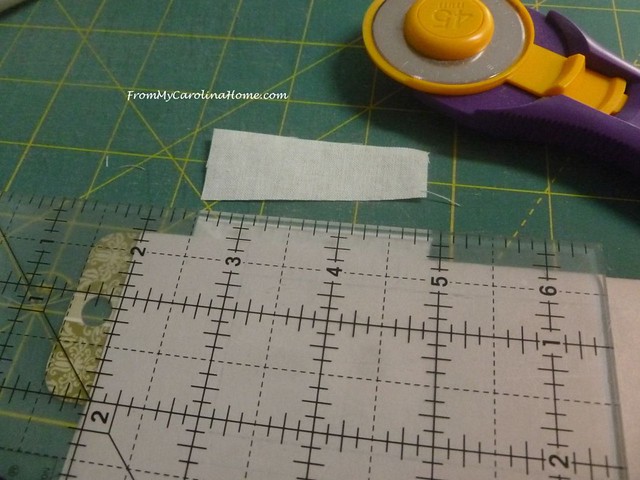
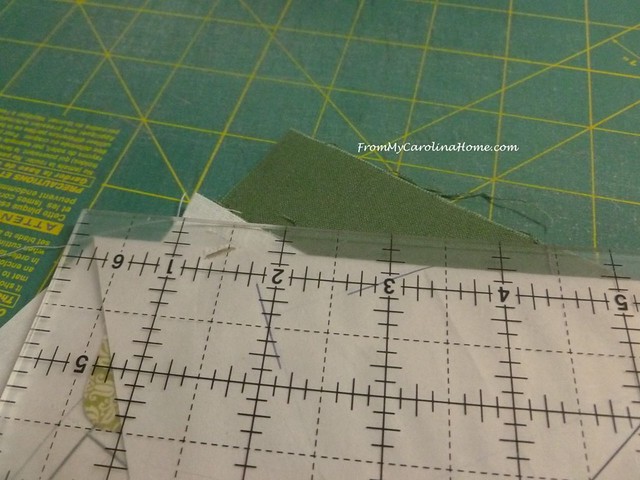
If you are fussy cutting, mask off the size on a ruler, and use it to ‘see’ the print.
Do all your cutting at once, making sure you have the number of pieces that the pattern calls for.

I highly recommend using Aurifil 50 st thread for your paper piecing projects. The thread is thin and strong, and will help with keeping the lines precisely where they need to be. Choose a neutral or a color that will blend with the fabric well.

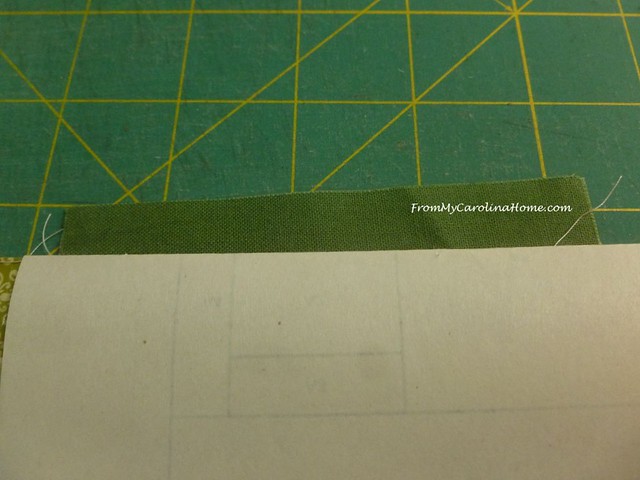
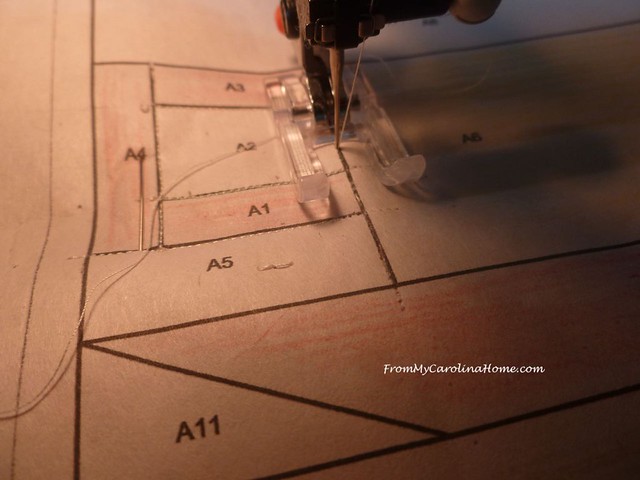
Start with piece #1, placing it correctly for the pattern, right side down. Remember that you are sewing in reverse, so the wrong side will be facing the paper. Pin from the pattern side.

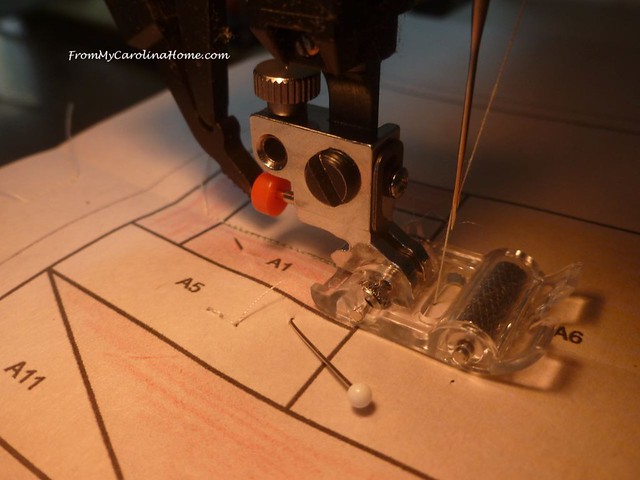
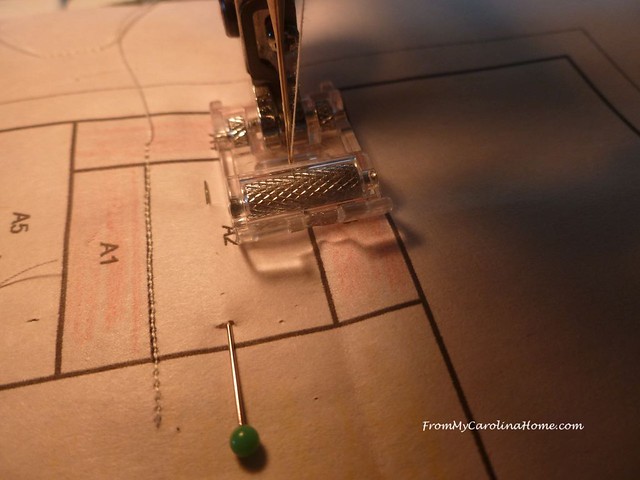
I hold my pattern up to the light to be sure it is big enough. Take a few stitches well outside the pattern area just to hold it in place, for this piece I put three or four stitches in the middle of the A6 area, and again outside the cutting line. Both those areas will be cut off as the pattern progresses.
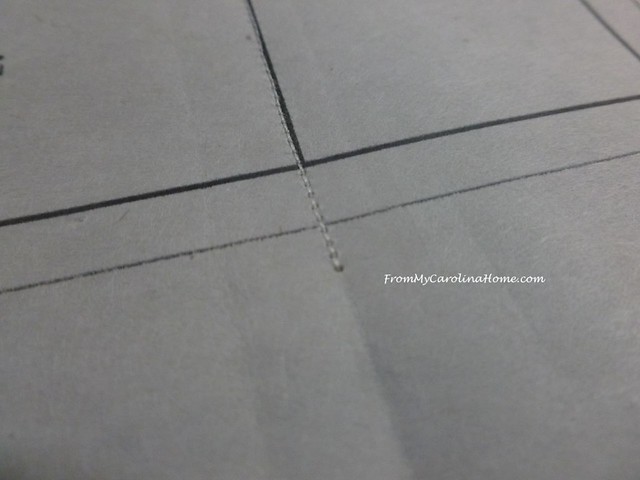
Shorten your stitch length. This will create more perforations in the paper, making it easier to tear it off when you are done.

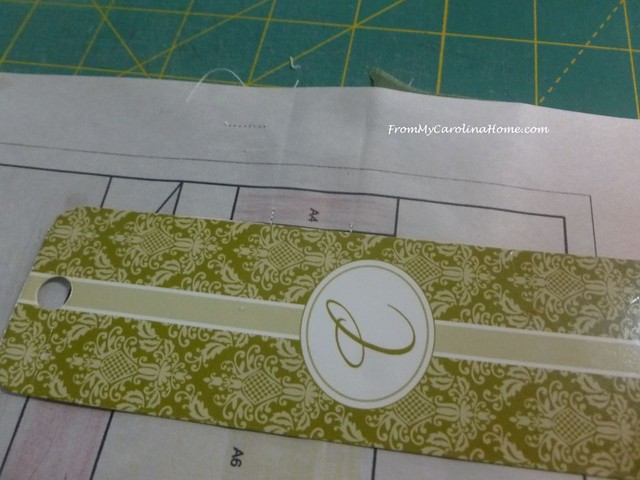
Now, using something straight and very thin, like this bookmark, place it on the line between piece 1 and piece 2.
Fold the paper over the bookmark to expose the fabric.
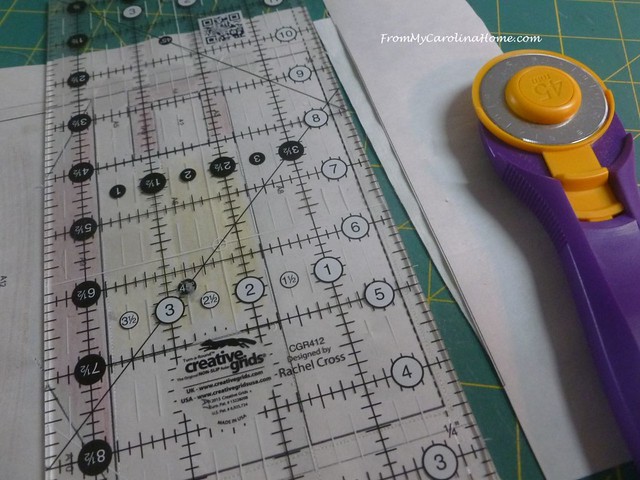
Now, trim the fabric to a 1/4-inch seam allowance.
Line up the next piece with the edge you just cut, right sides together.
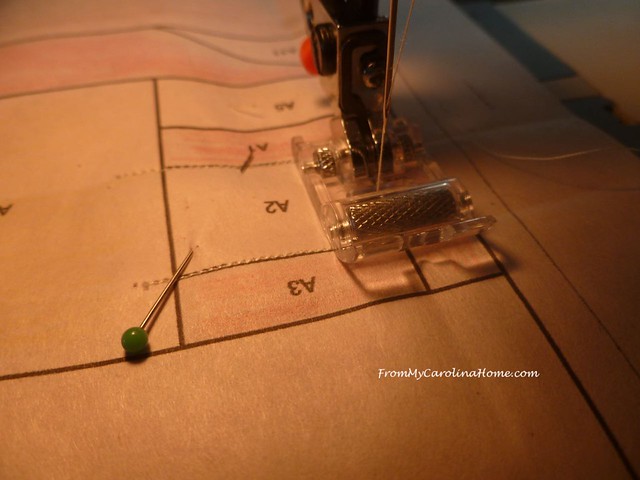
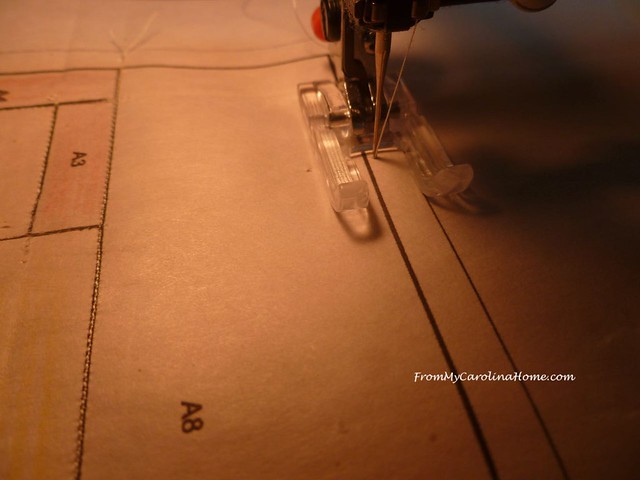
Pin on the pattern side. Sew on the line. I sometimes use a roller foot to keep the paper moving smoothly, but you might prefer an open toe foot so you can see the lines easier.
Sew beginning 1/4-inch before the line, and ending 1/4-inch past it.
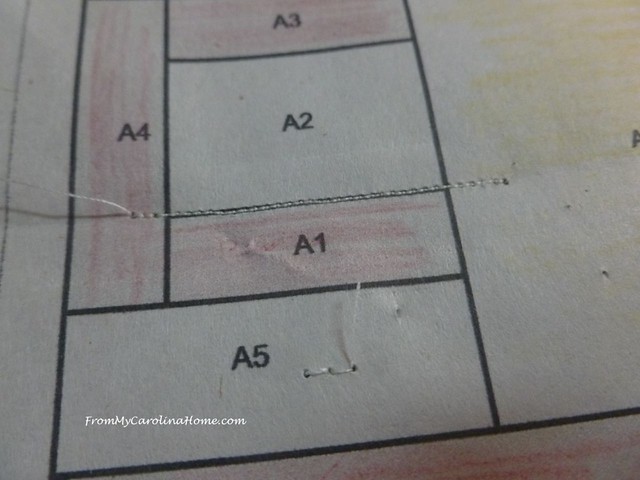
Flip the piece over, press the seam.
Lay your straight-edge on the next line between pieces 2 and 3.
Fold the pattern back and trim the second piece to 1/4-inch seam allowance.
Sew on the line, remembering to add the 1/4-inch on both ends.
Press.
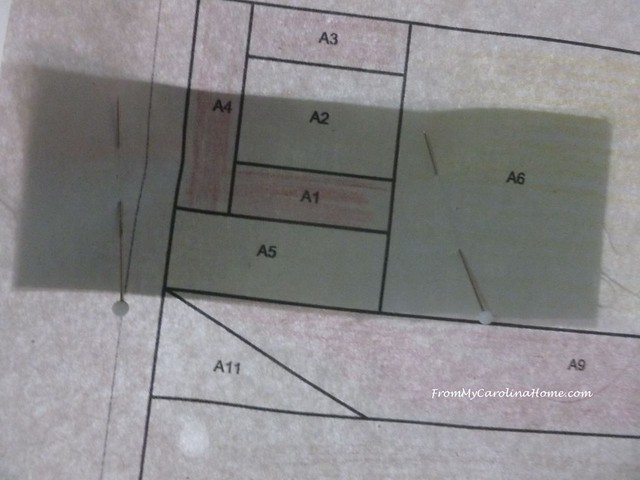
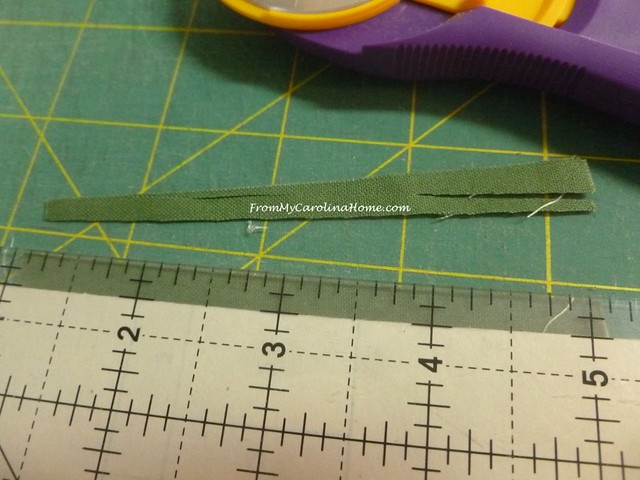
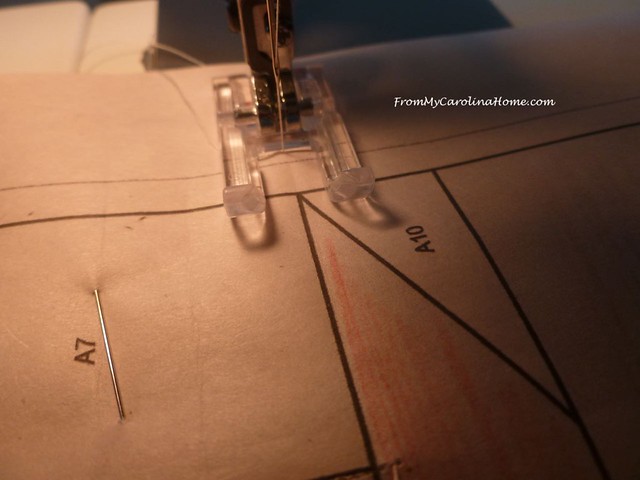
Put the straight edge on the next line to sew, in this case it is perpendicular to the previous seam lines.
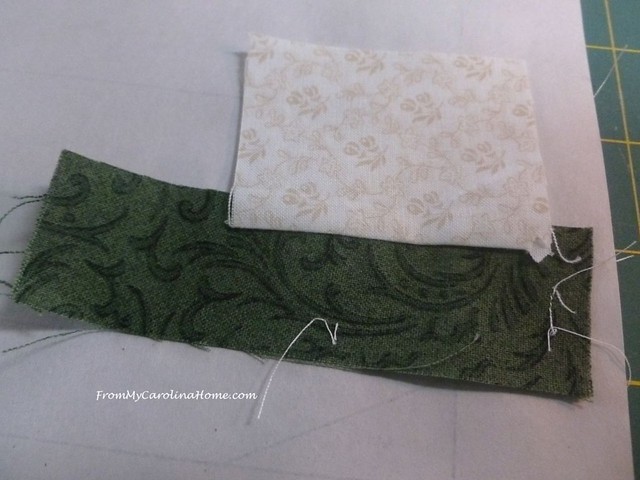
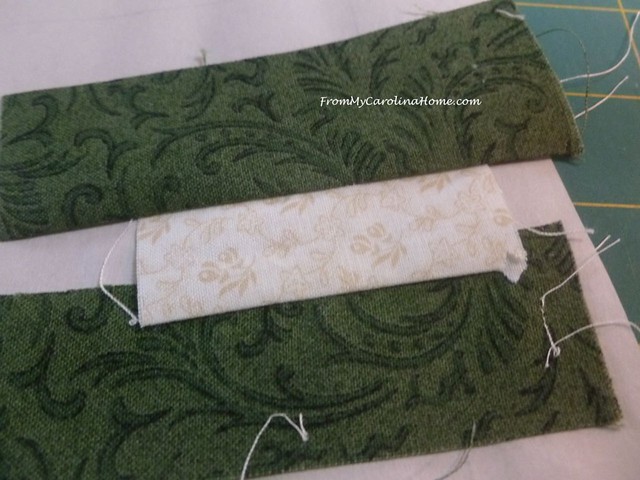
As you fold the pattern over the straight edge, the previous pieces may lift up, from the 1/4-inch stitching overage.
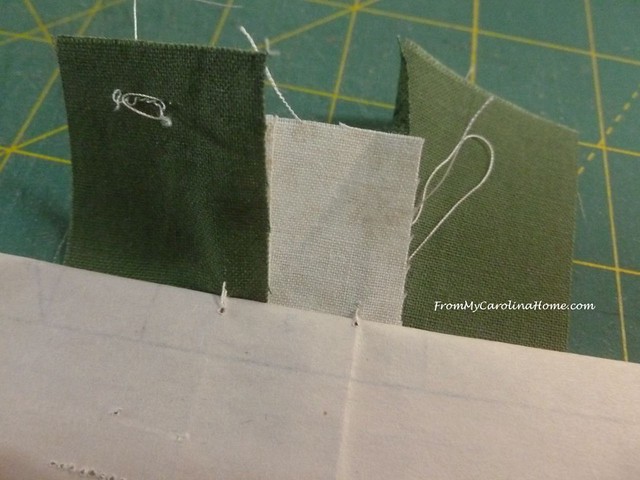
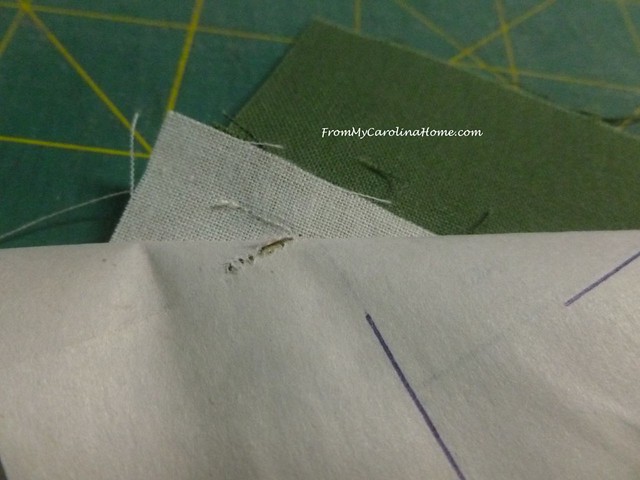
Just pull them flat, tearing the pattern just a bit where the stitches were. This is OK, it won’t affect the final result. The dark green bit on the left has the original stay-stitches in it, simple detach them from the paper.
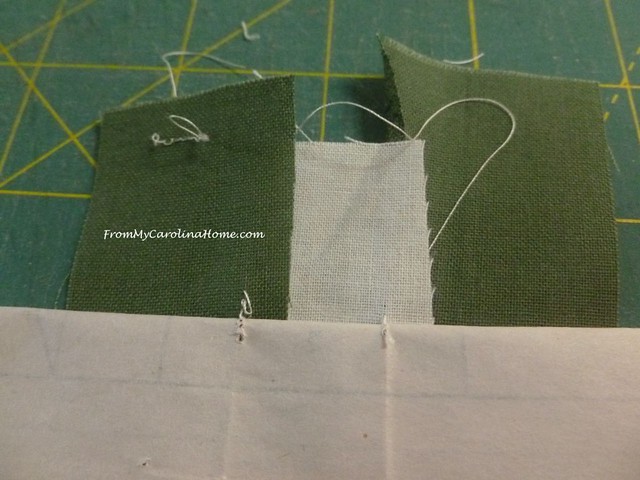
Cut the previous bits to 1/4-inch seam allowance, and place the next piece underneath, again right sides together.
Sew in the same manner.
Keep building in the same way, following the order on the pattern.

An open toe foot makes it easier to see, especially when you are just beginning.
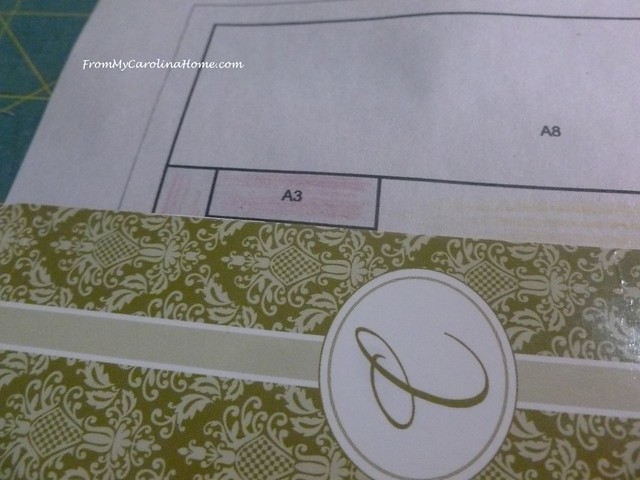
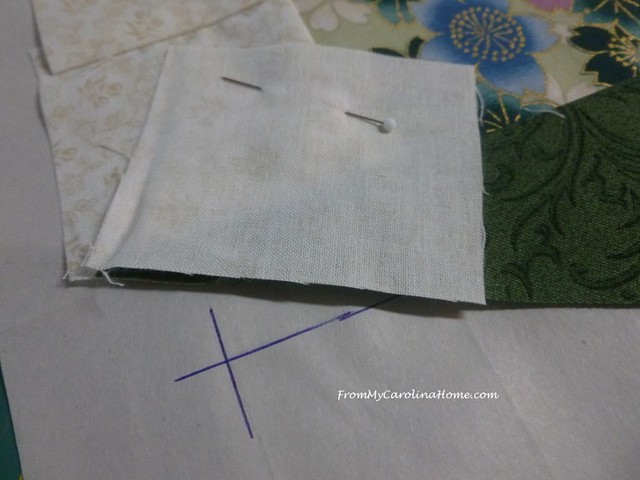
Sometimes, you will want to be sure that a fussy cut piece is just right. In this case, make some marks on the backside of the pattern so you can see the lines more easily as you test fit.

On paper piecing patterns, the darker line is the edge of the pattern, and the lighter line around the edge is the cutting line. If your pattern doesn’t have these lighter cutting lines, add them yourself before beginning the piecing. Be sure your fabric is large enough to cover that light outer line on edge pieces. For all pieces that intersect the outer edge, stitch 1/4-inch past the cutting line.
Begin sewing outside the cutting line.
For triangles, five sided bits and unusual shapes, use fabric pieces larger cut in squares or rectangles, rather than trying to ‘mirror’ the shape.

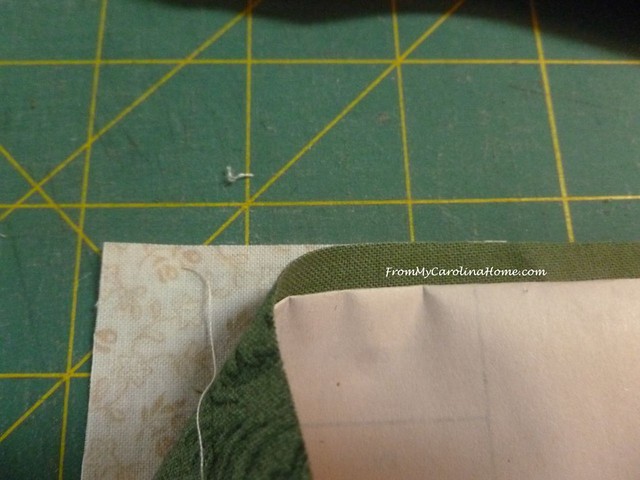
Again, you can see how the previous line of stitching on the white fabric bit below has torn away from the paper, this is OK. Note that this time, when the pattern is folded back for the small next piece, the amount of fabric showing from the previous pieces is wider than the line of the patch.
Don’t pay any attention to this, just cut all the way across in the same manner to create your seam allowance. The other part will be cut later as you get to that line in the pattern.
Again, sometimes it is easier to see if you have the right size patch if you make a few marks on the backside of the pattern.
Sew on the line, starting 1/4-inch outside the cutting line, as this one will intersect the edge.

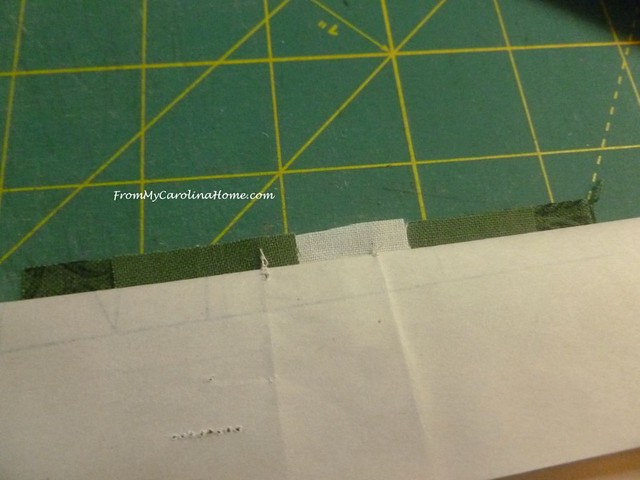
When you have all the pieces done, stay stitch the edge just outside the final pattern line, but inside the cutting line. This will stabilize the edge for tearing the paper to reduce distortion, yet be out of the way of the final sewing line so it won’t show on the finished project.
Cut on the cutting line.
Tear away the paper. Press the finished piece.
So, in a nutshell
1. Color the pattern.
2. Shorten the stitch length.
3. Cut pieces larger than needed, accepting that there will be more waste.
4. Use squares and rectangles regardless of the piece final shape.
5. Stabilize the first piece.
6. Use a thin straight edge to fold the pattern back, trim the fabric to 1/4-inch.
7. Line up the next piece with the cut edge.
8. Mark the back side of the pattern to easily see if your orientation is right.
9. Sew 1/4-inch past the end point of the line on both sides.
10. Sew 1/4-inch past the edges of the cutting line for pieces intersecting the edge.
11. Sew a stay-stitch all around the piece before taking the paper off.
If you are a beginner at paper piecing, the book Show Me How To Paper Piece by Carol Doak is a great resource to add to your library. For the foundation paper, you can use lightweight newsprint papers, June Taylor Perfect Foundation Papers, or Carol Doak’s Foundation Papers. Thank you for using my affiliate links when you can.
Do you have any additional tips for paper piecing?
Sharing – Tips and Tutorials, Tips and Tutorials on the 22nd.

It’s so generous of you to share the tea cup how-to!!
This is a great tutorial. One other tip I would add: when you lay your straight edge down, use a hera marker to crease the fold line. It makes folding the fabric back so much easier and a bit more accurate. I learned this from another quilter, and it really made a difference for me.
I have used thin vliselin instead of paper but then I had to draw the pattern. When finished I kept the vliselin on. I read that in a danish book by Dorthe Jollman, she even suggested you could print direct on the vliselin. which I have not tried.
Thank you for posting this time intensive (on your part) and detailed tutorial. I agree with you, cutting our pieces bigger is easier. Those scraps can always be made into “crumb bookmarks” and such. Amazon says my book should be here by no later than next Tuesday! Yay!
Hello Carole; What a marvelous tutorial, in every aspect, on paper piecing! As I was reading your post, so many steps came back and those “Oh Yes, she is so right I must do that!” Paper Pieced blocks turn out so incredible once you get the way to do them. Thank you for sharing this post and preparing us for this Quilt Along! Have a great day!
I was able to take a class from Carol Doak in Long Beach, Washngton, several years ago. I certainly enjoyed learning from her. Your tutorial was excellent. Thanks for the suggestions. I also use the “add-a-quarter” ruler. The lip reminds me not to cut off the seam allowance. Looking forward to the quilt along.
Where can I find more information on the Quilt-Along?
It begins on Friday, August 3 and steps will post once a month on the first Friday.
Pingback: Saturday Quilting Bring & Share (26) |
A very thorough tutorial, I think. I will definitely come back to it if I decide to paper-piece anything at all.
Paper piecing is an amazing skill to learn. Thanks for the details in your post and introduction and for linking up with the Tips and Tutorials Festival.