
ARRRGGGHHH!! I totally forgot that this past Monday was the fourth one! Somehow I was thinking it was next week. Forgive me for being late with our Vintage Christmas Quilt Along. Luckily, I did have the blocks done, I just forgot to write it up for this week. Without further ado, lets sew two more blocks.

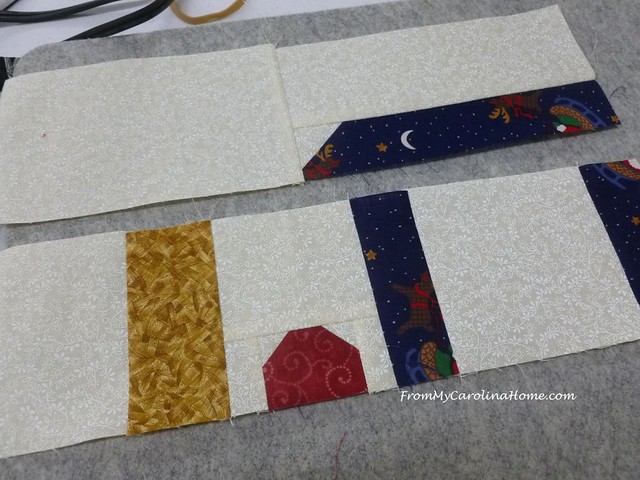
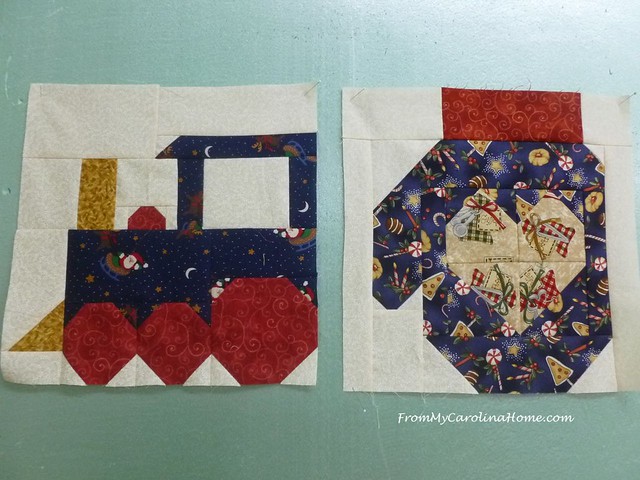
Starting with the mitten pattern, I cut all my bits and labeled them as usual.

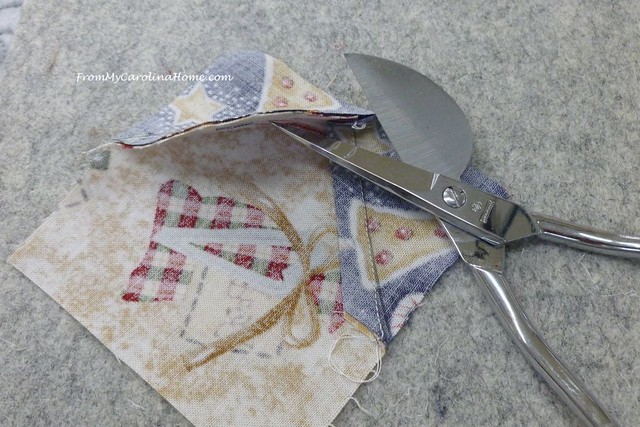
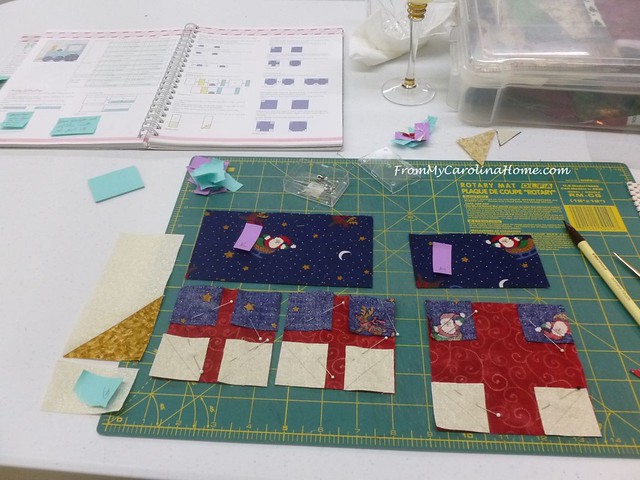
The pattern begins with making the little heart, note that the top and bottom are sewn differently.

Make sure your point is the way you want it before you clip out the excess fabric.
The bottom HSTs are sewn on the diagonal line instead of 1/4 inch away as we usually do. I would have written this as a larger square to start with and trim down, so know that ahead. There will be some waste with this step.
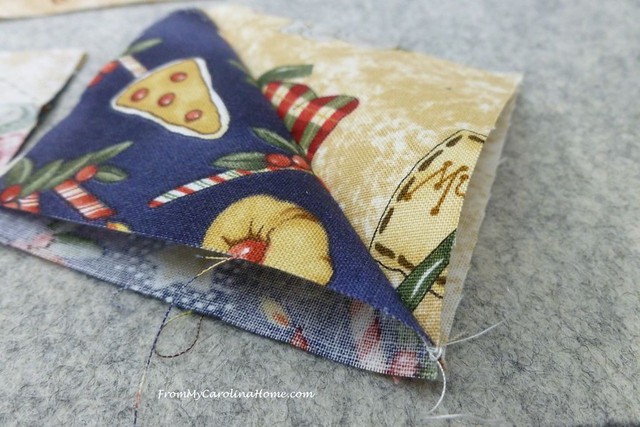
Sewing the bottom section, I made sure my point was good.
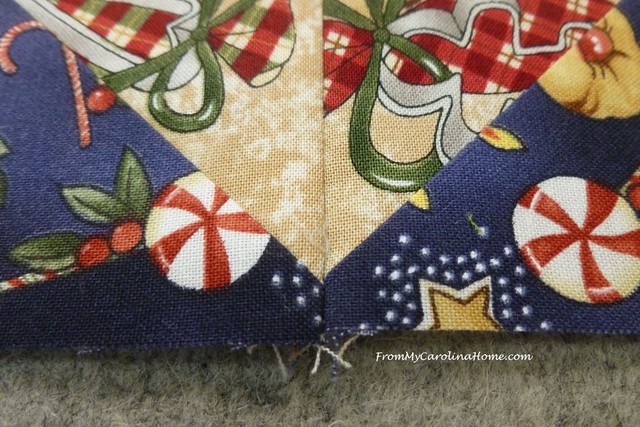
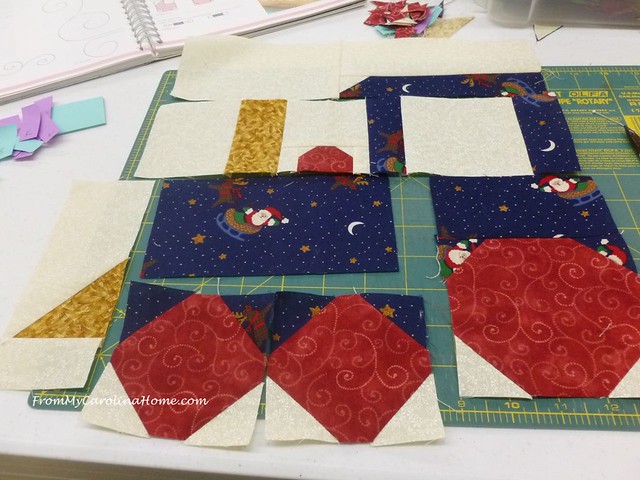
Then the rest of the bits were laid out in their proper areas and sewn according to the order in the pattern. Note that the thumb tip is not a point, it is flattened. Now that I have it done, I wish I had used a smaller print with more contrast for the heart. Oh well, not doing it again, LOL!!!!
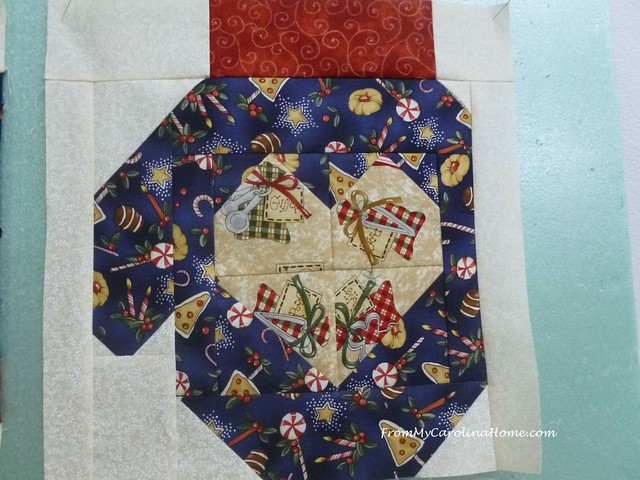
I used the same print on the mitten base as I did for the house roof. Using the same fabrics across many blocks will make the whole project more cohesive.

Next on my list was the train. There are quite a few pieces but not as many as the house.

Assembly begins with the top sections and moves down.

This part is pretty simple and moves quickly.
The wheels are snowball blocks, note that the upper sections are train fabric and the lower squares are background.
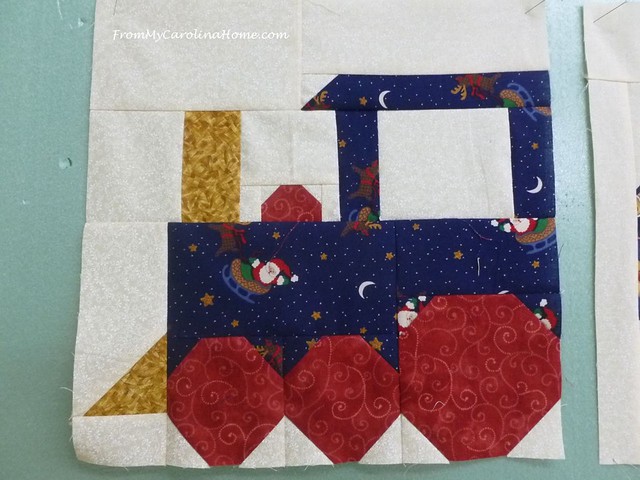
Once those are done, assembly is fast. Just follow the order given in the pattern.
Cute, isn’t it? I’ll work on adding the steam later.
So, here we stand, six blocks done and six to go.

Here are the tips for the Vintage Christmas Quilt Along, all together and I’ll add more as each month’s sewing is posted. I’ll also be adding your tips, too.
- Read the entire block pattern carefully before beginning sewing.
- As you cut your pieces out, label them with the letter associated.
- Use a fine line pencil to mark your lines on tiny squares.
- Re-read each step, noting the number of elements to make.
- Lay out the pieces for each step so you can chain sew where possible.
- Use your quarter-inch foot where possible for accuracy.
- Sew slightly to the outside of diagonal lines.
- Be sure to square up your units as you go.
- Press your units with a Wool Press Mat, pressing toward the outside edges.
- Begin sewing in the center of a base piece when adding a square to flip.
- Using just a dab of glue in the corners you cut off will help keep the edges lined up. (Thanks, Elaine!)
- Use a folded Post-It note to cover the chart you aren’t using to reduce cutting errors. (Thanks, Susan!)
How’s your Vintage Christmas coming along?
To see all the posts so far for the Vintage Christmas Quilt Along, click HERE. Lori Holt’s Vintage Christmas Book, available at Fat Quarter Shop. It is also available on Amazon – Vintage Christmas Book at Amazon. All the patterns will come from the book and you will need the book to get them. I cannot reprint the patterns as they are copyrighted.
If you would like to catch up with my Scrap Dance Twist mystery quilt along, click HERE for all the posts so far. We started in January, and will finish in June.
Sharing Stress Free Quilt Along Linkup.

Oh, goody, the mitten! I was hoping that one was coming up! Your blocks look so good together and very well coordinated! Having fun with this series—heading to the machine soon to get started.
So very, very adorable!!!
Very fun blocks and I especially like the train… it’s so cute!
Love your blocks. I need to “get busy”… 😉
Hello Carole, Each one of your blocks are wonderful! It is fun seeing your blocks and then going on Friends Facebook page and seeing the blocks that other members are making also. So far, the train is my favorite. I have an addiction to looking at what other quilters create! I can spend hours and hours just looking at all of the beauties that are created. LOL. I just remembered that I did a Christmas Block of some kind and I never finished them. That would be a wonderful idea for my Star Blocks to go. Excellent, now I have another motivating factor to get me busy creating my creating my stars! I am trying to be extra giving and keep a very positive attitude for everyone. Plus, I just remembered…I should have my first placemat finished today! Thank you for sharing and being positive and uplifting also! Stay safe and well!
Those are just cute, and I love your fabrics too. 🙂 I think everyone’s been a bit out of sorts this week!
Absolutely love this quilt. Might just need to make a bunch of the mitten ones for gifts.
I am just now catching up to posts from Stress-free QAL. Your blocks are just adorable. I made all the blocks for Farm Girl Vintage, and I wish I had had all your tips about Lori’s patterns. I love her and her patterns but I find them hard to read and interpret. I have Vintage Christmas book and have the first two pattern pieces cut but not sewn. Your tips are wonderful!