
Today I kickoff a Christmas in July Event at From My Carolina Home! Get ready for 12 days of ideas, tutorials, giveaways, downloads and fun on my blog PLUS a quilt along over at a blog hop with more blogs to visit full of ideas. On this post, I’ll show you a tutorial for a great little jewelry case or sewing kit, something to make in multiples for holiday gifts. Are you ready? Let’s get inspired! Read all the way to the end for a special surprise!
You’ll need:
1/2 yard of fashion fabric (in the tutorial, the snapdragon fabric) for the outside
1/2 yard of lining fabric (in the tutorial, the pink fabric) for the inside
1 yard cording, cut into two 18-inch pieces
1 3-inch plastic canvas circle
Optional – fusible interfacing 15 inch square
First make your pattern. You’ll need circles of fabric, so I begin with folding a piece of paper into fourths. Make 2. Measure out 7-1/2 inches from the center on the larger, and 4-1/2 inches from the center on the smaller, in several places. Draw a quarter circle line from edge to edge to make two circles, one 15 inches in diameter and one 9 inches in diameter.
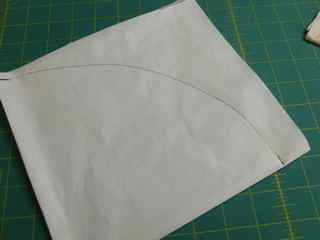
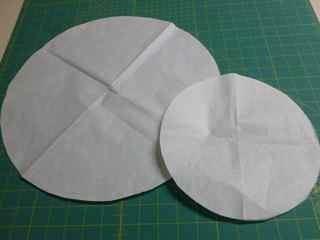
Cut out your circles.
Using each pattern circle, cut one fashion fabric and one lining fabric.
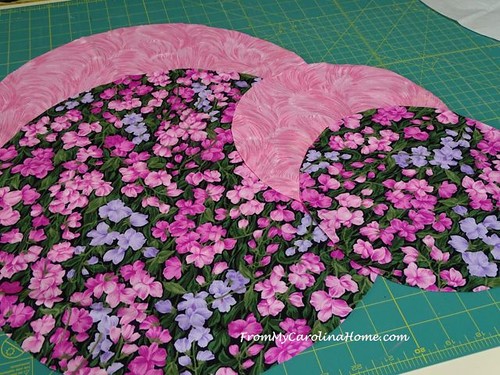
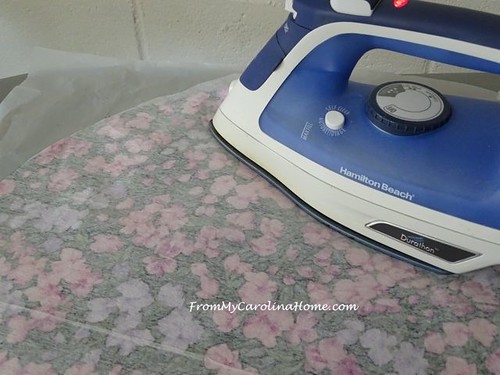
Optional, if you like your case to have a bit more body, iron on fusible interfacing to the back of the fashion fabric.
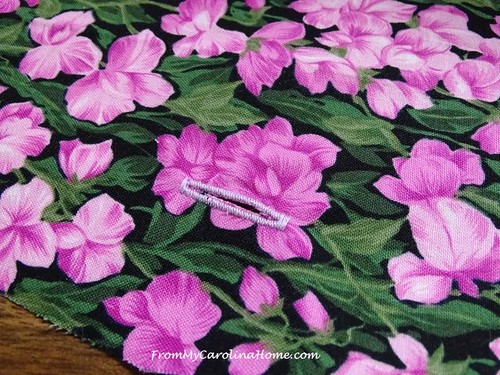
Measure in from one edge on the larger 15-inch fashion fabric circle 1-1/2 inches and make a buttonhole one inch in length.
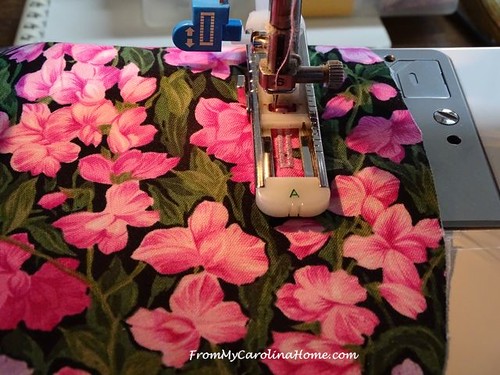
Make another one on the opposite edge of the same piece of fabric. Cut both buttonholes open.
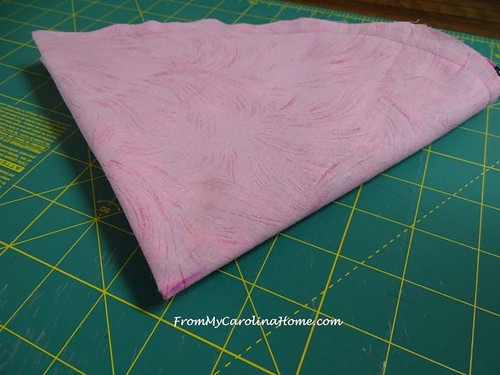
Place the large circles right sides together and sew all the way around the edge. Yes, all the way, do not leave any opening for turning. Repeat with the smaller circles, right sides together.
Fold the sewn circles into fourths to find the exact center. Mark a one inch line on the edge in the center (1/2 inch on either side of the center point) on the lining.
Cut a slit in the LINING ONLY. Don’t get scared, it will get covered up. Just be careful to only cut the lining. Repeat for the small circle.

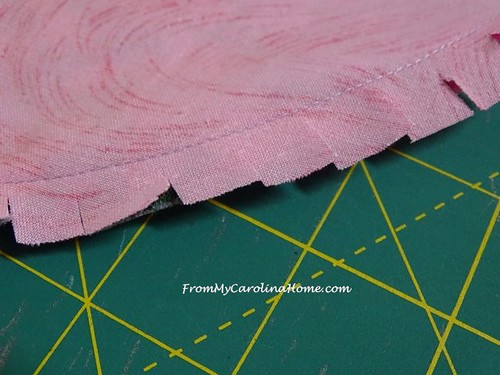
Clip the curves on the edges all the way around both circles.
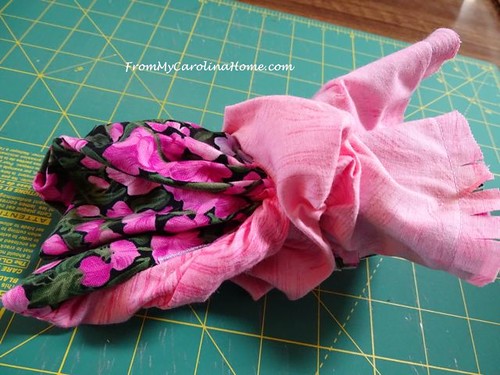
Turn right side out through the slit.
Smooth out the edges, I like to use a chopstick for this.
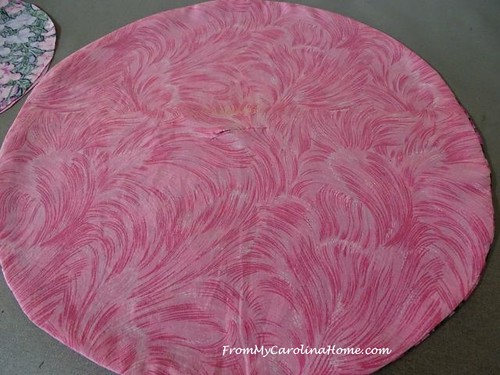
Iron both to sharply crease the edges.

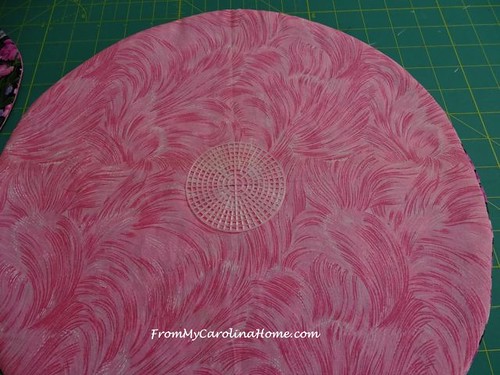
Fold the larger circle into fourths and finger press to find the exact center. Place the plastic canvas circle in the center on the lining side over the slit, making sure the center of the canvas is on the center of the larger circle.
Fold the smaller circle into fourths, lining side out and place on the plastic canvas to find the center.
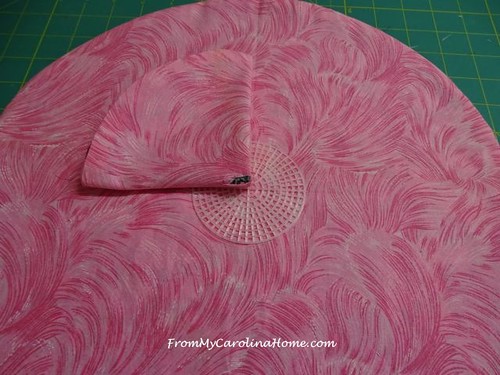
Open out the small circle over the plastic canvas, lining sides together, pin around the plastic canvas through all the layers.
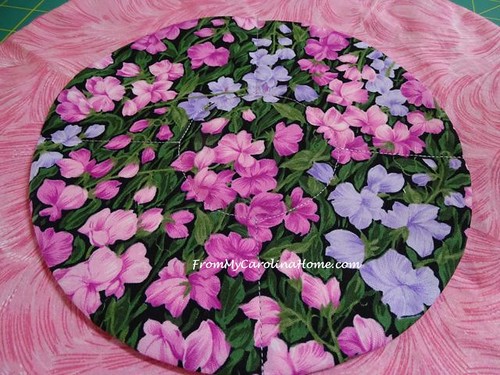
Sew through all the layers around the canvas circle. Do not sew through the canvas, just around the edge of it. This will encase the canvas in the bottom providing a firm base and cover both slits in the lining fabric.

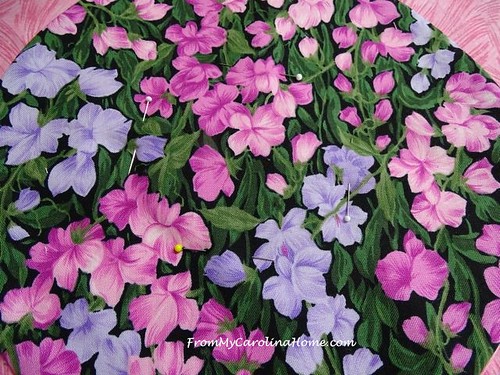
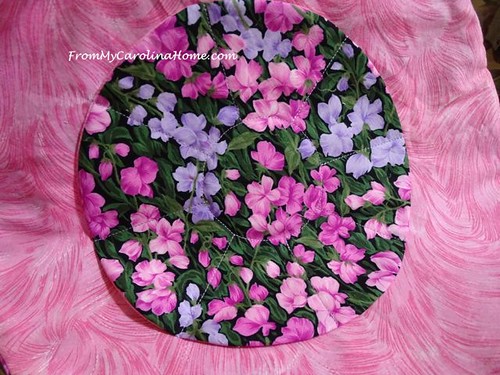
Beginning at the sewing line in the middle, sew spokes out to the edge of the smaller circle. Sew four spokes, one each pointing north, south, east and west (or like a clock face 12, 3, 6, and 9). Do not sew through the plastic canvas.
Add four more spokes of sewing to make eight pockets.
I hope you see the stitching here to create the pockets in the smaller circle.
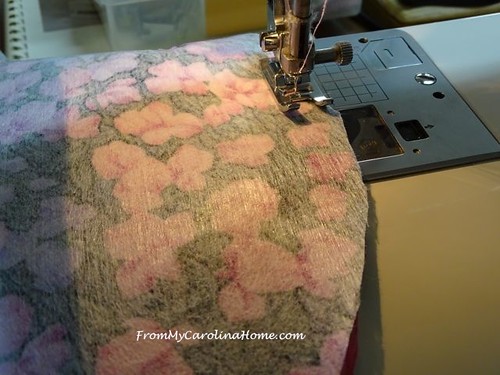
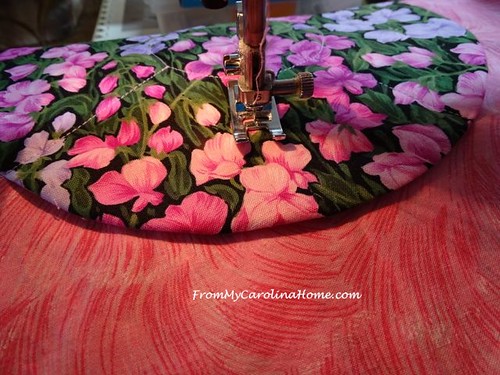
Now, sew a line around the outer edge of the larger circle about 1/2-inch in from the edge to make the top ruffle. Be sure to keep this line of sewing to the outside of the buttonholes.
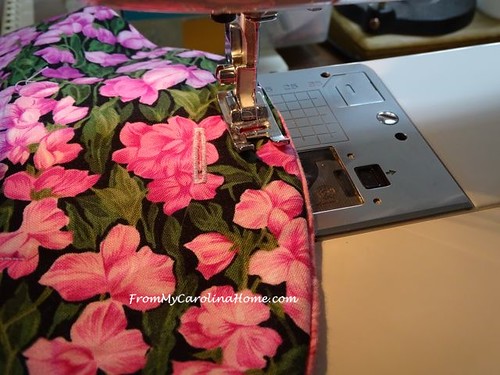
Sew a second line of stitching about one inch further in, this time going to the inside of the buttonholes. This will create a channel for the drawstrings.

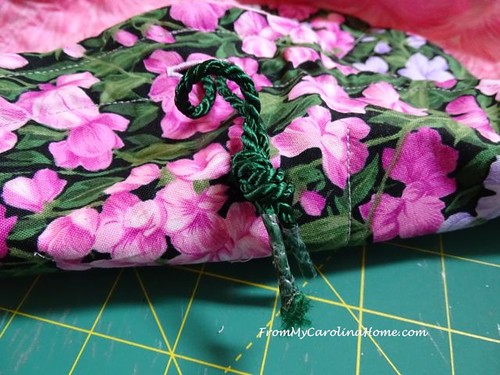
Using a bodkin, or other means, thread the cording through one of the buttonholes, all the way around the channel and back out through the same buttonhole.
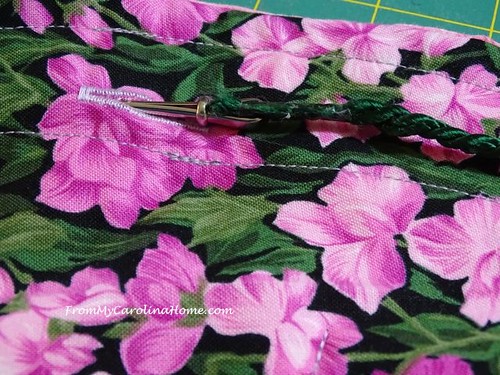
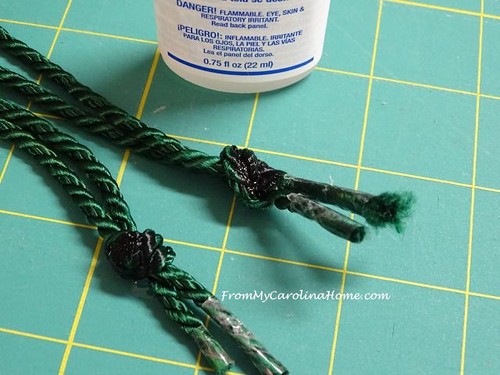
Tie the ends together in a knot.
Repeat with the other piece of cording using the opposite buttonhole.

I put a dab of frey check on each knot and clip off the taped ends.
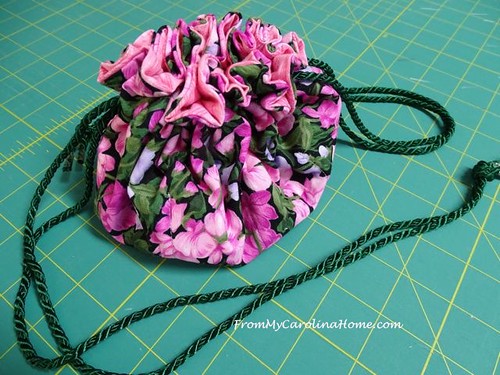
Pull on both cords at the same time to close the bag.
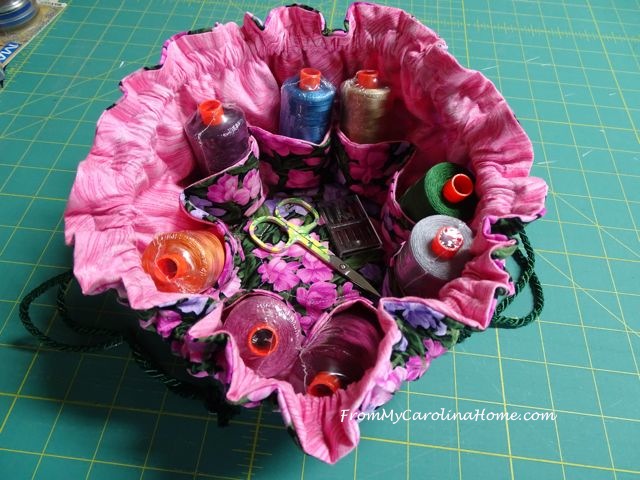
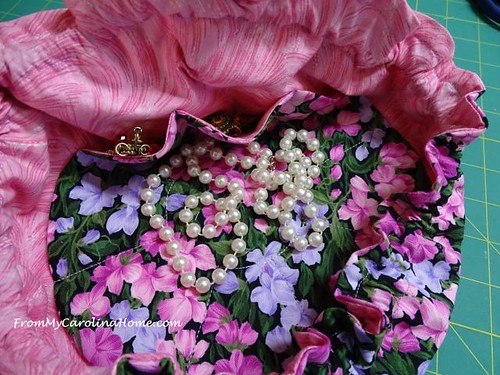
Give it empty for use as a jewelry case. Earrings are kept together in the pockets. Since the bottoms of the pockets end at the plastic canvas liner, they are flat instead of cone shaped. This makes it easy to reach in and get your items. The sturdy base can hold several pieces as well.
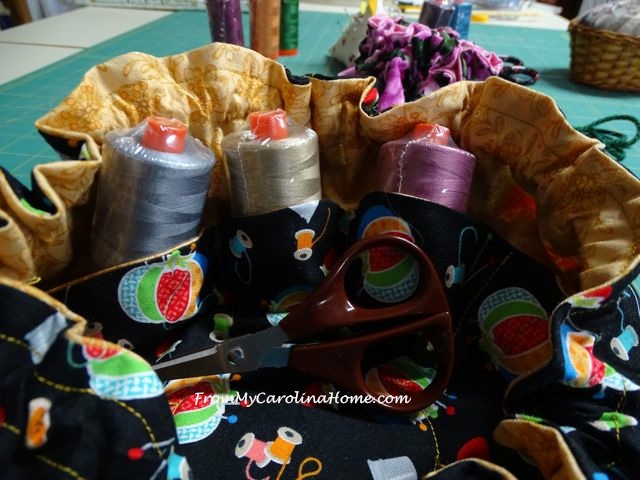
Another idea, fill it with sewing goodies for a wonderful sewing kit. For travel to classes, or just to keep on hand, a kit with the basics we use all the time will be appreciated. Needles, pretty scissors and Aurifil threads are always welcome to a quilter or sewist.

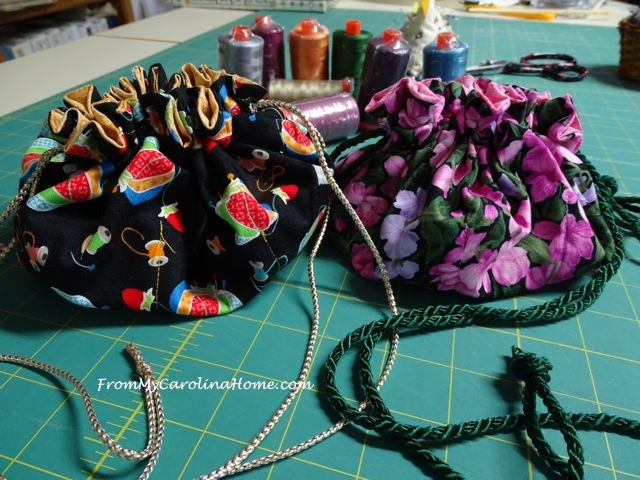
Even more fun, make one with sewing motif fabrics!

This one has a gold lining fabric.
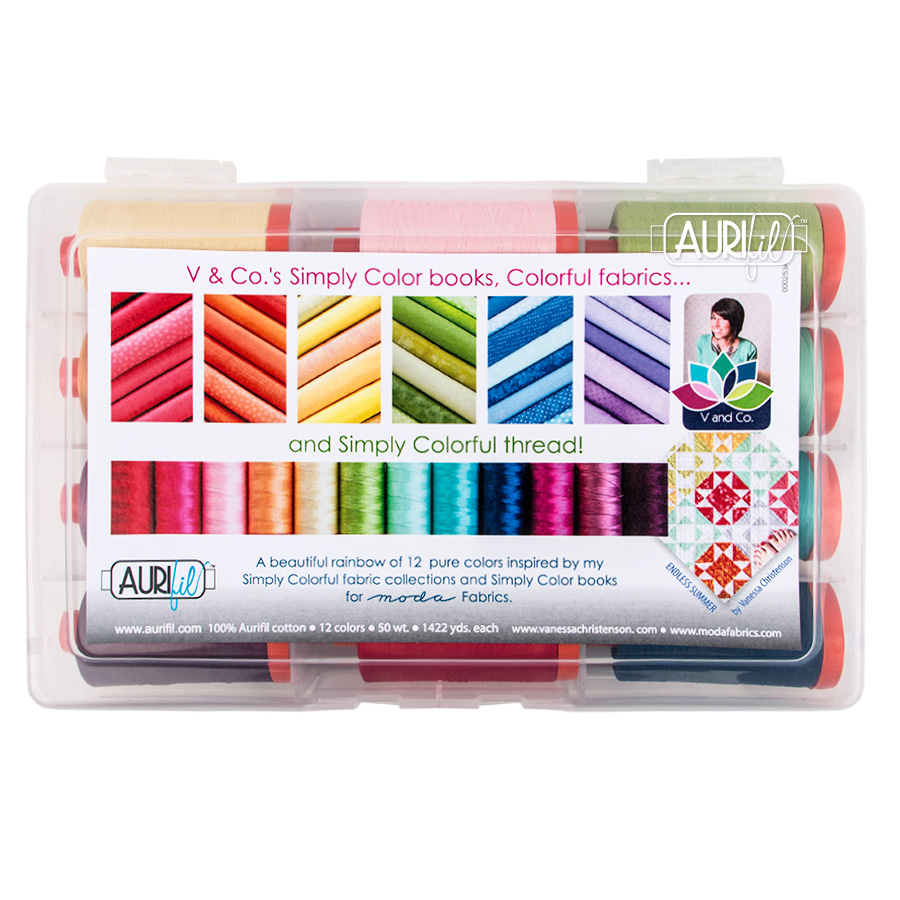
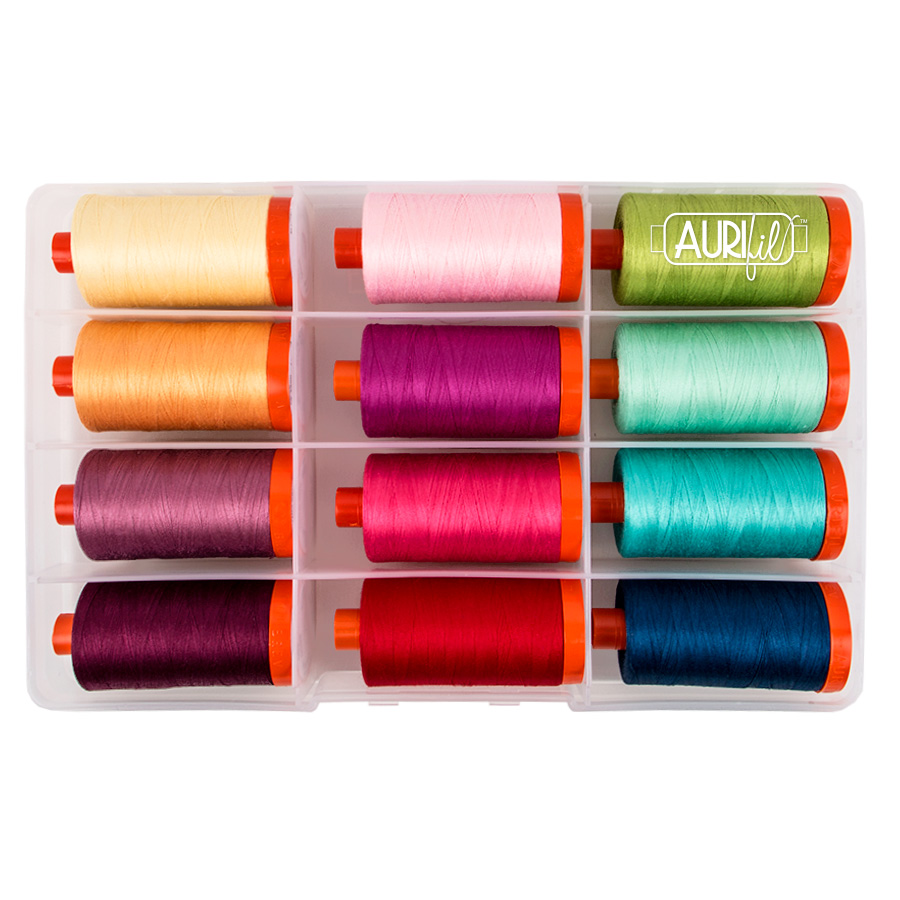
To win this set of 12 V&Co Simply Color Aurifil thread, visit the Aurifil website at http://www.aurifil.com/, check out Auriworld, see the designers and collections, or visit the blog, then come back and leave a comment on this post with your favorite Aurifil thread collection or designer, or if you decided to follow them via any of their social networks like Pinterest. International entries are welcome, Aurifil will ship anywhere in the world. You may leave a second comment and entry if you follow my blog and just say how you follow me. I’ll draw the winner on July 24th, so you have plenty of time to enter. Good luck!Update – Drawing has been held and the winner has been sent an email.
 MORE FUN!! Hop over to Confessions of A Fabric Addict to see more Christmas In July ideas, begin a quilt along for a Christmas quilt, and see the other bloggers on the hop over the next 12 days. Lots more projects are planned for the hop you won’t want to miss. Fellow blogger on the hop today is Sharon Vrooman who has another Christmas project – click on Vroomans Quilts to see the feather trees.
And come back here for more ideas throughout the house tomorrow. Linking up with some of the great parties on my party page. Also sharing at …
Bag It! at Elm Street Quilts Bag Tutorials

Honestly…I love the bright bold colors of this V & Co Simply Color thread! I can see using each and every color to the very end of the spools!
Love all the bright colours of thread- would add a new dimension to quilting
Thanks
How fun is this!?!? You are very organized to be thinking ahead to Christmas!
I love Aurifil threads… a consistently high quality product.
I just bought another huge cone of white and have2 boxes of their threads… love em!
I am doing their BOM this year only making my version in red instead of blue.
I like the V & Company thread set that you have featured in this post. I follow Aurifil on their blog and instagram account.
Thanks for the great pattern! I love using these for jewelry when I travel! I never thought of using it as a sewing kit!
I love Tula Pink’sPremium Collection because I can’tget enough of variegated thread. So awesome! Amfollowing Aurifil on Facebook and Instagram. Many hanks for the chance to win!
Just ordered some Tula Pink fabric. This thread is so enticing. Since the day you blogged this I did order some Aurifil thread to try. I’m looking forward to checking it out.
I love the Tula pink ultimate collection and I’m following on Instagram 😊
I love the looks of Seashore by Tammy Silvers.
I follow you, Cariole, via email.
My favorite Aurifil designer is Pat Sloan.
I follow your blog via e-mail
Pingback: August OMG and Aurifil Block for July | The Bias Edge
Great bag! Thanks for linking up with Elm Street Quilts Bag It event!
Love the bag. Great tutorial. So easy to understand. Thank you so much. Really appreciate the effort it takes to post such a great tutorial!