
I guess I just can’t leave things alone. I had some of the heat resistant fabric left over from recovering my ironing board, and making a few potholders. It was a large enough piece to make a pad to carry for using my little Clover iron, or maybe my little travel iron. And I still had some of the sewing print left from my other projects – Sewing Kit, and Matching Sewing Goodies. Anyway, I had this little bit of checkerboard I made some time ago and haven’t put into a project.

But it wasn’t big enough to do anything with. I got out the two fabrics that I have been working with for the sewing kit, (and the other little accessories) and cut strips to make more squares.
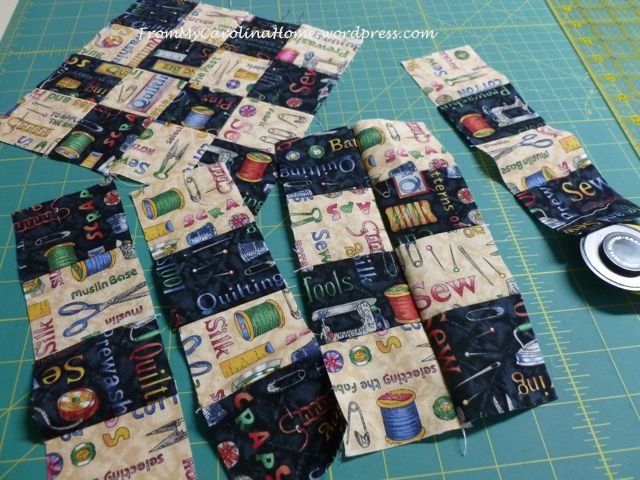
Eventually, I got this to just about the right size. When the ironing pad is finished and rolled up, you won’t be able to see a fancy block, so the checkerboard fit the project.

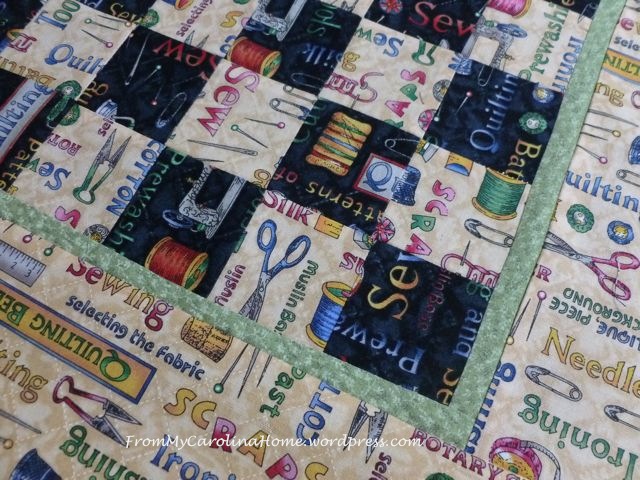
Now the choice, do I continue to make the checkerboard pattern to the edge, or just to add some borders? I think if I make the borders extra wide, then I can cut it to size after it is quilted so the edges will be straight. So I added a green thin border, then a wider one in the light print.
Now that I have the ironing mat outside completed, it was time to load it on the longarm for quilting.
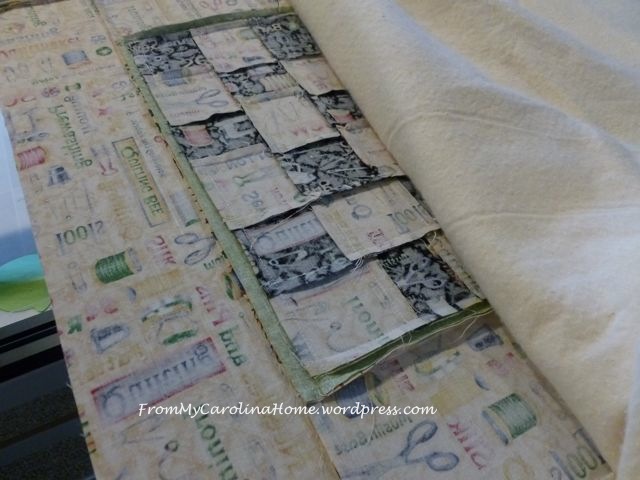
I made the borders extra wide, as they are serving as the backing for quilting the mat. I layered three batting layers on top. Two regular and one flame resistant in the middle.
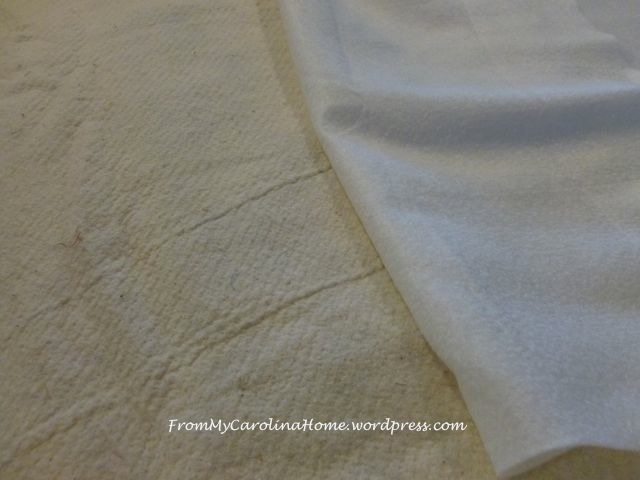
Now, how to center that heat resistant fabric. I put a pin in the middle of the heat resistant fabric and pushed it through to the bottom, checking to be sure that it came though in the center of the piecing, adjusting the position of the whole piece as needed..

Then, I stitched down the top, bottom and sides, and began quilting with a curvy pantograph. I wanted it to be different than the pre-quilted stuff. After all, if I am going to spend this much time on it, I want it to be clear I made it, LOL!!

It is looking pretty good to this point, so that’s enough for one day. Now on to Part Two!

the board/ ohhhh I have to come back…well that is a plan..like your other wee projects too….
i love your little pressing mat and i am sure it will come in handy. I just went and looked at your binding tutorials and that is a wonderful method. Got it bookmarked to look at when I do my next one. Thanks for sharing from the Carolina foothills!
We are a little higher than foothills, Helen! My Carolina Home is in the mountains. The header view is the mountain tops across miles and miles. We live on the side of a mountain and overlook another ridge and valley.
What is the finished size of your mat?
Good question! Since I was limited by the size of the piece of heat resistant material, I didn’t pay any attention. So, I just now measured it. It is 15 inches top to bottom, and 22 inches wide. Thanks for asking!