
Last post, I did the tutorial on how to Pin Weave fabric strips with cording. Today, we’ll use those to make the bag. I’ll give you the entire supply list today too. Before we get started, a couple of commenters on the last post worried about the cording being loose, and possibly catching on things. I have been carrying this bag to shows and meetings for four years now and never had that happen. But, if you were concerned about it, you could zigzag stitch them down, or use smaller intervals and strips.
Supply List
11 Jelly Roll strips (WOF strips 2-1/2-inches wide)
2/3 yard coordinating print for lining
2/3 yard lining fabric cut two pieces 18×20
2 skeins perle cotton cording
1-1/4 yard paper backed lightweight fusible web like Pellon Wonder Under
2/3 yard batting – cut 2 strips 1-inch by 20-inches, and 2 pieces 18 x 20 inches each
Optional, hook and loop tape for closure
Using 9 jelly roll strips, fusible web, perle cotton and batting, make two pieces of Pin Woven fabric approximately 18×20 inches. See my Pin Weaving tutorial for step by step instructions. Do not worry if your dimensions vary a bit, it won’t matter. My actual bag ended up being 17×22.
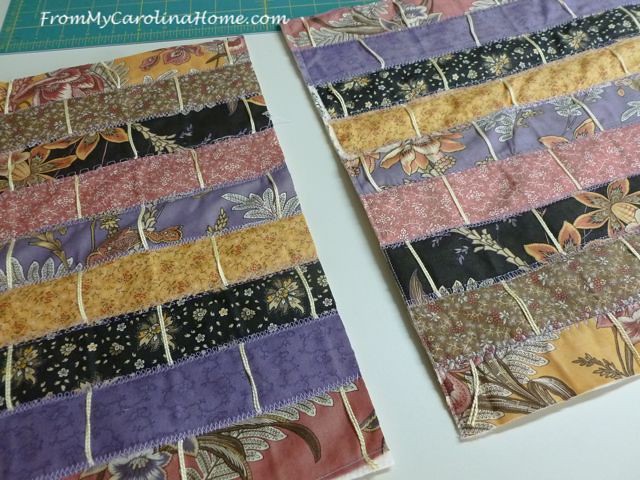
Make sure that both the front and back are exactly the same size. Cut two lining pieces this same measurement from your coordinating lining print.
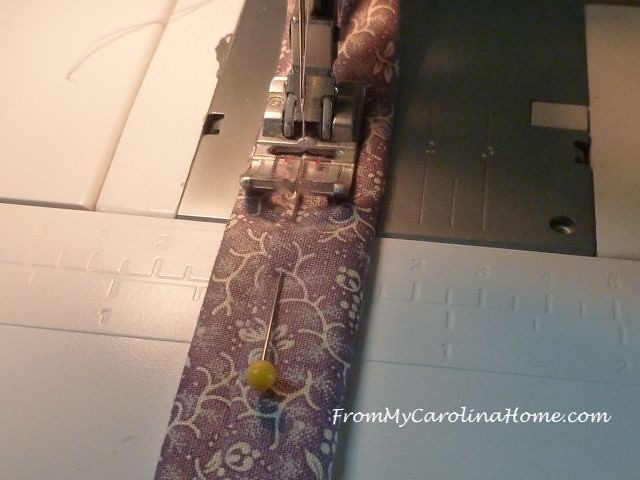
To make handles, remove the selvedge edge, and cut one reserved jelly roll strip in half crosswise. Turn under 1/4-inch on one long side of each strip to the wrong side. Place a 1-inch wide batting strip in the center of the wrong side of the strip.

Wrap the raw edge over the batting and press.

Fold the folded edge over the raw edge to the center of the handle, covering the raw edge and press.

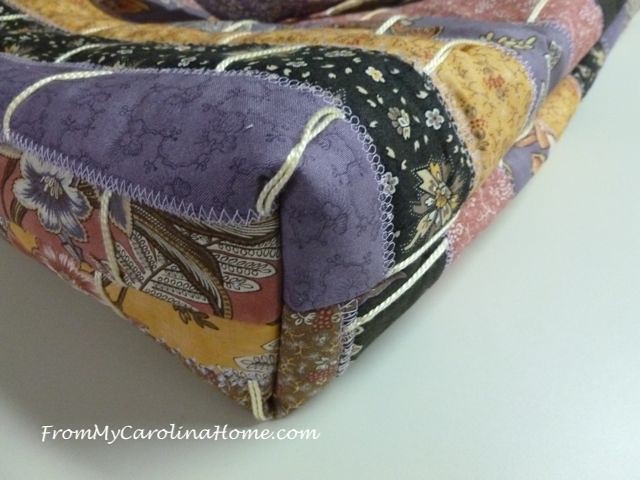
Sew a line of stitching along the folded edge securing the edge. Sew additional lines on either side creating three lines of stitching for handle strength, and decorative interest.
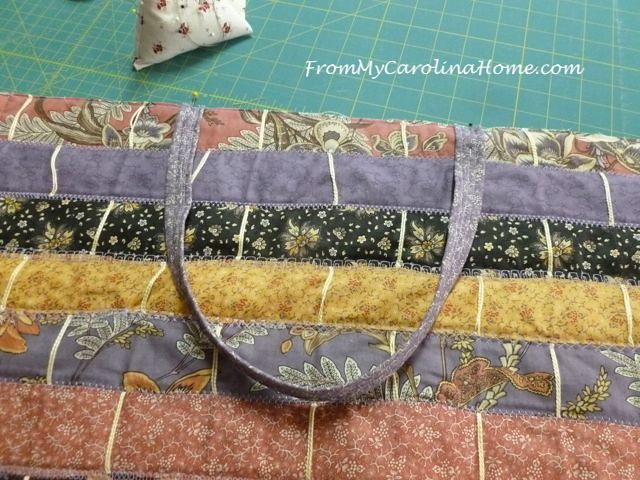
Place the handle edges six inches in from the sides on the long side of the top, seam side up (right sides together). Stay stitch 1/4 inch from the edge.

Do the same for the other end of the handle, six inches in. Repeat for the handle on the back.
Place front and back right sides together. Sew with a 1/2-inch seam on the sides and across the bottom. You can see the decorative stitching I used on the back.

Box the corners by aligning the seams on the side and bottom (right sides together), creating a triangle. Then, measure two inches in from the point, and draw a line across the corner.
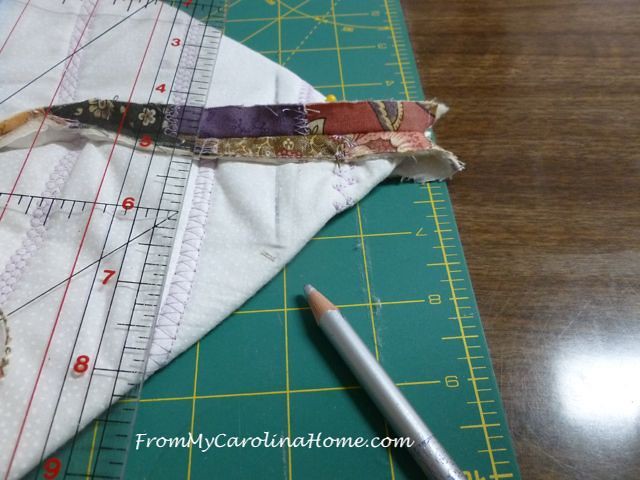
Sew on the line.

Repeat for the other corner. Turn bag right side out.
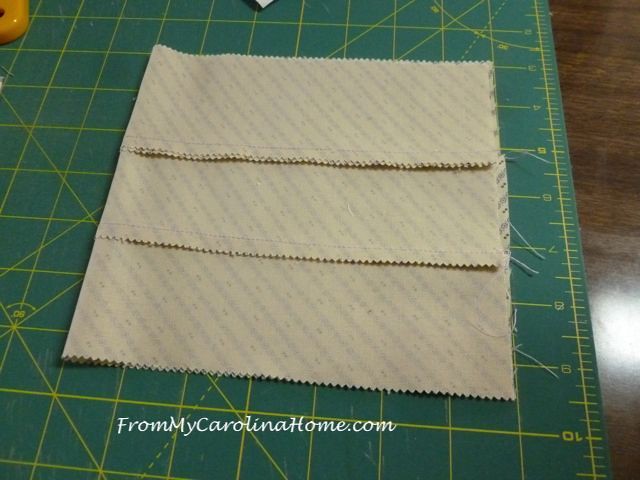
If you’d like a pocket inside your bag, now is the time to make one. I did mine using one jelly roll strip set aside for pocket. Cut three sections 14″ long. Sew together on long sides. Fold in half, wrong sides together to make a pocket unit 7″ x 6-1/2″. Sew across the top, down the side, and across the bottom, leaving an opening on the bottom to turn. Clip corners, turn and press. Or just use a scrap of fabric left over in the size you like best.
Center the pocket unit on one lining piece, about 4 inches down from the top edge. Sew by topstitching along the sides and across the bottom 1/4 inch from the edge, catching the opening used for turning as you sew.

Place lining pieces right sides together. Sew the sides and bottom, leaving an opening for turning on one side, and leaving the top open.

Box the corners of the lining in the same manner.

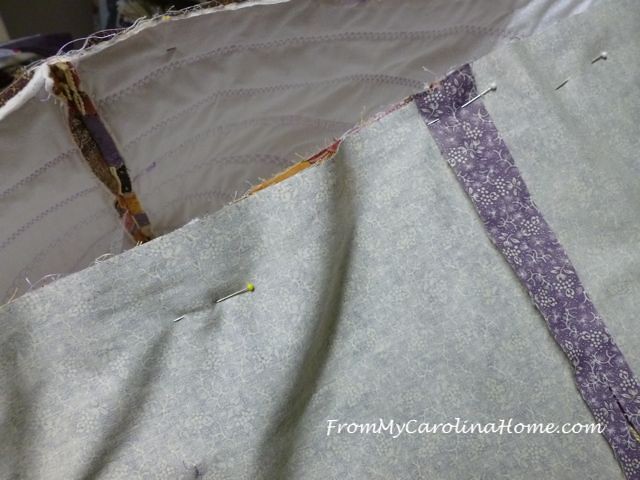
Place the bag inside the lining right sides together, matching the side seams. Pin the top edge, and stitch with a 1/2-inch seam.
Turn bag right side out through the opening in the lining. Whip stitch or machine stitch the opening in the lining closed. Press the top seam.

Topstitch 1/4 inch from top edge.

If a closure is desired, center hook and loop tape pieces on either side of the inside at the top and topstitch in place.

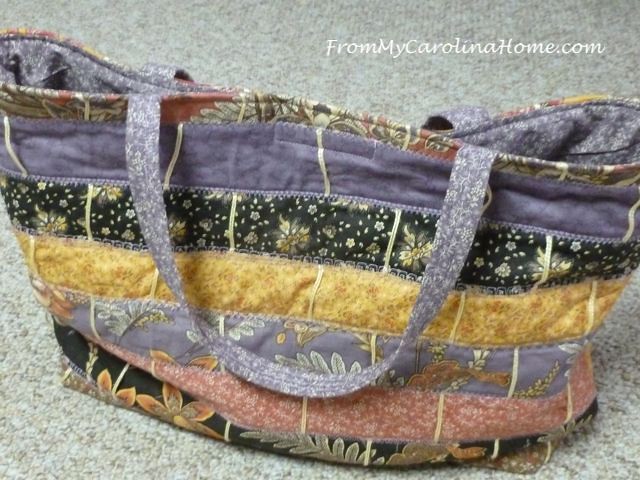
Enjoy your new tote!

This technique is fun to use on all kinds of projects. Use it on clothing, home decor like pillows or placemats, whatever suits your fancy. I did a jacket yoke with this some years back. What do you think?

The tote is certainly a handy & attractive item to make!!
Great tutorial…love the straps with batting in them! I have yet to make a bag…this might be the right pattern! Thanks!
What a fun idea! I’ll be saving this pattern!
For a person who doesn’t sew a stitch, this seems overwhelming, yet there’s that odd idea that with your fabulous step-out photos, I could actually do this! It’s a beautiful bag!