
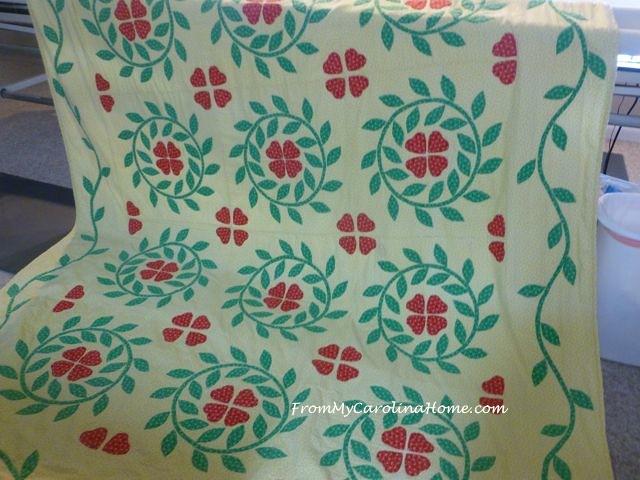
Repairing a well loved quilt is one of the things I really enjoy doing. Sometimes a quilt is just used to the point of falling apart, and really, what better tribute to a wonderful quilt than for the owner to wear it out? I’d much rather see that than a beautiful quilt wrapped in tissue and hidden in a drawer. Recently an applique quilt came to me for repairs, and I wanted to show a couple of techniques I used to give it more life.
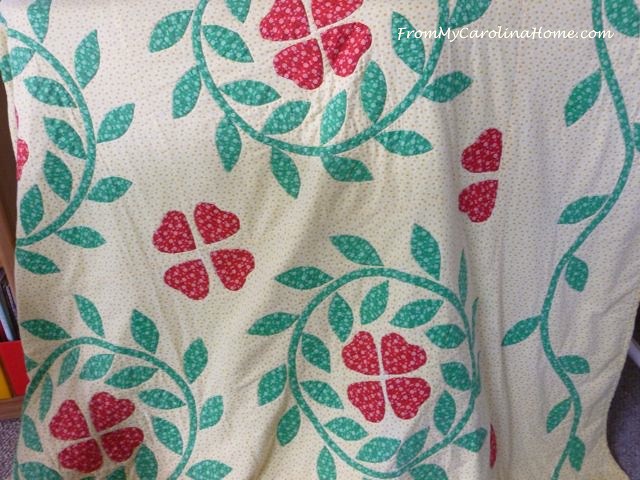
Beautifully made by the owner’s grandmother, there is love here in every stitch. I was delighted that the owner brought it to be repaired before it was too damaged. Getting to these rips early makes it easier to repair.
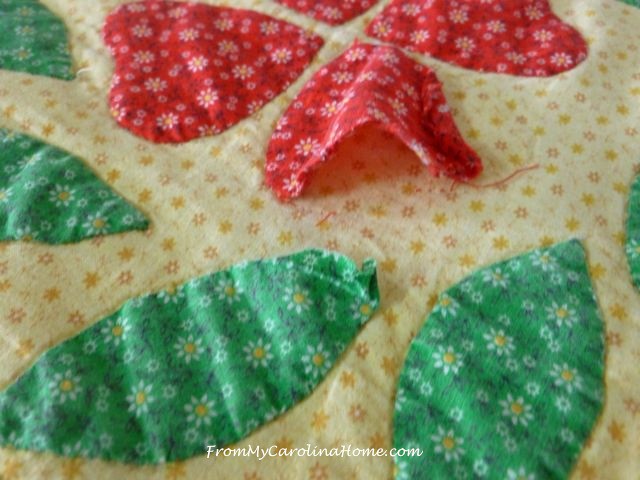
Some of the appliques were lifting up, but not too many.
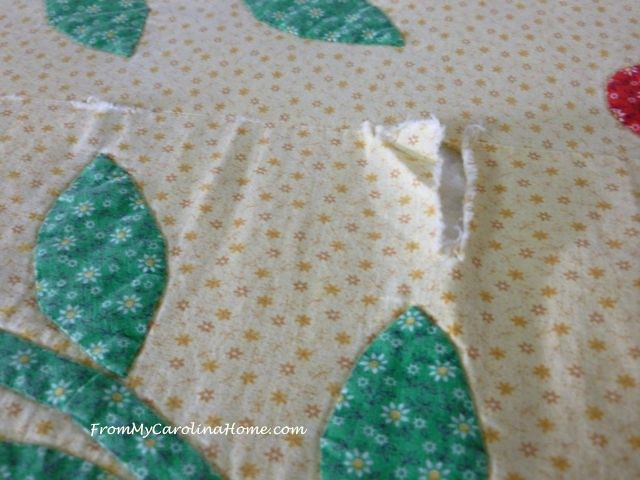
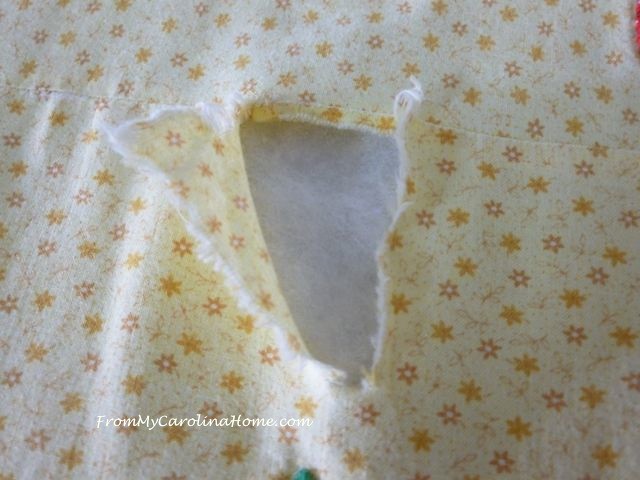
I began with the rips. First I ironed the sections to be sure there was still enough fabric remaining to support the repair. There was.
Next I cut a small bit of fusible web, making sure I had enough to cover all the ripped areas.
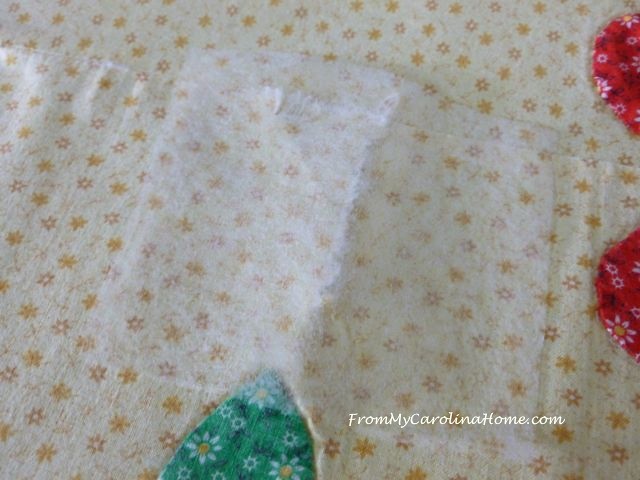
Turn back the edges and slip the fusible web under the fabric, and on top of the batting. I make sure that the webbing extends past all the ripped areas so the edges will fuse. The quilting wasn’t disturbed during this part, as the rips were not in a quilted area.
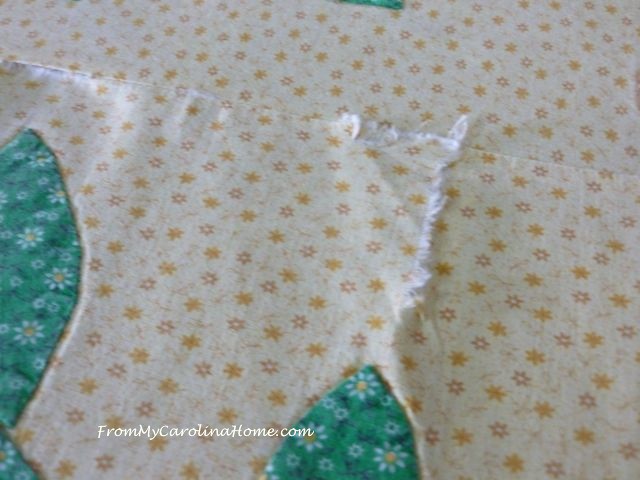
Press carefully, making sure the stray threads and edges are secured.

Now, satin stitch over the rip.
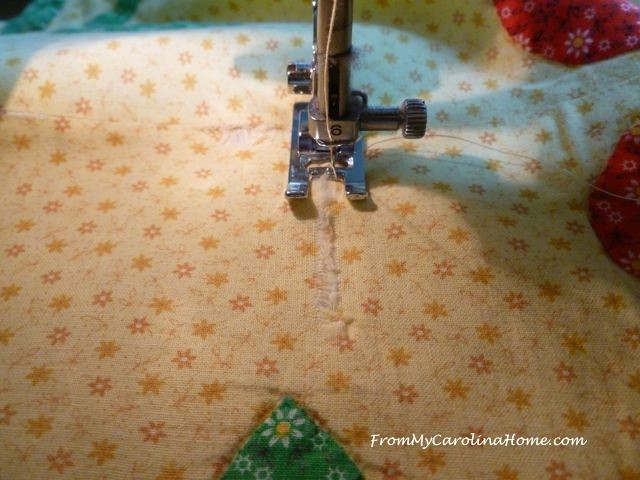
The webbing reinforced fabric is strong enough to stitch now, and the matching thread will make this hard to see at a casual look. It actually took us a minute to find the repair when she picked it up.
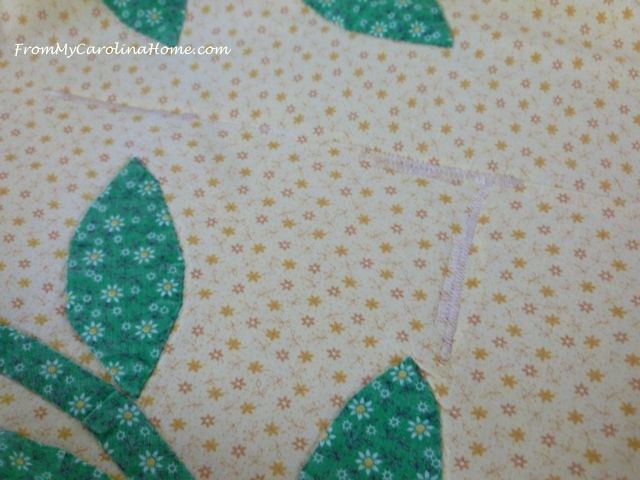
The appliques were hand stitched, being careful not to go all the way through the quilt. The quilt is hand quilted in white thread, with a white backing. I didn’t want any red or green thread to show. This quilt was so soft and warm, it was a joy to stitch on a rainy Sunday afternoon.
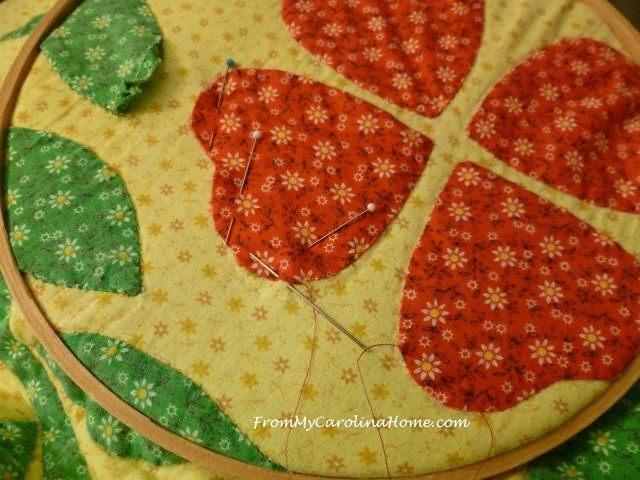
Since the appliques were already needle-turned, this part was relatively easy. I checked the rest of the appliques to be sure the others were still holding. All in all there were only about 8 that needed to be resewn. I’ll tell you a secret, I almost wished for more appliques to lift so I could work on it more, LOL!!

All done, and the owner was happy with the result. I advised her to have the binding redone at some point in the future as it is beginning to really wear thin. I did whip stitch a bit of it to hold for now. The great thing is she has lots of time to find the right fabric for a new binding that will keep the quilt usable for years to come. She can find something close in color, and wash it over and over, dry it in the dryer, and hang it in the sun until it fades to just the right shade and softens to the touch.
Do you have any well loved quilts?
Sharing…

What a beautiful quilt! Thanks for sharing your repair tricks.
That’s a beautiful appliqué quilt. Glad you were able to repair it for her.
Hello Carole! Such a lovely quilt. Glad that it came to you to be fixed correctly. I truly loved loved your tutorial on the steps involved in this process. I would never have thought to do that at all. So, I will surely be saving this as directions to follow. You did a fantastic job and the owner of the quilt should be quite happy. No, I do not have any quilt favorites of my own, I have given each of my quilts away. Have a great day !
Well done, Carole! It’s wonderful that the owner brought you the quilt to have it repaired. A lot of people would have dumped it, used as a drop cloth etc.
Such a beautiful keepsake quilt, and as you pointed out, it’s really well-loved and used as well, which is great! I have no quilted treasures to repair, but this gave me a great technique with the fusible web for other items – thanks!
That is some TLC on a quilt right there. You are very talented and patient to be able to do that repair work….and I am sure your friend is extremely grateful! The antique quilt is gorgeous!
Your repairs brought years of life back to this glorious quilt. I especially loved your hand stitching. Great job, Carole.
Great job.
LOVE the applique work, I’ve seen the pattern named Aunt Susan’s Rose? probably loads of other names. I had never used the web to repair like that, good idea. I would just hand stitch and catch the edges. Yours much sturdier! I have tops my grandmother did in the 50’s and early 60’s, never quilted, simple 9 patches mostly, and she used everything, including rayon and other non cotton fabrics that are now shredding, even just being in a cedar chest. The other issue is, some hand pieced, some on an old treadle, and the treadle ones tend to pull apart because the bobbin thread can be very loose. I’ve gotten old fabric off eBay so I can repair them, and it is just on my to-do list! One of our lovely older ladies here wears a cardigan jacket in the winter made from an old faded quilt, and I’ve been tempted to buy “cutter” quilts from ebay to make stuffed animals! I’m not sure I would be able to completely cut them, perhaps down to a table topper if there’s enough good area left. I do have a baby quilt I bought for a song that was falling apart, and I’ve almost completely repaired it, but it will be much smaller, used for display. Yes, use them, but at some point, preserve and display them somehow? I deeply offended an old girlfriend of my son when I took her shredded crocheted wubby that was falling apart every time she washed it in my washer (and clogging the filter!) and I bought matching yarn and re-edged and repaired it. I didn’t think to ask, just thought it was a thoughtful helpful thing to do since she still slept with it and it only took me a couple of hours after I found the pieces in my dryer! Oh well. She still has it, and it’s usable! She wasn’t right for him anyway, hee hee.
I have a quilt top from the 1860’s that has been handed down from one generation to the next. It’s in good shape but I don’t know what to do with it. Any ideas?
Was very interesting to see how you repaired the quilt, it would be wonderful to have something like that passed down from another family member. Well done on extending its life and usage.
Great repair. That’s why I decided I’d start making some applique blocks. The only thing is I’m not crazy about the prep part. Here, you had just the fun of sewing! =) I don’t have one quite that well loved, but I do have the one I made for my husband in the early 90s, I think it was. He loved it, and wouldn’t let me use another one, so it’s seen a lot of use. There’s one seam I need to restitch, but otherwise, it’s held up well.
I have a quilt that I made many years ago that I had to repair. Thankfully I still had some of the fabric that I could use over the rip. Now I make sure to keep scraps of each quilt together and labeled in case a future repair is needed. Your repair looks great.
Great job on this quilt repair. I have a few that need a lot of TLC to make them useable, but I keep putting it off.
Great job on the repair. You have given new life to a lovely old quilt!
Hi,
Beautiful quilt. You did an awesome job repairing it.
Have a great day!
This is a great approach. It is a method I would take. A few years ago at a quilt show, I came across a product called BoNASH. It is a “fusible powder”. At the time, I couldn’t see the point, ($$$$) but then, I didn’t have a need to fix things. I did however, buy their GREAT ironing board cover & iron cover. ( I have worn that cover out and WILL buy another 30×60 for my big board.
The method BoNash uses to repair a quilt involves making a patch to go under the tear, using their fusible, and then gently smoothing the fibers in the torn area over the patch to close up the area. You achieved much the same by giving stability to the area with a very light fusible and top stitching. BoNash can be ordered on Amazon, but comes with a hefty price tag. I think your method was perfect for the quilt you were repairing. AND a lot more cost effective.
Thanks for the wonderful instructions! I am a quilting newbie from a long line of quilters. I found some cow appliques that my mom cut out back in the 70s (originally intended to be a quilt for my brother) and made them into a 9 patch baby quilt for my brother’s first grandson. I liked the rustic look of stitching around the appliques with a straight stitch and letting the edges fray. I quilted around the cows and then stitch-in-the-ditch. Then in each square I quilted one big shape (circle, square, triangle, etc.) The poor little cows are ripped and coming off the quilt only a year later. Not sure if it was the old fabric, straight stitching instead of zig-zag, not enough quilting, or some other newbie mistake, but I am happy to have some guidance in patching it back up. In the meantime, I will stay away from the vintage pieces until my skills are up to par!