
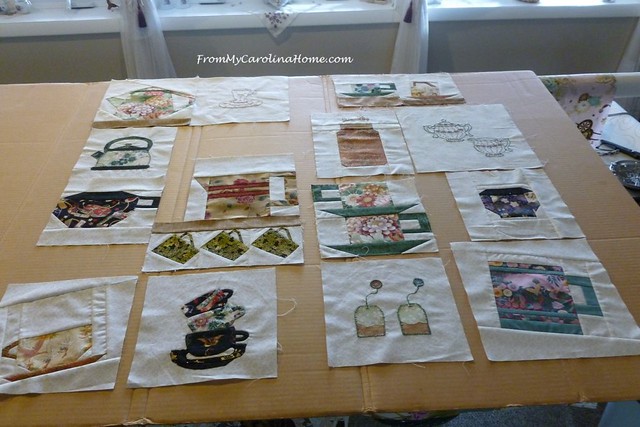
Now that we have 16 blocks, today I’ll show you how to put them together. I’m not going to give you a pattern for this, as your blocks will look different than mine. You may need to separate them differently than I have if your blocks have the same fabric on two or more blocks. But what I will show is the method or process to figure out your best layout.
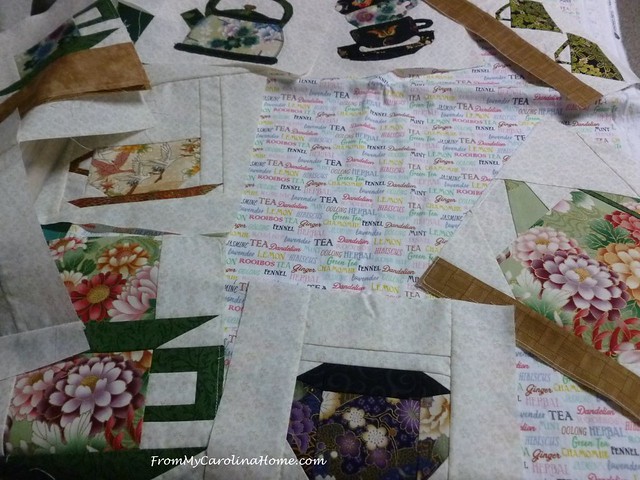
I thought I had found the perfect fabric for the fill-in bits, but the background was too bright of a white. I decided to tea dye it to make the color closer to the background fabric I used on the blocks. Tea dying is easy, just boil the teabags for about 5 minutes, then soak the fabric in the hot tea. The longer you soak, the darker the color will be.

I overshot the mark, and my tea dyed fabric is now darker than I wanted, with a pink cast I didn’t like. Ultimately, I thought this might be too busy after all, so it will be the backing.

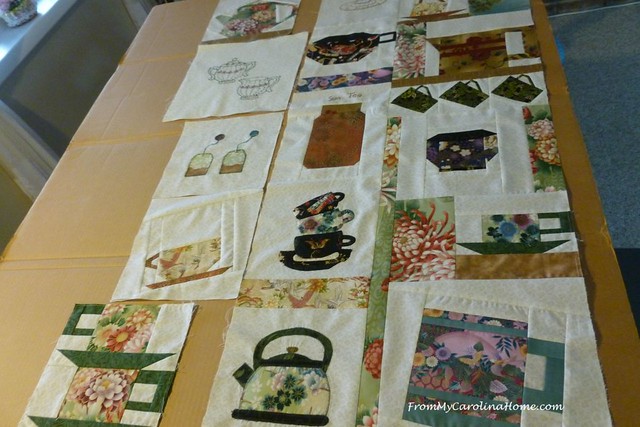
I began by laying out the blocks on a board so I could arrange the blocks to their best advantage. I wanted to separate the hand embroidered blocks, and be sure the fabrics on the teacups were distributed nicely, since a few were made from the same print.
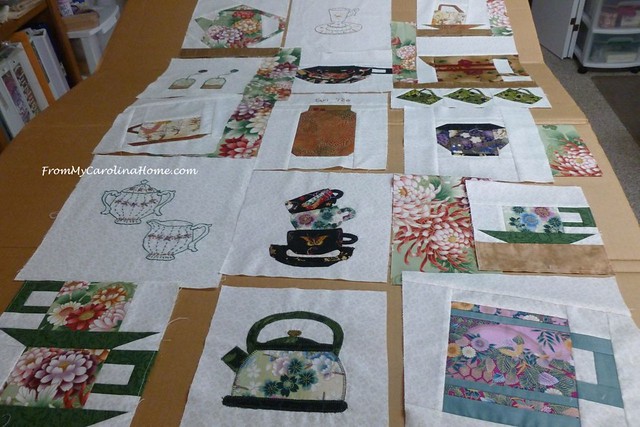
Pushing them together just a bit, I auditioned some Asian fabrics for fill in.

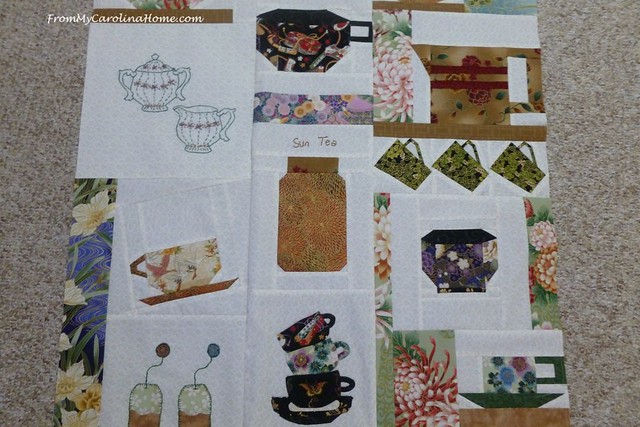
At this point, I realized the resulting finish would be nearly square. I wanted it for a wall hanging, so I rearranged in three columns to make the project more narrow and longer.
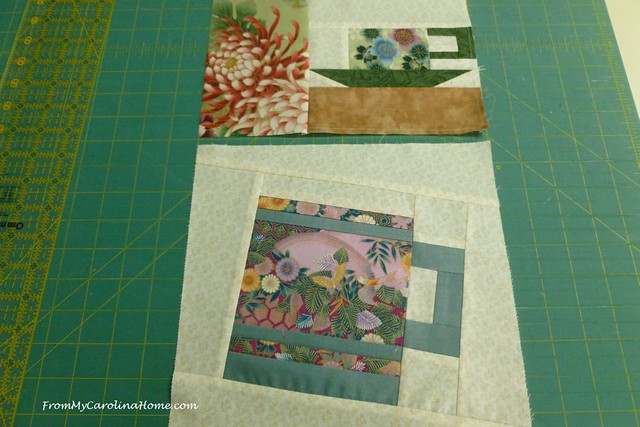
I piddled with it until I was happy with the arrangement. To begin assembly, I looked at the lower right angled block, and the one above it.

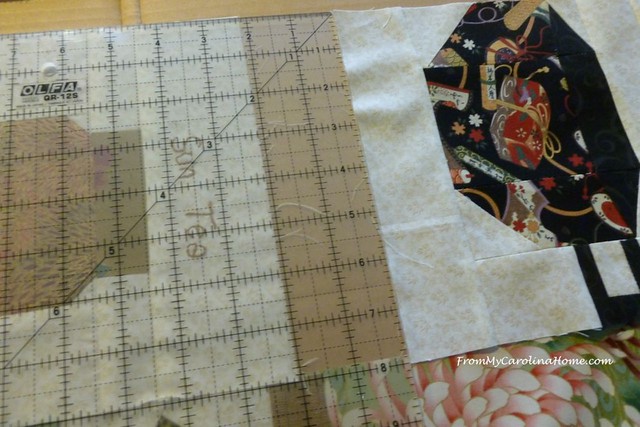
I measured the fill piece area, added 1/4-inch for one side seam, then sewed that to the teacup. This made the unit now the same width as the block below so I could sew them together.
Moving up the column, I did the same with the next block up.
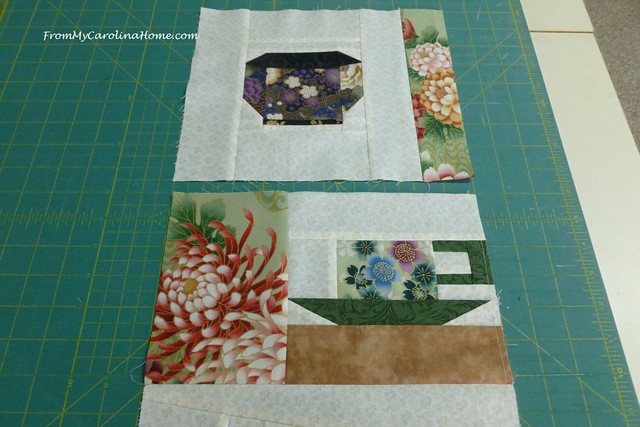
Then the next block with the three cups was wider. So, I added a strip to the left side of the three block unit, and sewed it to the three cup block. On top, the next block needed one fill strip on the left to make it the same size.

I started on the next column, as it looked like it was going to be longer than the first. Saving the top block on the first column for later meant I could adjust if needed. For these two, the easiest thing was to cut a bit off the bottom block to even up the size with the one above.
Switching the order, I added a small filler bit between, to break up the background.
The next two blocks were handled the same way.
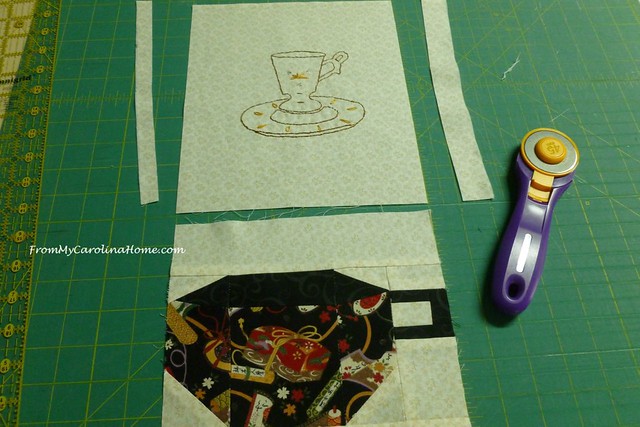
Lining up the top of the columns, and then the bottom of both columns, tells me how much filler I need in the middle, in this case 2 x 8 inches, and I’ll add 1/2-inch to the long side for seam allowance.
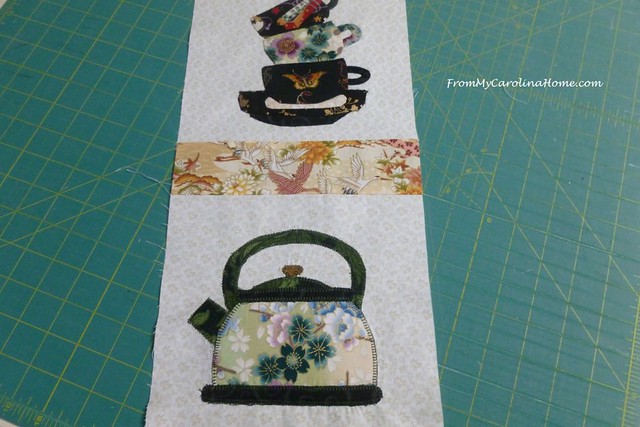
At the top right, I put a fussy cut crane from a wonderful print I received in a gift exchange over the holidays.

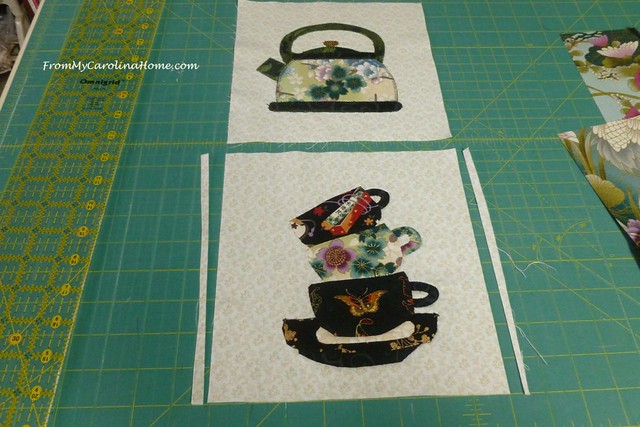
OK, so two columns done, and I looked at the third on my design board.
This time I began in the middle, sewing the teabag block to the angled cup, and adding a filler piece to match the embroidered sugar and creamer block.

I finished sewing the blocks at the bottom to the center unit so I would know exactly how much filler I could use at the top. I wanted to make another fussy cut crane filler piece on top in the size needed, using as much of the crane as I could.

All assembled, the top has two cranes with an embroidered cup in the middle.

Pieced and paper pieced blocks are placed around hand applique and embroidered blocks.
The prints are distributed too. The final flimsy size is 32 x 50.

You don’t have to use printed filler, you could use the same background fabric which would make the blocks float on the background. You can use lots of leftover bits from your scrap bag, or you could use the same fabric for filler throughout. It is up to you, and what looks best with your blocks as you lay them out. I hope you will share your progress on our Facebook group, Friends of From My Carolina Home.
Next time we’ll do borders and quilting. Are you caught up with all your blocks?
![]()
If you plan to do the Vintage Christmas Quilt Along beginning on the 27th, you’ll need Lori Holt’s Vintage Christmas Book for the block patterns. If you don’t have a copy, get yours soon, or see if your library has it. There are also some used copies available for less on Amazon – Vintage Christmas Book at Amazon.

This is so charming!
This project came together beautifully! So fun to see all the blocks together. Can’t wait to see the finish.
Your quilt is gorgeous! Thank you for this quilt along! Now to put mine together.
Looks great, I am way behind but it is on my list to finish!
Thank you so much for showing step by step how we can achieve irregular blocks in an attractive way. I have a Christmas quilt I need to do with this technique. And yes, I have Lori’s book and planning on doing the Vintage Christmas. Hoping it will come through on this blog – or do I need to sign up differently?
Lovely put together of these really cute blocks–nice work hugs, Julierose
Hi Carole…..love the look of the Vintage Christmas. Will we be using it a lot, or just frequently? Do you know how many weeks or months this Christmas quilt will take to complete the sections? Are you using all or just a few here and there? I have totally enjoyed TEACUPS, and I love the instructions for the completing it to the borders. This is a technique I have to learn, and I know your tutorial will really help with this. Thank you for guiding us on the TEACUP journey and adventure.
This quilt turned out so cute! Congrats!!!
Hi Carole! Happy New Year! I’ve been wanting to tea dye some fabric, so thank you for sharing your experience with it. How long do you think you should have dyed the fabric to get it to your liking? Also, do you have any tips for bleaching fabric so that it looks more antique and not so bright? Thanks in advance!
Nice job of punting away your first filler fabric choice. Isn’t that so hard to do sometimes? You can see it in your head but then things are so far off when you lay the pieces together! The top looks good with the new filler fabric.
Connie
I love the use of prints for your “filler” pieces. This quilt/wall hanging turned out really well. One of these days soon maybe I can make one.
As usual you aced it. Especially the embroidered ones (and the pieced ones and okay all of them!) Can’t wait to see the finished.
The next one – Lori Holt – the book is wonderful. AND it’s SPIRAL BOUND. Pure genius.
Hi Carole! Excellent tutorial on how you made your quilt top. It’s a bit like making a t-shirt quilt – same basic idea of filling where you need to. The fabrics you used are just perfect. If I had to pick a favorite block – don’t make me – it would be the teapot. LOVE that block and would like some tea from it right now, please. I also agree that the Tea fabric might have been too busy, but it’s ideal for the backing. Wonderful project all around. ~smile~ Roseanne
Somehow I missed a several of the teacups and would like to get them but couldn’t find where. Are they for sell?
Hello Carole, Thank you for a great tutorial on how to put the blocks together being that they are a variety of different sizes. I need to decide on a sashing fabric and then the layout. I also love the idea of making this a wall hanging just for me, it is something else I had not thought of. Before I start on this though, I need to finish the QOV Blocks I am working on for you! I am still having a hard emotional time after loosing Dodger. Thank you for everything you share in your blog! Have a great day!
These blocks are beautiful. ‘Wish I’d have joined in the quilt along. Looking forward to the Twist and Vintage Christmas.
Love the way you walked us through your process of putting these blocks together! Often, with these kinds of blocks, that can be the most challenging part!! Looking good!! I have that crane fabric!! I used it to make a divergent quilt and then appliqued 3 cranes on it!! It is beautiful!!
What a lovely wall hanging this will be!
Your quit is really lovely with those prints! I used this same technique of column-building for a t-short quilt I’m making. It worked really well.
I really enjoyed seeing your process of making this. I always like putting these puzzle blocks together, because it’s fun to figure out what goes where and how to fit in that favorite thing. Great job on this!