
Making cards is a really fun thing to do, sometimes nice to take a break from playing with fabric, and play with paper instead. I have some videos on stamping, and in December I watched a bunch of youtube videos on stamping and playing with different techniques. One of them was on using a stamp platform with a clear acrylic cover. I looked that one up and almost choked on the price. So, I looked around a bit more, and found this one. I let DH know, and Santa brought me a Tim Holtz Stamping Platform (affiliate link) for Christmas.
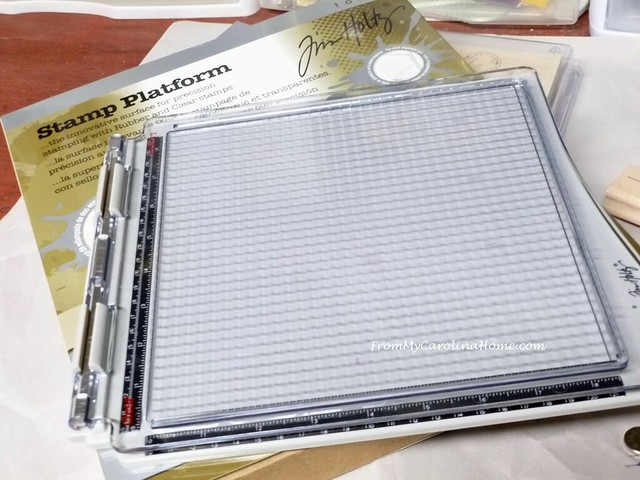
This is just a brilliant idea, new to me. The platform has a magnetic base with two rulers, one across the bottom and one on the hinge side. The ruler edges give a base to put the paper against, holding it straight. The little button magnets hold the paper still. The acrylic cover has two sides for use with the thinner acrylic stamps or the thicker rubber unmounted stamps. It disengages and flips around easily.
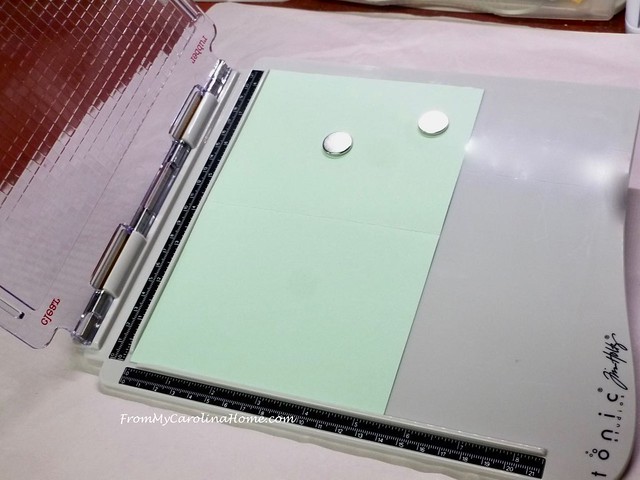
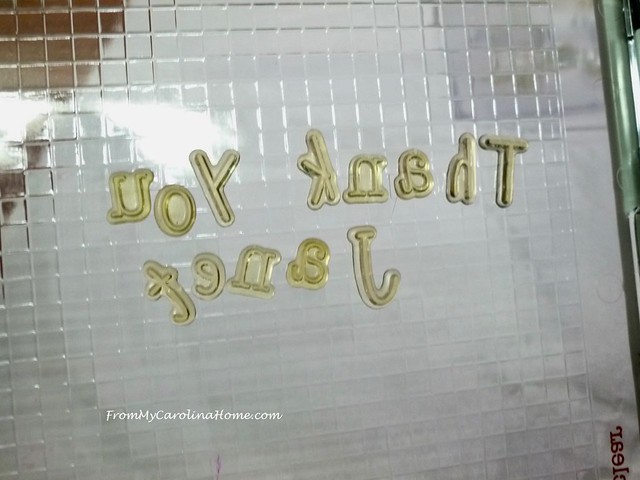
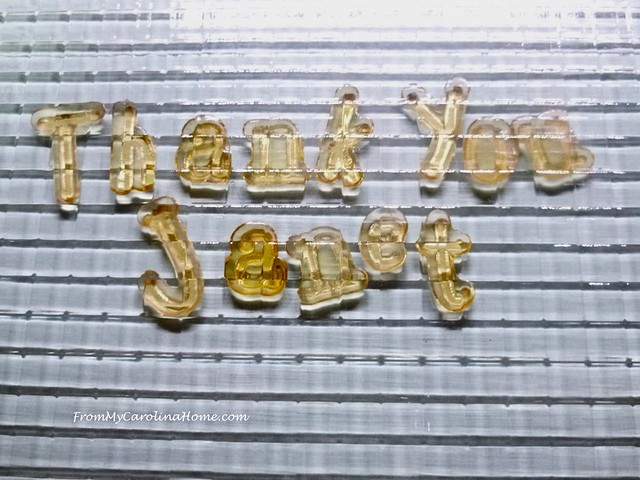
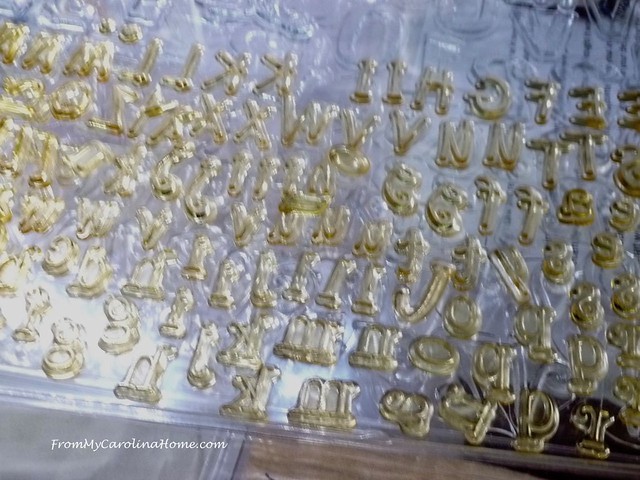
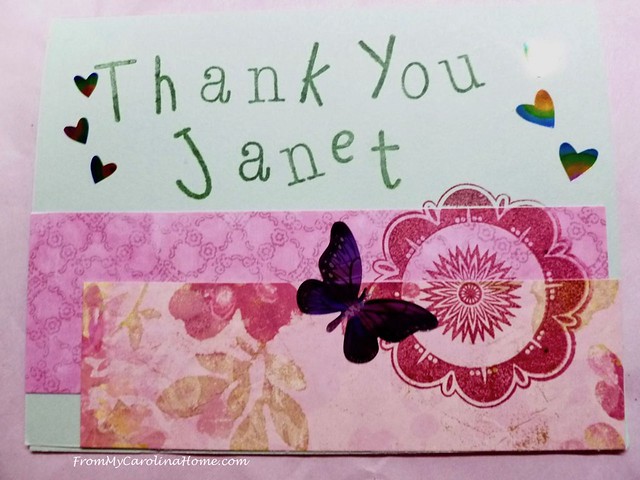
I pulled out one of the sets of letters, and spelled out a personalized greeting. How cool is this? I usually have a person in mind when I make a card, and I can now put the name right on the front of the card. The letters are arranged with the stamp side down on the paper.

Then close the acrylic cover, which picks up the letters.
Open the cover, and the letters can be adjusted easily.
I set closed the cover back down to be sure of the placement on the card.
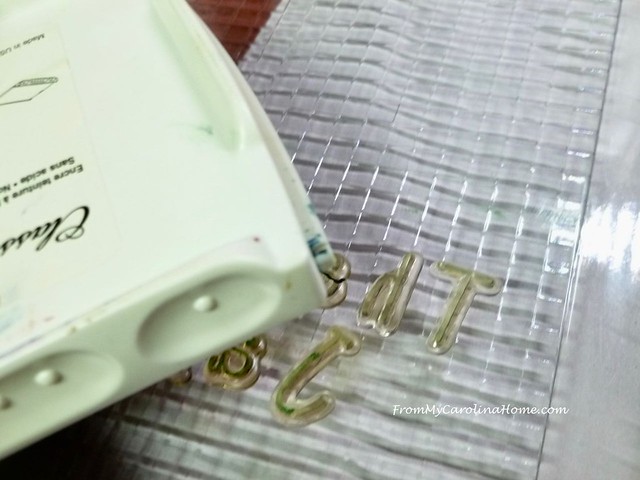
Opening it up again, I inked the letter stamps by bouncing the pad on the stamps.
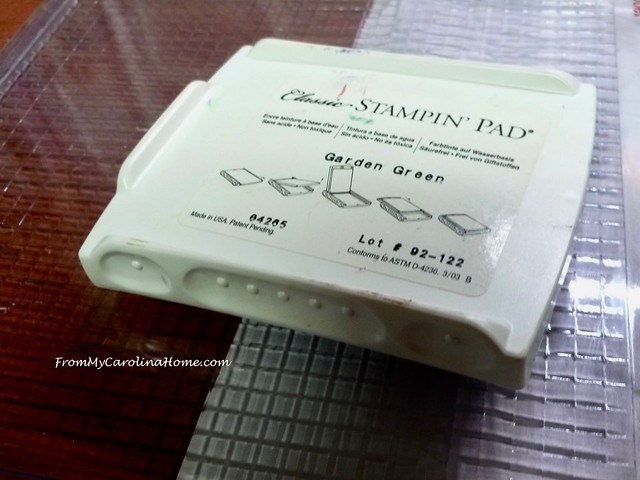
I used green ink this time.

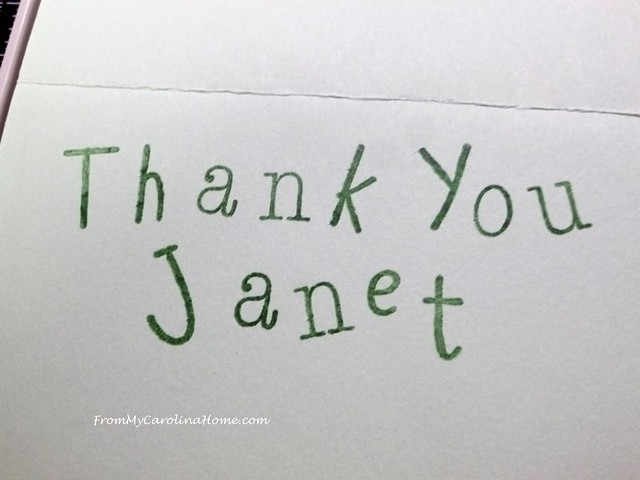
Close the cover, pressing on the cover to stamp the image of the letters.

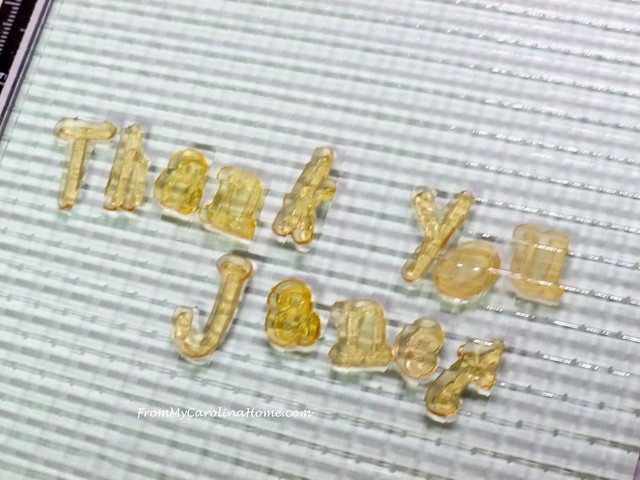
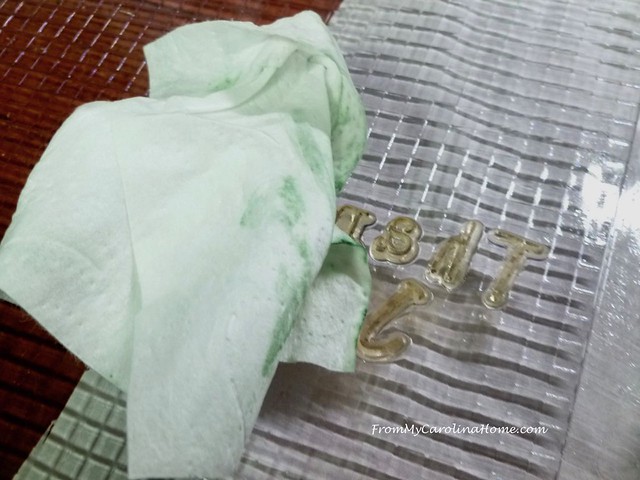
Now, here is the really cool part. See the ‘a’ and ‘n’ on ‘thank’ is not really stamped well? Those letters seem a bit light. The end of the ‘u’ on ‘You’ isn’t the best either.

Just re-ink the stamps and press again.
Look at that!! Perfect second stamp on top of the first one with all the letters clear.
Spritz the letters with water, and wipe clean with a cloth. I use moist towelettes.
Whoopee, now I can use the three fonts of letters I have to say anything!
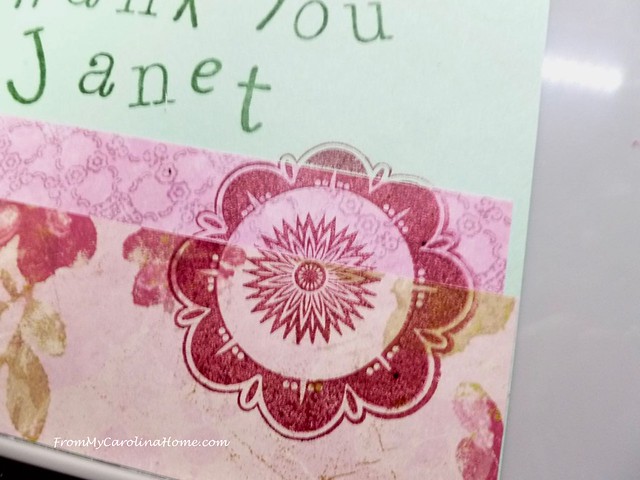
It also worked well with the two part flower acrylic stamp set. I pulled the outer flower, then selected a center.
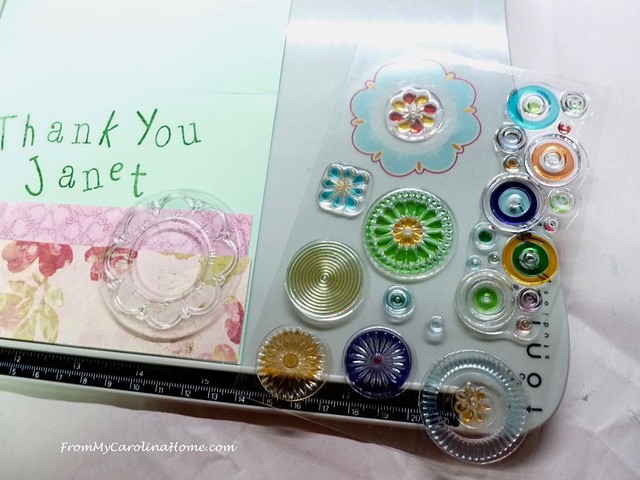
I arranged them together, and auditioned them in a couple of places on the card.

When I liked the position, the cover was closed to pick up the stamps.

This set was inked in red.

I got some ink on the cover outside of the stamp area, so used a moist towelette to clean that up before stamping.
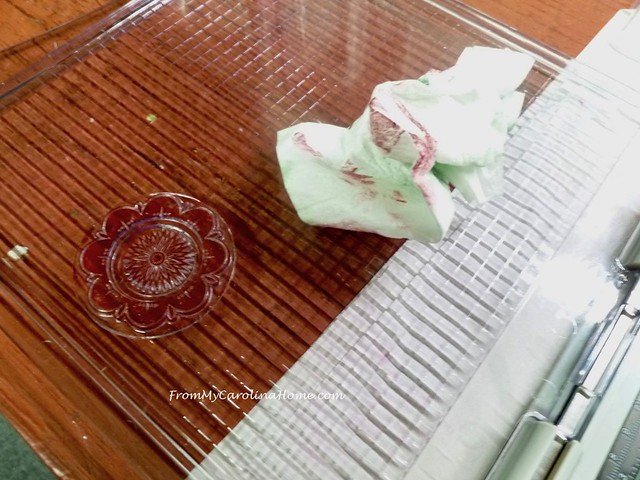
Close the cover, and press evenly.
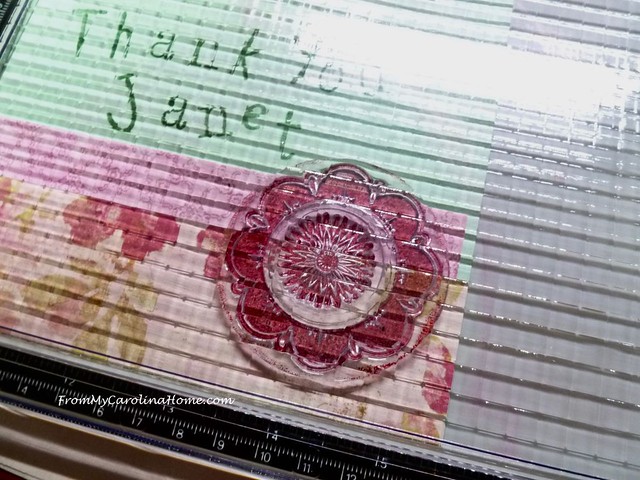
The flower crosses over the two papers and onto the green base.
A few stickers to finish it off and it is ready for my personal note inside.
So, my new Tim Holtz Stamping Platform (affiliate link) is a hit with me! Do you have something new to stamp with? What do you think of this technique?

How fabulous…..looks like great fun with controlled results guaranteed….tx’s for sharing!
I had one under my Christmas tree. I used to be the worlds worse stamper…not anymore! Now I am in the process of converting my wooden stamps to work with this new system.
I just love this!!!!!! I had to share it with my friend SJ who is a card maker, as well.
Hi Carole! WOWEE and great the heck out of town. This IS the coolest thing I’ve seen in ages. I just to do some stamping and stopped from frustration. Of course I still have all the supplies in a handy dandy wheeled suitcase that I haven’t looked at in ages. Well, this may just allow those supplies to come out of the closet again. Thanks for the post – I enjoyed it very much! Happy Friday to you. ~smile~ Roseanne
What a fun new toy Carole! I imagine there will be a lot more experimenting and playing with this Christmas gift from DH. Hobbies are not cheap, especially because companies are always coming out with bigger and better ways to make the finished project more interesting.
Oh wow I love this and was not familiar with it at all-Off to check on it thanks so much
I was just reading about the larger one and it says only good for the plastic stamps, one of the smaller ones says plastic or wood-rubber stamps–how do these stamps stay in place? t’hanks
This looks like lots of fun. Santa was so nice to you. Congrats.
Happy New Year Carole! Isn’t this platform fun??? I found one at my local Tuesday Morning for $12, haven’t put it away since! Wishing you many, many days of fun!!
Wow, I have seen this in stores. Very pretty and I love the new stamps.
I bet this is a lot of fun to use. I am always scrambling for the perfect card.
What a great gift! I have had mine for a while. I still use acrylic blocks, but like to use this too. And the price is much better than the other options. Your card turned out great!
Hi Carole,
Boy does this look like a fun toy. So many flowers to imagine! I have a Spirograph drawing kit I bought for my grandchildren years ago that is in one of my many closets around here somewhere I had forgotten about, bet I can come up with some ideas for some scrappy ideas on that as well. Thanks for the reminder
Have a great day,
Phyllis Smith
Hello Carole, Your new tool is wonderful and going to be so much fun for you in so many ways! Being the flower lover that I am, I really was excited for you with all of the varieties available to you. You are just going to be having a blast every time you use this new tool, especially with all of your other creative options! Thank you for sharing and have a fabulous day!
This looks like a great tool, now I’m trying to figure out how the cover picks up the stamps?
I have a slightly smaller one, not Tim Holtz and I like it, too. It’s great if you want to stamp a set of identical cards, too, to gift a set to someone, or to send out the same card to numerous people. It’s a very handy tool.
This looks like a tempting tool! I;m curious how it works with rubber backed stamps, without the wood, of course. The video on YouTube that I watched only showed the acrylic ones. I do have some rubber stamps that haven’t been attached to the wood, yet, so I wonder how they are attached to the top. I;m getting shakier as I age, and this would eliminate some of the shaking as I try to be precise. I;m making some Valentine cards, inspired by your card-making posts and it is FUN!