
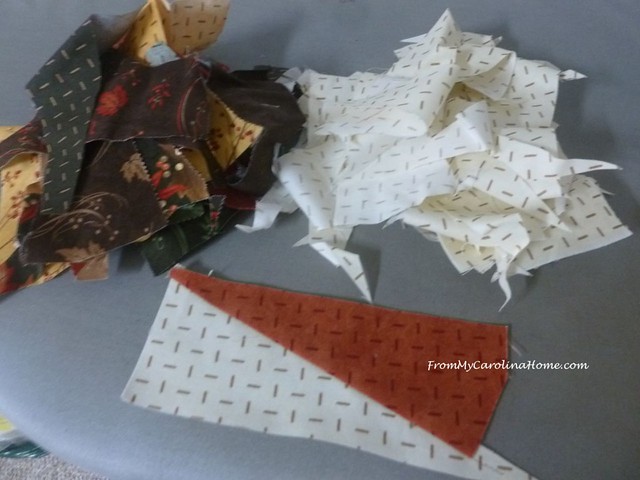
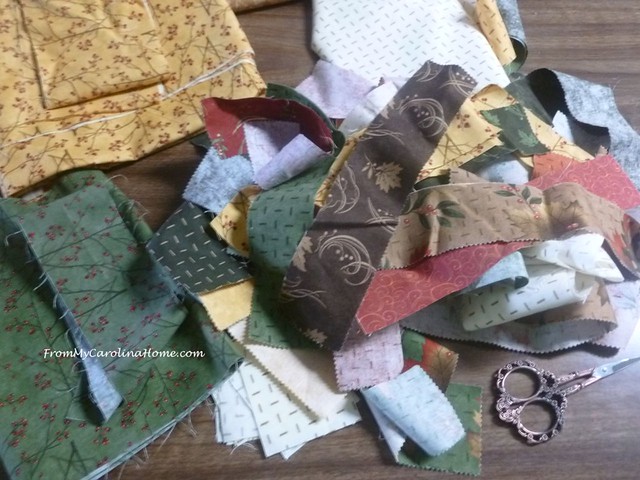
There were lots of leftover pieces from Square Dance, my latest mystery quilt along. I wanted to use them up in something. I was inspired by my friend Kathy, (who blogs at Kathy’s Quilts) who has done some really fun improv quilting.
I pulled a few bobbins with thread color leftovers I need to use up. I stack these on the machine, and use them in both the top and bobbin until they are gone. I free up several bobbins doing this every time I do a scrappy quilt.

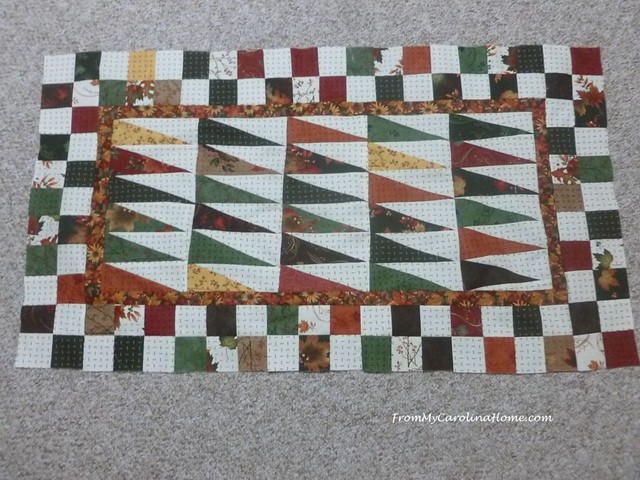
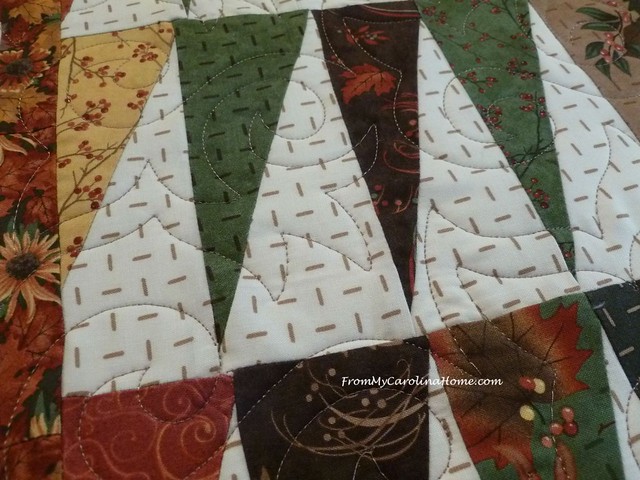
Beginning with the half rectangle triangles, each scrappy one is paired with a light one. I had 30, so I distributed the colors into five sets of six.

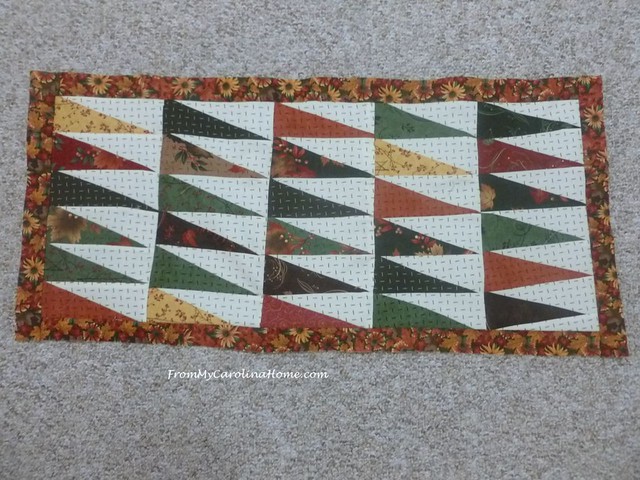
The HRTs were sewn together in rows of six each, then the rows were joined together. The one on the top left was too short, so I added a bit of the light to make the side come out straight.

I had just enough of this print in a cake layer and a couple of charm squares to make a thin border.
Going back to the scrap pile, it started to make sense to do this quilt round robin style. With the abundance of 2-1/2-inch squares, I had enough to do the next border with those.
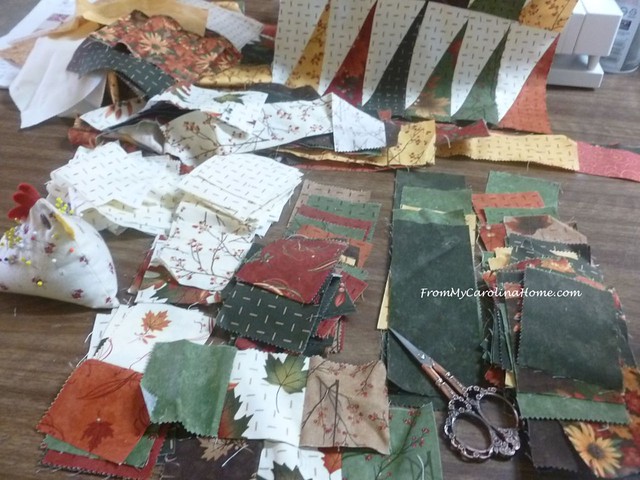
Checkerboard strips were created, using up almost all of the squares.
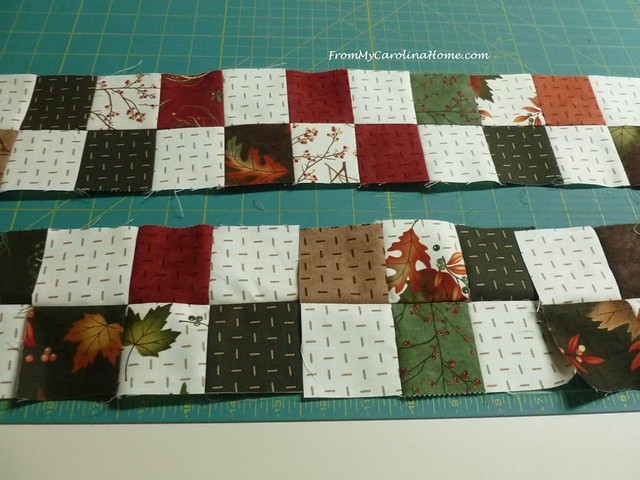
With just a little adjustment, they fit pretty well.
There was still a big pile of strips in various widths left. It seemed like a strippy scrappy border would work best to use these up.
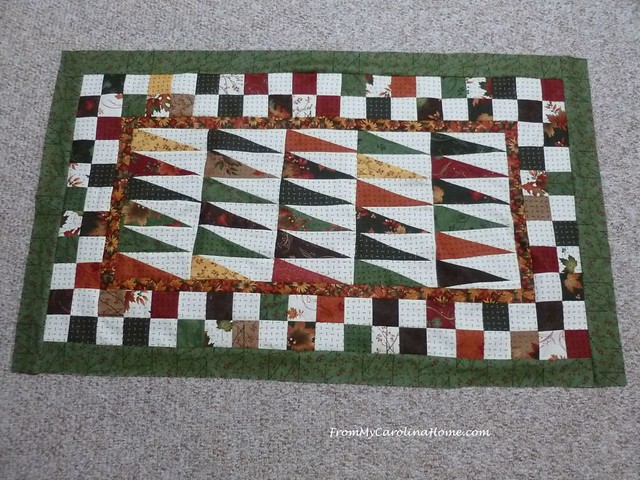
The quilt would need a break between the checkerboard scraps and the scrappy strips, and I had more of the green yardage from Square Dance. A two-inch border was added.
Then I sewed the strips in a random fashion, trying to distribute the lights and darks across the sets. I kept sewing them together until I had long strip sets. Then I cut the sets at 3-inches.
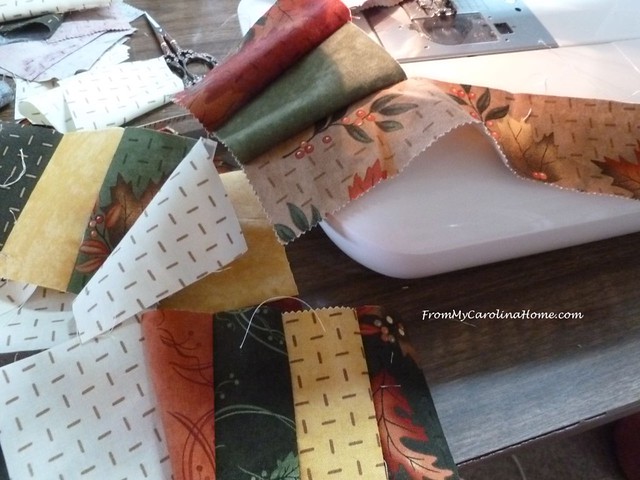
Doing a test fit, there were spots that needed a few more strips. Not a problem, I still had fabric bits left.

The strips were added, using the measure and cut method. The center is a bit wonky with all the bias edges, but I think I can deal with that. It became more important to get the borders accurate.
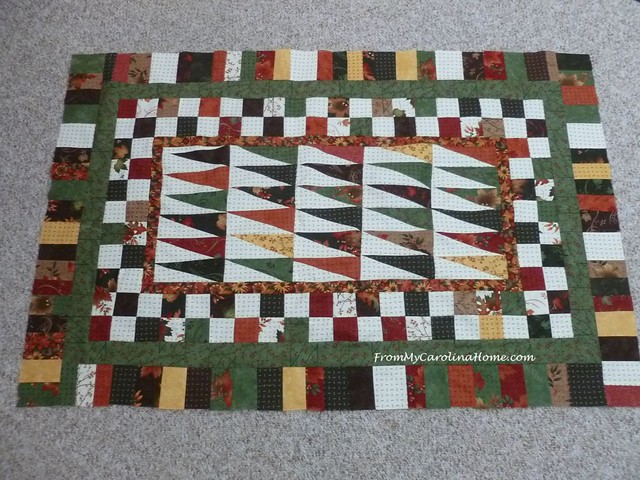
Using the Fibonacci sequence, I made the final border 5 inches wide for a nice proportion. The Fibonacci Sequence is a mathematical sequence that is found in nature and creates pleasing proportions. It is found by adding the last two numbers of a sequence together to get the next one. Starting with 0 + 1 = 1. Then 1 + 1 = 2, then 2 + 1 = 3, and so on. So you get 1, 1, 2, 3, 5, 8, 13 and so on. Picking out a sequence for the borders here, I have 2-3-5 as the three widths.

Loading it on the longarm, I used Warm and Natural batting.

I still have my Be My Neighbor quilt hanging on the wall next to the windows. On sunny days there is a lot of light in the basement studio.

I quilted it with a simple pantograph called Pipeline.
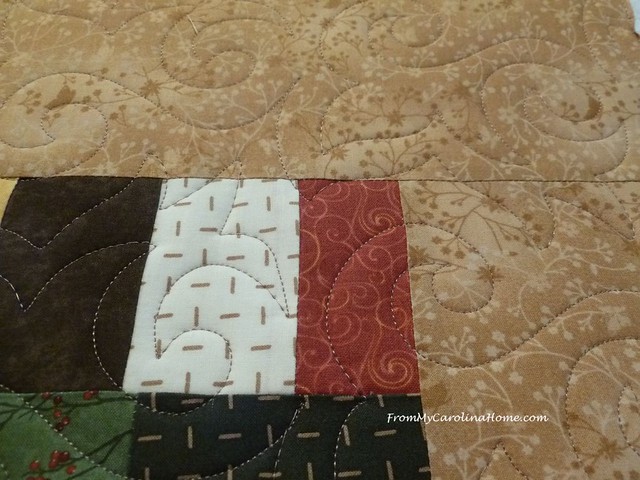
The top thread is Glide, with Bottom Line in the bobbin.
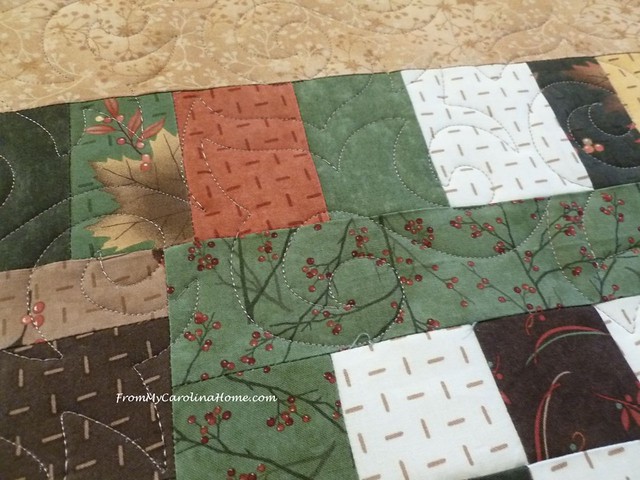
The color of thread blended well in the scraps and wasn’t overpowering on the lights.
All quilted and trimmed, ready to bind.

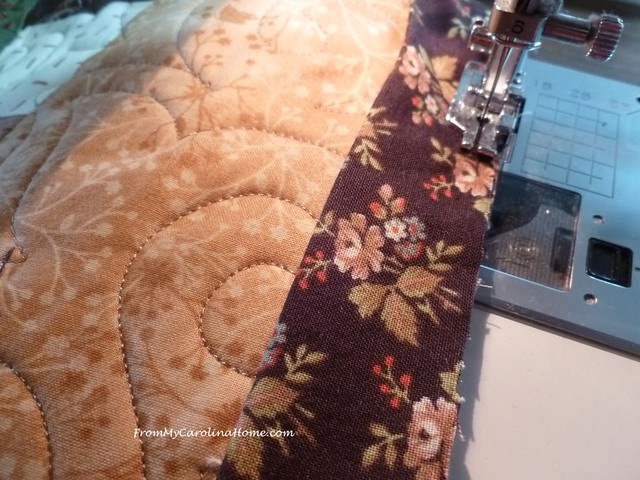
I made the binding with the same fabric as on the backside. I wanted this one to finish fast, so I did the whole thing by machine. I like this method of sewing on the front first.
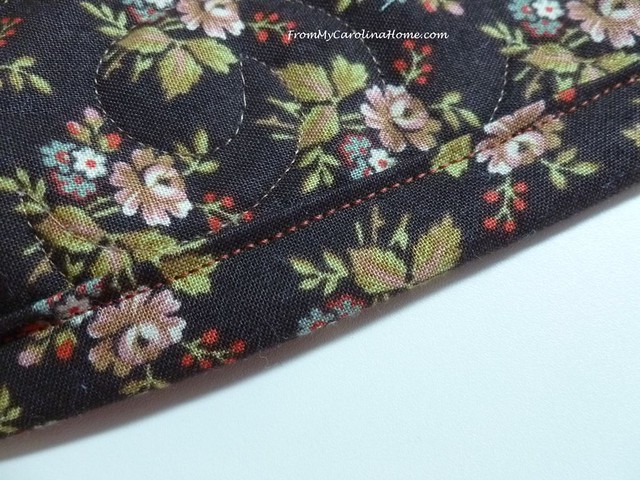
Then I turn the binding to the back, sewing it down very close to the folded edge.

Here’s why I like this machine binding method better than sewing on the back first and folding to the front. I am just not capable of sewing an exact straight line on the fold. I wouldn’t want this to show on the front.
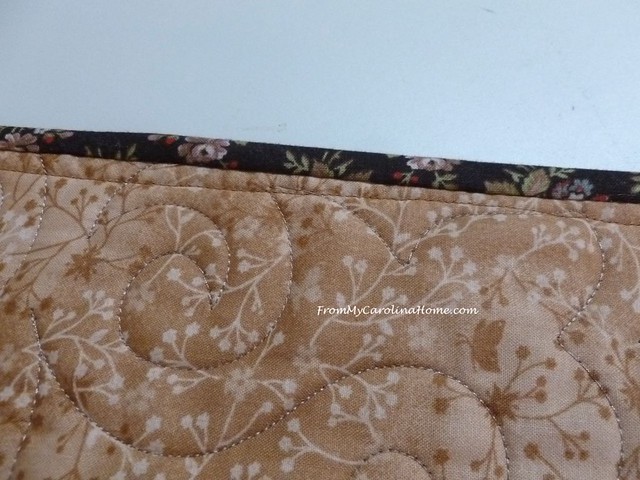
On the front, the line of stitching is in the border, which gives the binding the same look at the traditional method of hand whipping to the back.
In a jiffy, the quilt is finished, ready to donate. From a bit of distance, the binding is smooth and the stitching line in the border doesn’t really show.
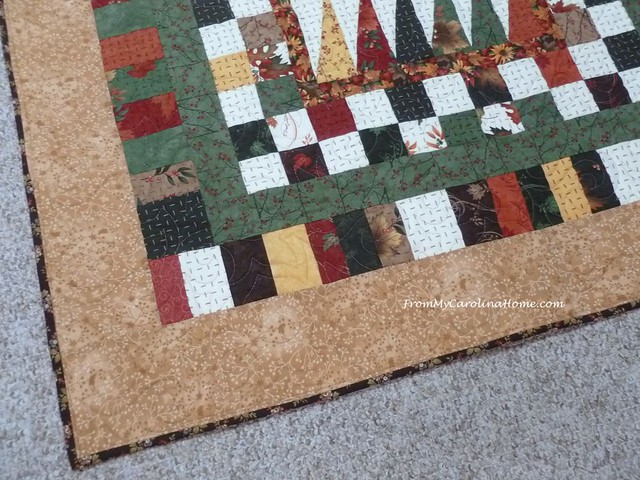
I’m sending this one to charity, just haven’t decided which one yet.

Have you ever done Improv Quilting?
Fat Quarter Shop’s Notion of the Month – Rotary Cutters and Blades 30% Off!!
Thank you for using my affiliate links when you can. See my full disclosure HERE.
Check out today’s Flash Sale at Fat Quarter Shop with my affiliate link.
Amazon FreeTime Unlimited Free Trial is just $2.99 a month!
Thought about becoming an affiliate for your blog? Click on ShareASale!

Great tip for using up those leftover odd bobbins. I also like your tip of using the Fibonacci sequence for the border. Once you put your quilt on the longarm, I could see it was much bigger than I was imagining. Is there a reason you use Bottom Line in the bobbin and not Glide? This is a very nice “bonus” quilt that will bless someone. Thank you for sharing all the details.
When I use a snowball technique on a square, I usually stitch 1/2” away to get a tiny HST bonus block. Can you do the same with half rectangle blocks? I haven’t made them, but might have to play with that one! I love the quilt!!
I like this layout along with the one Marsha Day did (photo on the facebook sharing group). I am looking forward to seeing MORE of the finished projects (or at least the tops….which is where I always seem to never finish!!) I guess when you are designing a project , from scratch, you are often left with “parts unused”. I have a bundle from a Bonnie Hunter project of “rejected pieces”. 🙂 This turned out nicely.
What a great method of getting all the extra blocks used, as well as many scraps! Creating as you go is fun, especially when the finished piece is so nice. Someone will be blessed with that quilt, the colors make it a warm hug!
Love the improv scrap quilt! Now I want to get playing with those scraps that I’ve already sewn together. I have a block idea that might work if I can figure out the math. So so fun!
How long did it take you to complete this quilt? It always looks so fast when all of the pictures are shown at one time. It was great to see your process. I might even be able to do that. I’m a direction follower. lol
It turned out so well. The colors are so pretty.
Wow, love it! But I didn’t have but 2 left overs, lol! I really love your quilts. I just got my border on so need to take a pic and put on FB site. Thank you sew much. sandy
I’m not as adventuresome yet other than a couple of dolly size random quilts, but I’ve done strip improv with denim, using my 9 inch square ruler, I did 9 inch wide pieces, putting other pieces on to make some as wide as 9 and then doing those together until about 7 foot long. Then I quilted as I sewed the long strips onto the backing, doesn’t require batting, it’s heavy enough, and I’ve used sheets for this as they are tight and the right sizes for a throw on the ground, keep in the car jeans quilt. I still have a HUGE stash of old family jeans…. I should be working on those as leader and ender projects, eh? But yours is prettier and a great idea for the pieces I’ve been saving, just have to do some color coordination…
I love reading about your quilt thought process. I didn’t know about the Fibonacci sequence. I’ll have to remember that when I want to use multiple borders.
You always have such interesting ideas, Carole! Thanks for the tip about the bobbins. I am down to two free ones, but have just never thought of using them up on a scrappy quilt project! In the past, when desperate for a bobbin, have just wound new thread over the thread in a bobbin..not nice! And thanks for explaining the formula for the width of the borders. Just a lovely quilt. Thanks for walking us through it!
What an ingenious way to use leftover cut fabric. One of my sewing groups makes lap quilts for the local hospital. Most of our fabric is donated and is various colors and sizes so almost all of our quilts are improv. The most difficult part is doing the math!
How big did the quilt finish? What a great way to use up scraps!
I just love it when you blog step by step instructions with photos. And you always throw in clever tips and ideas such as the stacking of bobbins to use them up on scrappy tops. I’d also like to thank you for the heads up regarding Amazon’s Big Deal Day.
Great idea for leftover pieces. I haven’t started the quilt yet., so hopefully I will have some left. Thanks for info on border widths. Nice quilting job as always.
Hello Carole; Your quilt turned out beautiful! It has been quite awhile since I have done any improvised scrap quilting. It can create such fun and lovely blocks or as you have shown entire quilts. Thank you for sharing your method with us and doing it so soon after finishing a focus quilt, because it really does save so much on time and waste of fabric scraps just taking up space until someone has the time or idea. Have a fabulous day!
Wonderful use of scraps, the quilt looks fantastic.
Oh my gosh, I love how this turned out!
You’ve been busy but this is striking!
That turned out wonderful, a great way to use up more scraps and we all need those kind of inspirations!
I love how your quilt turned out — great way to use scraps!
Beautiful quilt and what a fun way to create it! I always do my binding the same way!
What a great bonus quilt. I love everything… the improv, the use of scraps, the emptying of bobbins and the little lesson on Fibonacci. Thanks for sharing! 🙂
That was so enjoyable to read and see how you did this step by step. It came out really lovely, and someone is going to be very happy with it!
What an interesting little quilt! Love the scrappy rectangles and borders; definitely something from nothing. And putting Fibonacci to work for the borders…it had never occurred to me, but I’ll remember it in future. Thanks!