
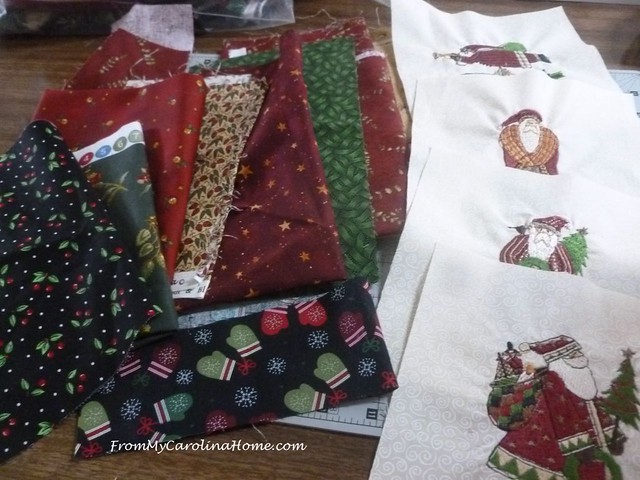
Today we’ll finish the sew along / embroidery project. If you are visiting from Sarah’s blog hop 12 Days of Christmas in July over at Confessions of a Fabric Addict, welcome! I hope you’ll consider following my blog, too (see the right sidebar for ways to follow). This past week was time to do your embroideries and trim them to 6-1/2-inches square, and also to cut the squares needed for finishing the project.
Sew 18 scrappy squares into 6 sets of three squares in a row. Press to one side.

Sew a square set to the right side of each of the four embroidery squares.

This is a good time to mention a tip I frequently use – use the ends of bobbins as your top thread to use them up. When you are sewing scrappy, it doesn’t matter what color they are, or how many different colors are in a project. This will free up your bobbins for the time when you need the bobbin to be white, or black, or some other color.

Lay out 2×2, then sew the two rows. Sew a three-square unit to the left side of both rows. Press towards the scrappy squares.

Using the remaining squares, sew three sets of 9 squares each. Position one of the 9-square units between the embroidered rows and sew. Sew the remaining two 9-square units to the top and bottom.

You will need to press some of those seams in different directions so they will nest with the ones already sewn. I press all the seams to one side, then pin to the project. Then I go back and press ones I have to turn in the opposite direction.

Center section completed.

For the inner border, cut two strips 1-1/2-inches x 18-1/2-inches, and apply to the top and bottom of the embroidery/squares unit. Cut two strips 1-1/2-inches x 22-1/2-inches and apply to the sides.

For the outer border, cut two strips 2-1/2-inches x 22-1/2-inches and apply to the sides. Cut two strips 2-1/2-inches x 24-1/2-inches and apply to the top and bottom.

Quilt as desired and finish with binding. Add a label! Next week I’ll show you how I quilted mine to deal with the puckers on the embroidery, and also the label I made with my new embroidery machine.

Here is a downloadable pdf with the whole pattern including fabric requirements and cutting from last week, and sewing instructions from this week – Christmas Embroidery Wall Hanging. This is a free pattern, and will remain free.
This project featured Christmas fabrics, but this same basic design could be done with Autumn theme embroidery and scraps, or flowers and spring scraps. It might be fun to do sewing theme embroideries with sewing notion scraps. Your only limit is your imagination!
What do you think of the project?
P.S. – There are a few items left on my Sample Sale, one has returned to available as the pending sale fell through when the requestor never got back with me.

Great Wallhanging design Carole, and does look so versatile! And thanks for putting all together in one set of instructions for us!
that is a good idea to use up bobbins that way I never think of that and have I could use
Your embroidery work is lovely. Nice job.
Great way to incorporate embroidery designs into your quilting patterns. Very cute! I see myself doing more of these type projects in the future. I have so many fun designs to stitch out! Thanks for the pattern setting idea.
Thanks for the bobbin tip!!! I usually just use them as bobbins while sewing scrappy but now I’ll try using them this way too!! Your embroidery work is gorgeous!!
This is such a nice idea for Christmas and any other season or topic you’d like to recognize. Now that I have an embroidery machine, I’m inspired to try this idea for a placemat too.
That turned out so cute! I love patchwork combined with embroidery. I don’t have an embroidery machine, but I sure do enjoy hand embroidery. It would be fun to make something like with some Christmas-y designs that I stitch myself.
Looks so wonderful, Carole! *Almost* makes me wish I still had an embroidery machine, but not quite. I think the fabric patches would look great, too. I don’t have bobbins to empty. I almost never sew with a color. Even when I had a longarm, I didn’t have many bobbins left, and had dozens and dozens of bobbins. Paul made a great wall-hanging board where I could stack them up and use them when needed with a color the next time.