
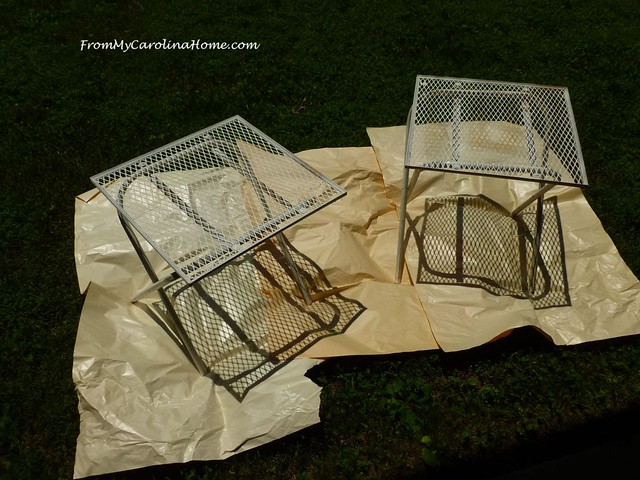
On one of my recent estate sale forays, I saw these little metal tables. I didn’t get them that day, but I kept thinking about them. Since it wasn’t that far out of my way, I went back while I was out the next day. They were still there and priced half off. I had this project in mind for them. It took a few days to find a sunny day to do the project, then a couple of days for paint to dry between coats, but the result was worth the effort. First step was to scrub them clean, and remove the crumbling plastic tips.

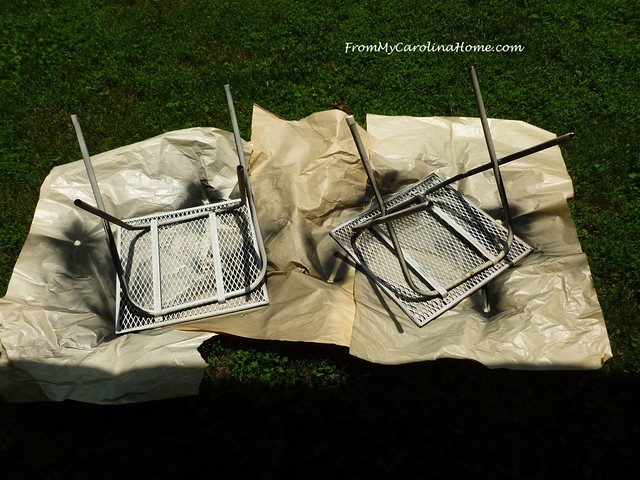
I took them down to the lower level grassy area, put down some paper to shield the grass and set the tables on top.
Using a rust preventing black satin spray paint, I began with a light first coat.
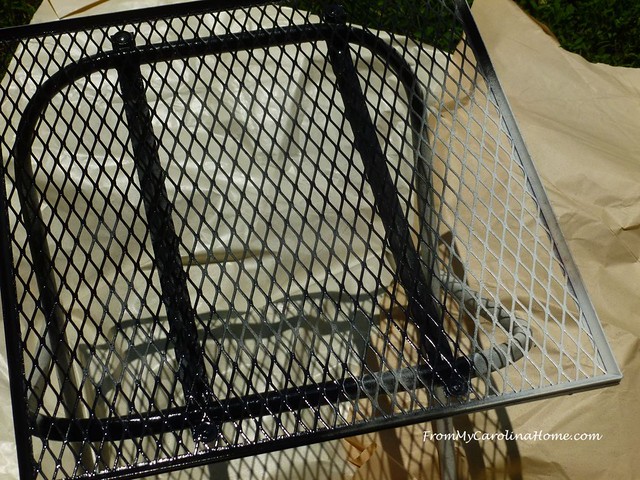
Going around the tables to the other side, I spray painted all I could get to.
I let them dry for an hour in the sun.
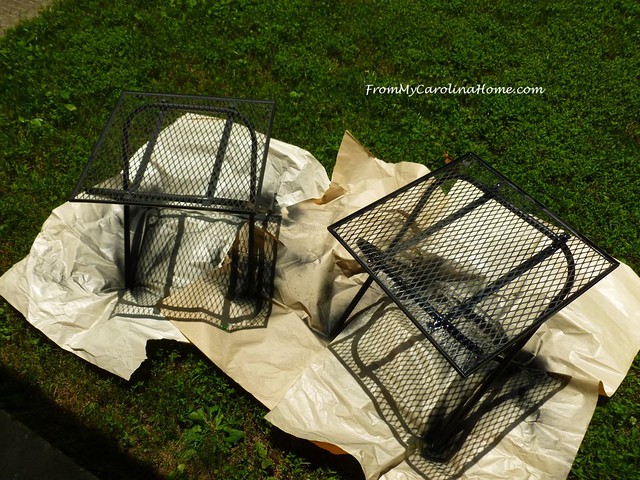
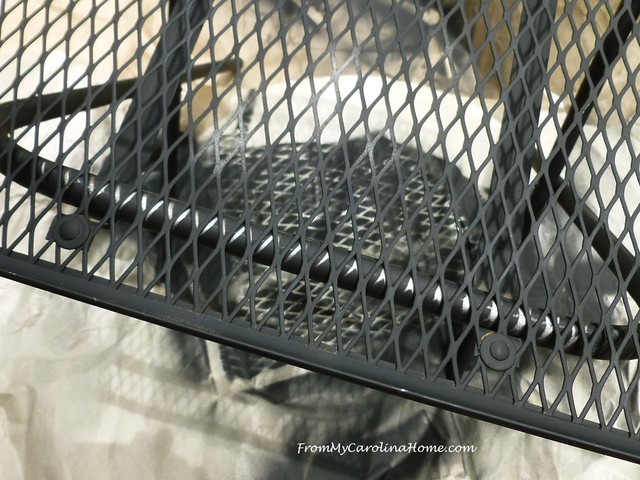
Then I flipped them over to work on the undersides.
Again, a light first coat of spray paint, and an hour to dry..

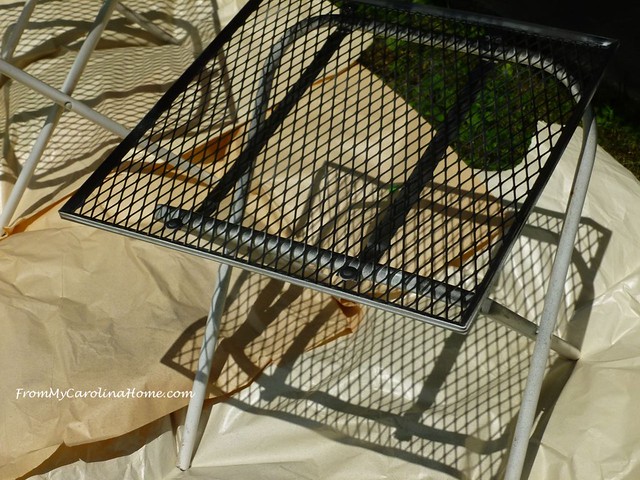
I took them inside overnight, then the next day put them back out on paper. Since the tables fold up, I needed to move the leg over a bit to paint the part hidden the previous day.
Then a second coat of paint was sprayed on.
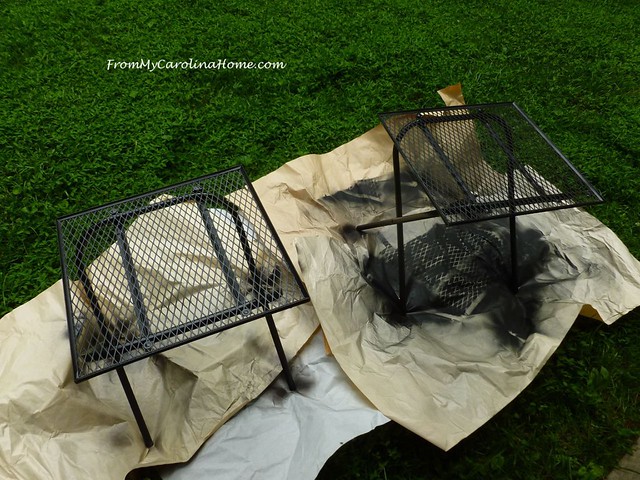
An hour to dry, then they were flipped over, and I could paint the underside parts that were still white.

One last coat of paint after another night of drying inside.

When they were thoroughly dry a day later, I placed them in front of the bench on the veranda.

A quilt was placed on top to provide a nice cushion for your heels as you put your feet up. New little black tips were put on the bottom of the legs.
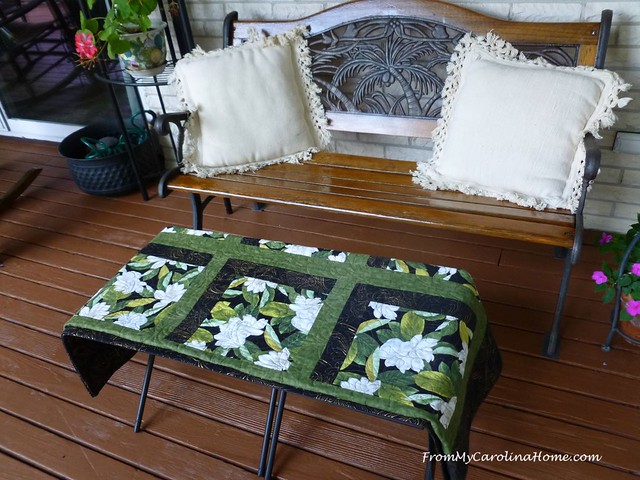
Leaving them as two tables means I could separate them and put small pillows on top to have as ottomans in front of the rockers too, if I wanted to use them that way.
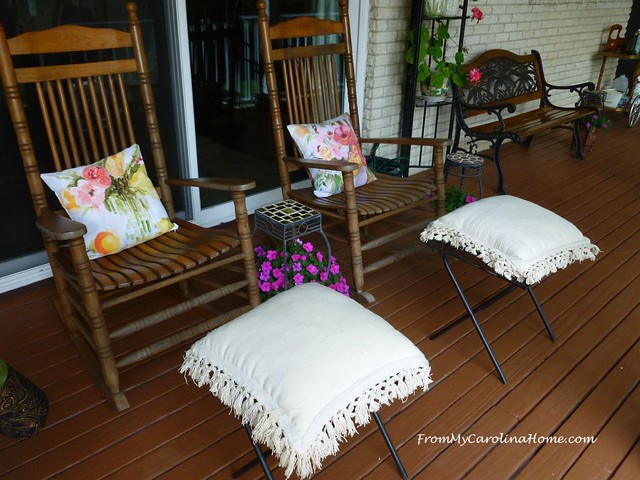
I think I like this idea the best though. A comfortable place to relax at the end of the day.

Any DIY projects around your place today?
Amazon Prime Day starts today, and this year it is 48 hours of bargains! Click on the link for some great deals!

Good repurposing. I like to have a place for my feet! Not certain I would put my feet on that lovely quilt tho! Those tables are great because you can store them pretty easily; and next year, you might use them as tables or places to set plants!
Great re-do! I love these types of tables anyway for the porch. And I always want to put the feet up:)
Good Morning Carole. You are so clever at repurposing objects people no longer want, or need, I’m sure you and DH enjoy many hours on this lovely veranda, where you can sit and take in the beauty of the landscape and all the visitors who stop to feed, or stroll though, such as turkeys, bears, deer, and the usual compliments of squirrels, chipmunks, raccoons, rabbits and the like.
Enjoy your day.
That turned out really beautifully. Your veranda looks like a nice place to relax.
I had those tables when I was young, 30- 40 years ago. Bought them new. They are nice little metal tables. I had not thought of those in years. I specifically got them because they were metal. They clean up nice. Easy to paint. I wish they would sell those again. Yours look quite nice, too.
Great idea and a beautiful finish! IKEA is far from us and shipping cost was out of the question — so hubby bought storage units and a piece of wood from Home Depot . I now have a crafting table with storage! My sewing room is quite small but I’m happy to have a dedicated cutting area.
Very nice! I just refurbished and replaced the sling seat of a beach chair I found in my parents basement. It was something I have been putting off for a few years and I am very pleased with it.
The tables look wonderful. The little green and black floral quilt and those pillows are beautiful also.
Isn’t spray paint just the most magical product? What would we do without it?
Wonderful find and project! As you say, perfect for the end of the day.
They look great! Glad you can use them as one big one or as two small.
I am back from my break and catching up. It looks like you have been making the most of the weather with you DIY projects. These look great with the improvements you have made.
And it looks like a lo t of fun recently with the minis, too.
The new additions add to the already lovely, relaxing spot.
Great job. I did something similar with 2 plant stands that I put trays on top for outdoor end tables. Your veranda is beautiful.
Excellent restoration of these cute little tables. Very clever and they look great on your porch!
Funny I should come across this post today. I just said yesterday that I need to find a little outdoors table. One that is heavy enough to not blow away in the wind, one that is substantial enough to hold a potted plant and a cup of coffee, one not so heavy that it burdens my husband to move while mowing. I love the way yours look and, at half price, what a deal!
Either way you use it, that was a wonderful plan!