
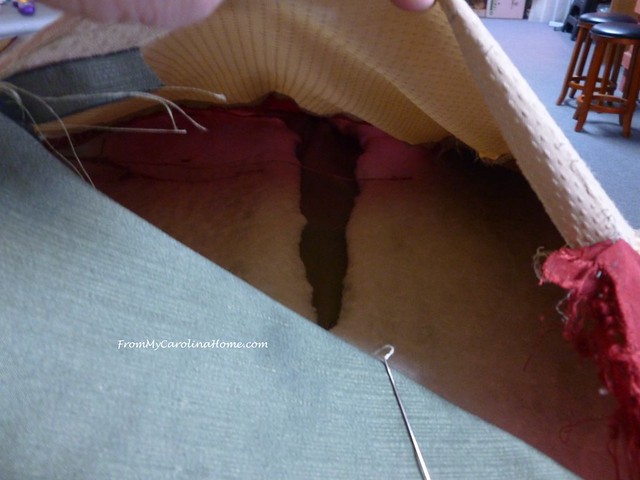
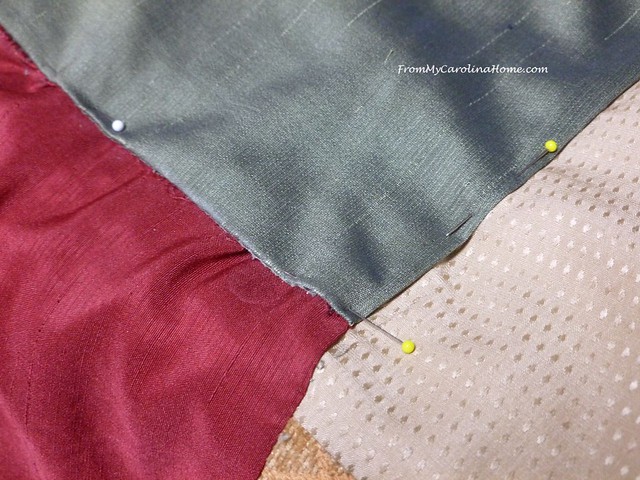
Silk dupioni patches with tapestry and heavier upholstery patches are not the best compatible pair for a heavily used quilt. As this shredded seam on the silk dupioni shows, the lighter weight fabric always takes the brunt of the stress, and dupioni tends to ravel. When a lady brought this to me for repair, I looked it over carefully, and discovered that the top of the quilt was larger than the bottom, tied and not quilted. So, there was enough play in the top to be able to do a good repair. Underneath the largest tear, the batting had come apart as well, splitting fairly evenly as if it was cut. This repair would need to be done all by hand, but it was doable.

Lifting up the top side to look inside, you can see the batting split is huge.
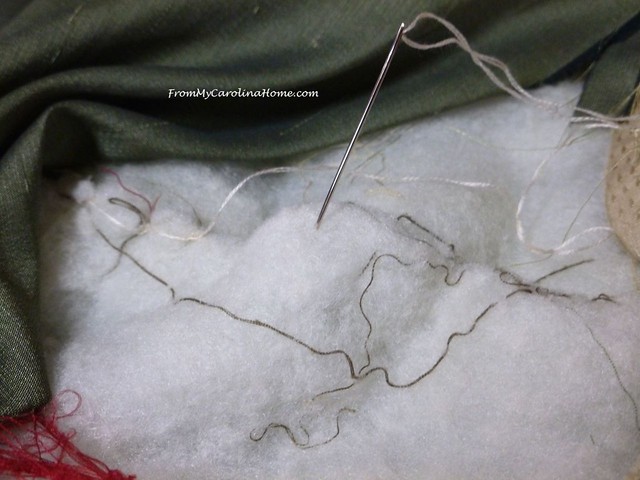
Using pearl cotton, I did a mattress stitch, biting deep into the batting to pull the edges together.

Using a long tapestry needle helped.
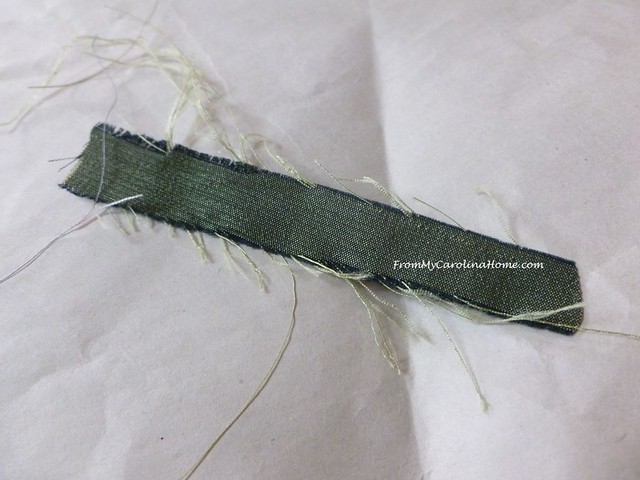
I cut a piece out of the seam allowance that was almost completely detached to do a test of a fray-check solution. My personal preference is for the Dritz Brand Fray Check available at Fat Quarter Shop, or June Tailor Fray Block. There are a bunch of other brands in multi-packs available at Amazon, like this one Prym Fray Check 2 Pack. Just do a search if you want another brand. Anyway, I used this little bit to soak the edge in the fray check solution, and let it dry overnight, to be sure it wouldn’t stain or change the color of the silk. It did fine.
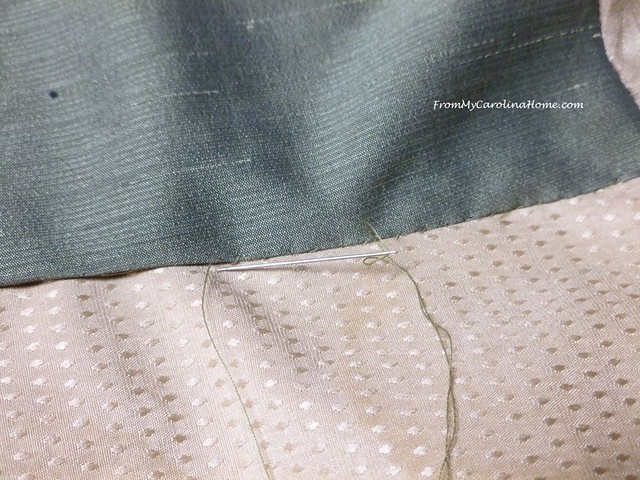
So, I put a line of solution on every loose edge, and let it dry overnight.
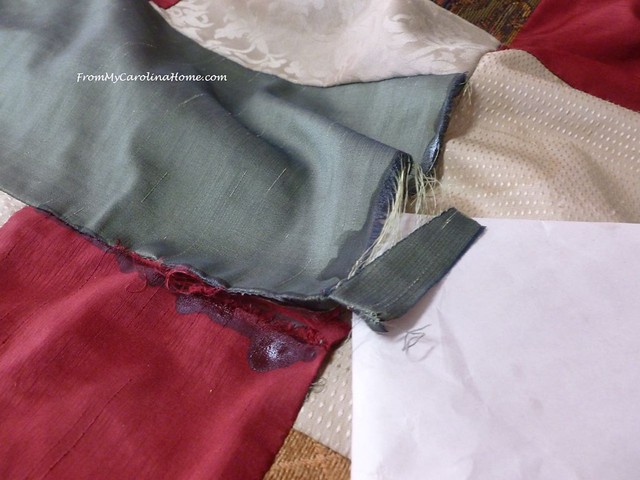
The next day, I turned the edge under, and hand sewed the seams using tiny stitches.
So far so good, the needle is a bit tougher to push through the treated edge, but I am sure the repair will hold.
First patchwork finished, I moved on to the other areas that looked the same before with frayed silk.

It only took about three and a half hours total time to do all the bits that needed work. I cleaned up the tapestry as well, shaving off the pills and treating small areas that the thread fibers had ‘run’, and threatened to do more damage.
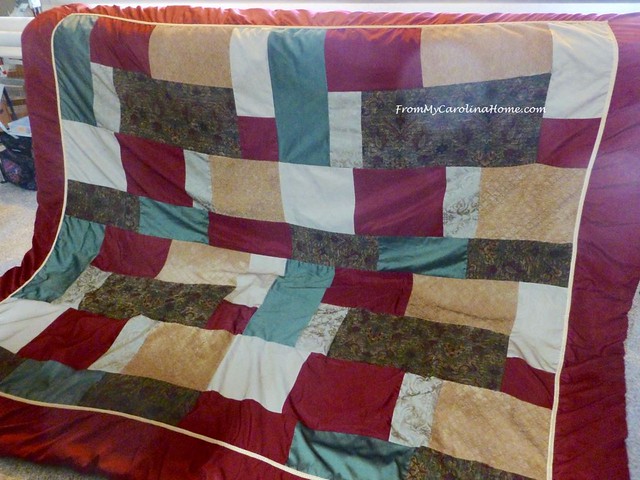
The owner seemed pleased that her beloved quilt was back in her hands usable for the rest of the winter.

If you have a quilt needing repair, see my page Well Loved Quilt Repair at the top of the blog. Do you have any well loved quilts? What are you working on?
Fat Quarter Shop’s Basic of the Month is 20% off Windham Fabrics! and the notion of the month is 30% off Sulky Stabilizers!
Thank you for using my affiliate links. Any purchase made after clicking on these links helps me support the blog, you don’t have to buy these items and you can use your existing accounts.

I find it fascinating how you were able to repair and preserve this cherished quilt. Thank you for the lesson:)
Wow…just when I think I have seen all your talents, you come up with YET ANOTHER knock it out of the park tutorial! I know the owner of this quilt is beyond pleased that you were able to salvage her special quilt.
Nicely done!!
Hello Carole: What a spectacular repair job you accomplished! Plus, a great tutorial for us! I have never tried to fix any of the tears in any of our quilts, because with having Miss Dodger using them as much as we do it seems as soon as I see one little tear. Next thing I know there are three hundred tears. I always have one of my quilts covering the couch and our bed and they are both in need of new ones! I am really considering making the Mystery Quilt into a Queen! Do you think it could be put together as a Quilt As You Go Technique? I am working on the nine patches and quite a few other projects. Thank you for sharing and have a fantastic day!
I forgot to mention that I followed your link with the Craftsy and found a class on Needle Turn Applique. So, I am off to watch it and see if I can learn a lot! Plus, look around for a few other items! Are you watching any of the class videos?
I’ve repaired some of our own, and one of the engineers here saw my quilts and asked if I repair. I told him to send me pictures and I’d look it over. It’s from the 60’s and I might even have some material to replace the places that are completely worn away. You are so helpful showing me repairs, we love our quilts and hate to see them falling apart!
Considering how terrible that looked, I’m impressed it cleaned up so well. I have a lot of dupioni, but I use it in crazy quilt blocks, and it’s paired with cotton and linen, and well stitched over, so I haven’t had problems. That is a pretty quilt, and I’m glad you could save it. I’m going to catch up on some recent posts now, so just ignore me. =)
You did a wonderful job on that quilt repair. It’s amazing how you came up with the perfect repair solution. I have not sewn with dupioni or other silks very much. Fear of the results, lol. Fraying is always a problem, and you solved that. I am still working on finishing all of the many quilt tops from then past 4 years since I began quilting.
I admire you for taking on these tasks. They can be quite daunting. Congrats on a job well done.
That was brilliant, and I’m sure the owner was so very happy!
Very detailed work. I would have never thought of the fray check. Is the biggest problem with the use of the quilt or the washing of the quilt that does the most damage.
You are so patient doing repairs like that. I’m not fond of doing stitching repairs, particularly re-hemming clothing.
No one would ever know the quilt needed repairing!