
This quilt repair was certainly a different sort of challenge. When the owner sent a picture, I was puzzled as to why a section was just missing, with the binding still intact. He said that he had taken it to someone for repair, and she cut out the section that was bad. Then she didn’t do anything else for weeks. Presumably, she had no plan before she started, then had no idea how to finish.
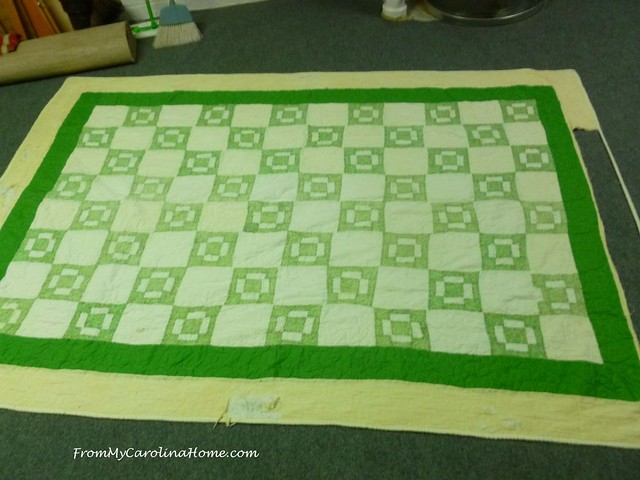
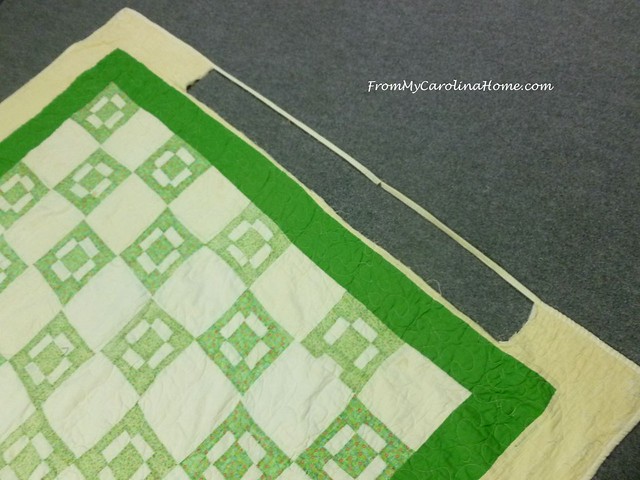
He finally went and picked it up, then contacted me to see if I could do something with it. When it arrived, it was doubly strange, as the cut out section was roughly cut on three sides, then the binding seam was carefully picked out, leaving it intact.
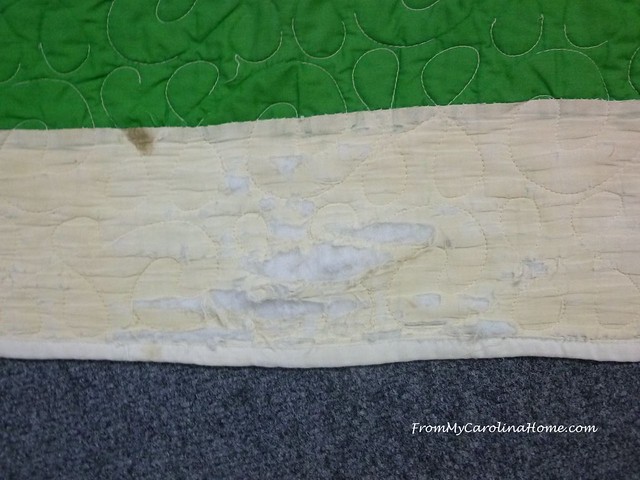
The yellow border had a lot of wear, and several places where it had just disintegrated. The owner said the border was supposed to be white!
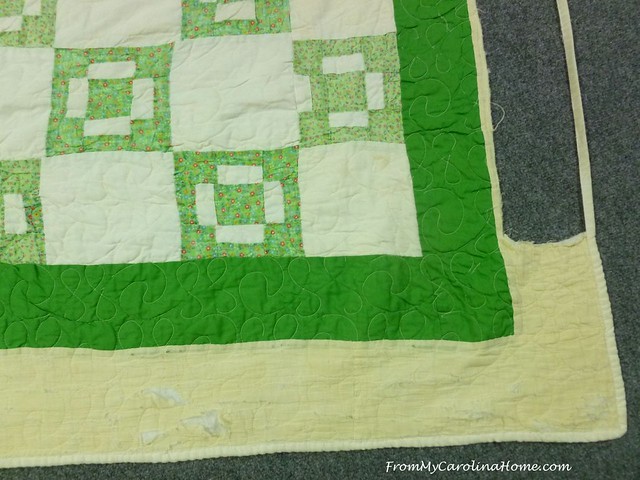
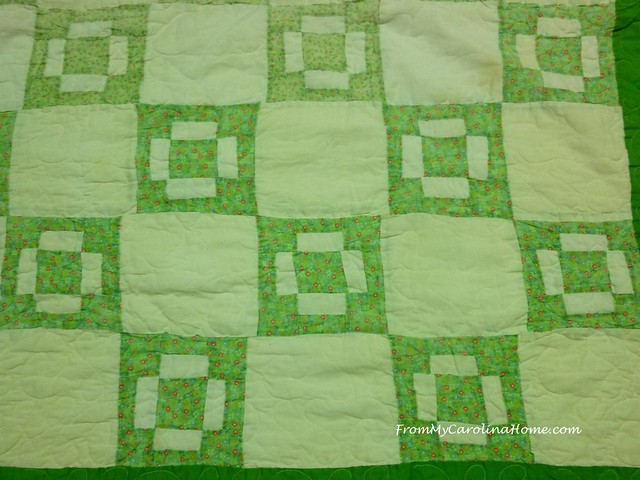
Damage like this was all around the quilt, more in the center of each border.

The middle section, which was the most important part to the owner, was still intact.
But every side had major damage in the border.
The back was in sad shape too, with multiple spots like this one…

and this one.

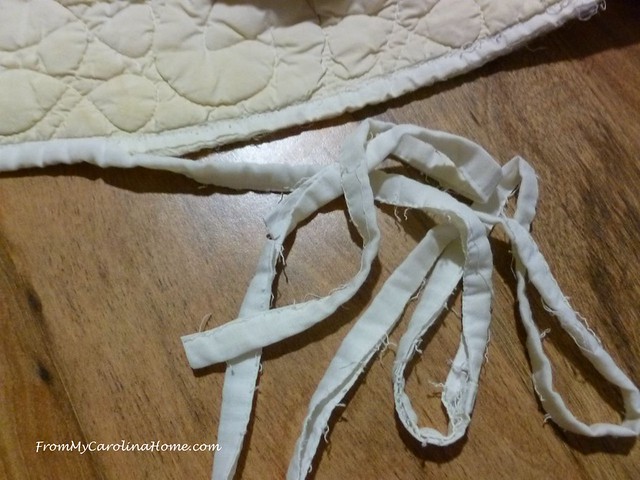
So, we agreed on a plan, and he sent the quilt with some yardage of a really nice white tone on tone fabric. The damaged yellow will be completely covered. I began by removing the binding all the way around.
I laid out the quilt with the missing section on the table, and pinned in batting.
I sewed it into the hole with a zigzag stitch to flatten the edge.

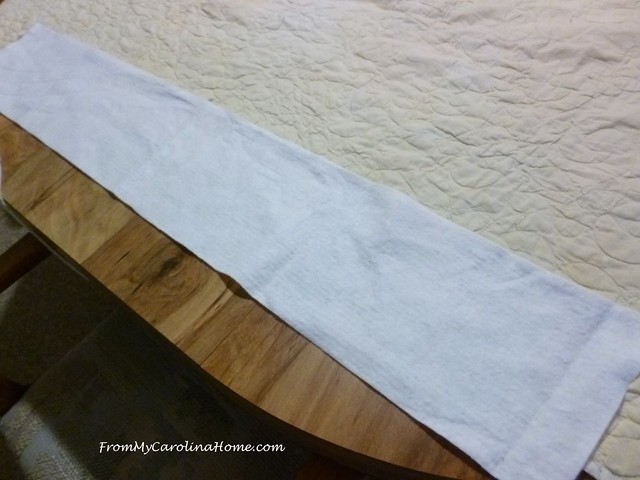
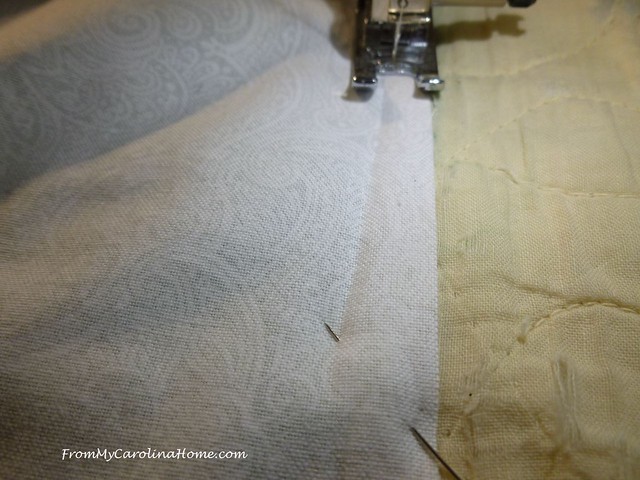
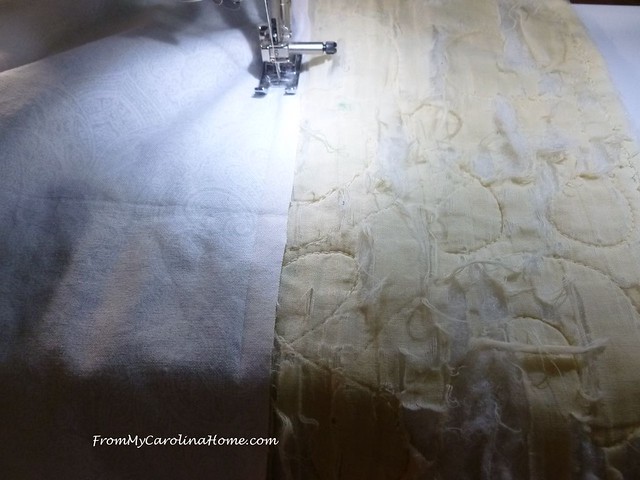
Then I began the borders. I cut a strip of the new white border fabric wider and longer than the area to cover. I was not removing the original border, so the entire original quilt will still be inside the new fabric borders. I gave myself a generous 1/2 inch seam allowance to accommodate an uneven seam. It is pinned with the fabric’s right side to the quilt.

Then I stitched in the ditch of the quilt seam underneath. By running my fingernail along that seam, I created a crease that told me exactly where to sew.
Folding the fabric over the border, I pressed it flat.

Moving on to the next side, I cut the next border strip this time making sure the strip was long enough to get to the top edge and cover the previous border strip’s raw edge.
Stitching it down, this piece would go over the inserted batting.

Pressing the seam, this strip will be folded up to cover the old part of the quilt and the inserted batting to reconstruct that side.

Looking better already. I continued to do the remaining two sides the same way.
I loaded a wide muslin backing onto the longarm, then floated the top over it. It didn’t need any additional batting. My plan was to quilt the new borders to the new backing, thus covering up all the tears on the back with one large piece.

I began with stitching around the edge of the quilt, then stitching in the ditch on both sides of the green border.

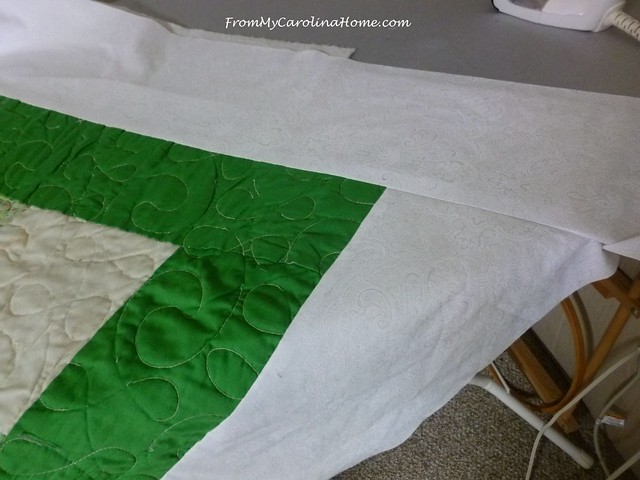
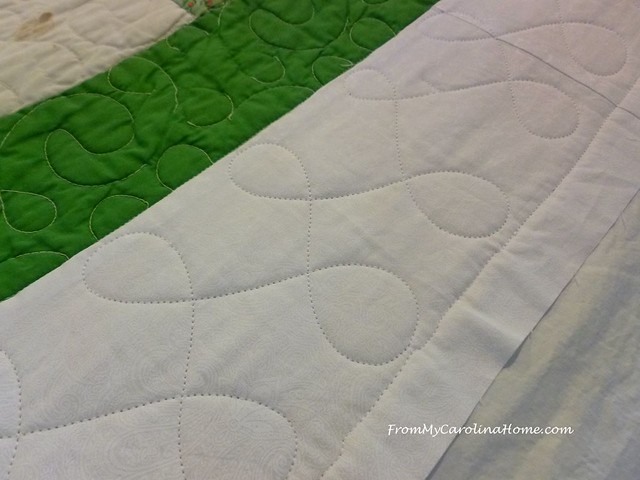
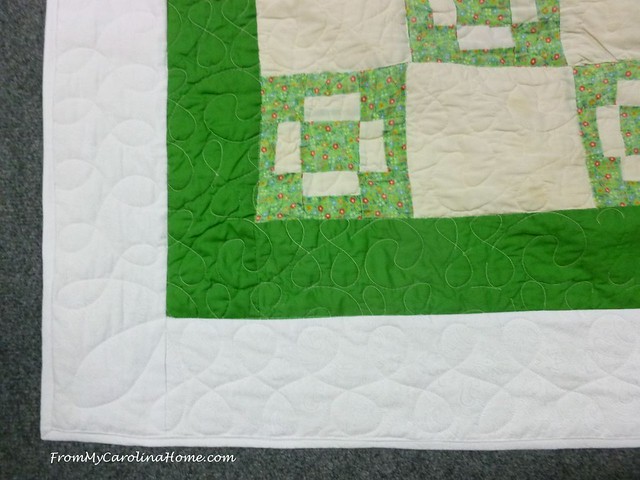
Taking a cue from the existing quilting, I planned to do loops on the new border. I left the green border alone to preserve the original quilting, even though there were thread breaks.

Quilting an over and under loop was fast. I went across the top border, then down the right side, rolling the quilt as I went so I didn’t have to tie off and start again.
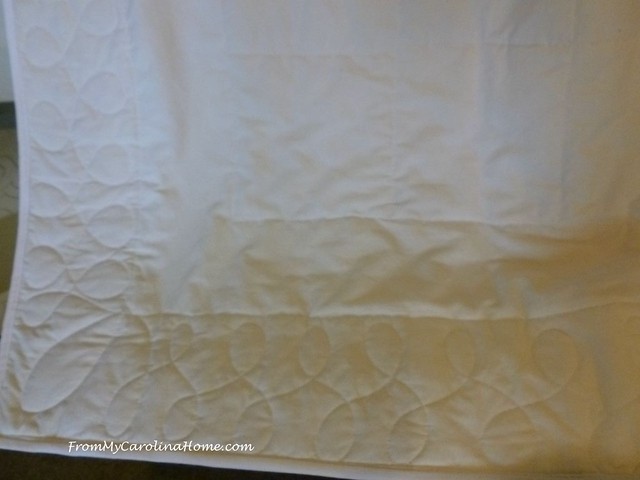
At the bottom, I quilted loops from right to left, then up the left side back to the top.

In the middle, purely for stability, I quilted in the ditch around the squares. This quilting doesn’t really show, and preserves the original quilting on this section.

It is a bit hard to see on the backside, but there are large squares in the center, with two rows of straight stitching, then the outside border loops.
I made the binding from the same white fabric, stitching it to the backside first.

Then it is folded to the front and stitched down along the folded edge.

All done, the white fabric is nice quality, and you cannot tell where the hole was filled.
I shipped it back to the owner, it is arriving this week.

I think he will be happy with the new look. He liked the pictures I sent. At this point, I’m going to take some time off repair work until later in summer. I want to work on my own projects for a while.
What are you working on this week?
Update – The customer was thrilled. He wrote “Carole, Hey WOOOOW!, I just walked in for the road. and opened the box you shipped with my Quilt, and wow, it looks like new! but even better, that’s the old heart and soul of the quilt that my Grandma made!!! Brought back to life By You!! I just cant tell you how much this means to me! and my Daughter! She just lost her mind when she saw it! We are just thrilled, you are truly a Craftsman, and master at your craft! Thank You so much!”

Using my affiliate links helps me to bring you free patterns and fun giveaways, I may receive a small commission if you use the link and make any purchase. You still use your own existing account if you already have one. Thank you!
Fat Quarter Shop has a special 20% off the Basic of the Month, 30% the Notion of the Month, and check out the Precut of the week and Daily Flash Sale – something new at clearance pricing every day!
Amazon Prime Deals!, Shop Amazon – All-New Kindle deals
Impression Obsession has fabulous stamps for cardmaking and scrapbooking.
C&T Publishing has a wonderful books on quilting and sewing.

I love seeing your process for repairs. This repair is fabulous! The owner has to be tickled pink!!!
I believe the original white turned yellow when the green fabric bled after the quilt was washed. Red isn’t the only culprit. I like to pre-wash & noticed while hand washing a green fat quarter that the water turned very yellow, not green. Dodged a bullet that time. What a lovely restoration, preserving the original stitching & replicating it in the fresh new borders. The owner is lucky to have found you.
Impressive repair job. That one definitely took nerve on your part! We have a hot spell upon us, so looking forward to afternoons downstairs in the cool sewing area!
It makes me wonder how some quilts get so threadbare as the ones you have shown with holes My granddaughter has truly “loved” the Christmas quilt I gave her well over 10 years ago and I mean well loved. She took it to every sleep over and camping trip, but used it a home. It is really soft and worn but there aren’t any holes or tears in it. I made her another one and told her that she would have to retire that Christmas quilt to only Christmas now! LOL
Nice job. Thank you for giving us tips on how to revive an old quilt.
Congratulations on such a well done rescue! I was so surprised to see what is probably free motion machine quilting on such a vintage quilt. The owner must be over the moon.
Love to see in detail how you repair these quilts!!!! It is fascinating!!! Great job on this one!
I must admit I would never have thought to put borders over the existing borders. Nor would I have cut out that huge section of the quilt! Mostly I work with old blocks or quilts that need to be finished rather than repairing. Nice to see how you attack this type of problem.
Wow, that was definitely a challenging repair with a whole section cut out!! My niece asked me to repair a quilt that my grandmother had made for her. It was nerve wracking to say the least. I had to open it up to get the balled up batting out of it and then make repairs on many blocks and seams before putting it all back together. Not something I’d want to do again! I’m sure your client is ecstatic with your work!
Great tutorial on repairing this quilt. You did a beautiful job on this one. It really turned out lovely. I have one I need to tackle and have been putting off for years. I may start to think out a strategy for her 🙂 Just completed the top of a baby quilt, sandwiched together and ready to start hand quilting it 🙂
That’s such a nice improvement. You certainly tackle some difficult problems.
That was difficult repair, but you have made the quilt beautiful again! I am certain the owner is going to be very happy! Thanks for showing us the process you went through.
Brilliant, Carole! I know it’s not the most fun thing to do, but I appreciate that you did a photo document of it.
Interesting why just the border fabric wore out. I am again reminded of why I took inferior fabric out of my TWIST blocks!! I think a muslin backing is the perfect solution.
Very nice. I enjoy watching your repairs. It is interesting to follow your thought process & how you maintain the integrity of the original quilt. I don’t have a long arm, but over/under loops are one quilting pattern I do on my domestic machine. I like the way you did the corners. That always puzzled me. I have a couple of my Mother-in-law’s quilts & unfinished tops that require some “creative” work and I am making notes of how you work.
This post was so interesting. When I saw the holes, I immediately felt a kinship! I have 2 quilts that look exactly like that at the top. Just recently I realized why. It is from fingernails pulling on the too short quilt to bring it up over the shoulders at night! That’s my confession!
This quilt is beautiful! It looks like your repairs saved it. I don’t know how you do it, but they always look fantastic when you’re done , Carole! I’m sure he will be ecstatic!
You did a beautiful job on saving that quilt. Not many of us would have taken the time to do such an extensive repair, nice work.
Peace, Brenda
The crisp new border looks really good! I can see how this was quite a challenge!
Since I do not have any virtual school to help with since it is summer, I am able to work on cards again. I also have a box of school pictures I want to put in a scrapbook.
Have a great day!
That repair looks wonderful with the white fabric! I am always impressed with your thought process for making quilts look new again.
Another very clear and understandable repair video! I “almost” feel like I could attempt one if I re-watched all your videos…….however I’d have to check into the nearest insane asylum first to get certified that I am barking mad for even considering!! Thank you, Carole!
What a fantastic job. You have the patience of a Saint. To tsckle. Repairs to damaged quilts. Very odd the cut out im sure the owner will be thrilled.
Really amazing how you repaired the quilt!!!! Wonderful talent!!!!
The new border saved that quilt. Covering the entire back with a new muslin was a brilliant solution, and efficient for you as well. My new FMQ foot arrived, so I am hoping to get my summer quilt finished this week. We’ll see how that goes. 🙂
Beautiful job! I am sure it will be well loved.
The quilt looks like new.
The quilt looks 150% better!!! Bless your big heart for doing the impossible!!!
Amazing job saving the quilt – wow!
I give you 10 stars on the fantastic job you did with restoring the Quilt. I bet the man has a great big smile on his face. I am very impressed with the qualtiy you put into your work.
That was an odd thing for her to do. I do like the way you solved all the problems, though. If the quilt were mine, I’d probably use a little hand quilting to bridge the thread breaks in the green, but that’s not a necessity, and the quilt looks great.
Well done on a fantastic save of the quilt! It looks amazing now, I bet the owner will be over the moon.