
How are you coming with the Vintage Christmas Quilt Along? Time for the next two blocks, something to keep us going and entertained while we camp out in our sewing rooms. If you haven’t started yet, just click on the button on the sidebar to see all the posts. Dig out your scraps, and let’s have some fun.

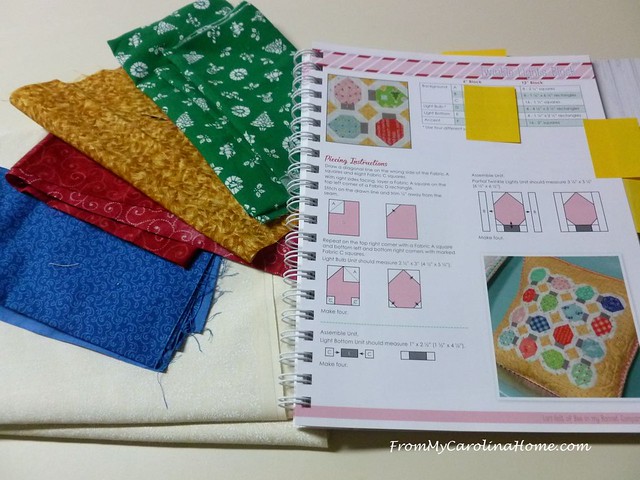
If you do not already have the book, click on Lori Holt’s Vintage Christmas Book, available at Fat Quarter Shop. It is also available on Amazon – Vintage Christmas Book at Amazon. All the patterns will come from the book and you will need the book to get them. I cannot reprint the patterns as they are copyrighted. Our blocks for this month are the lights and the ornament. Remember, at the end of each step, the instructions will tell you how many of an element to make. Be sure you know that before you begin that element.

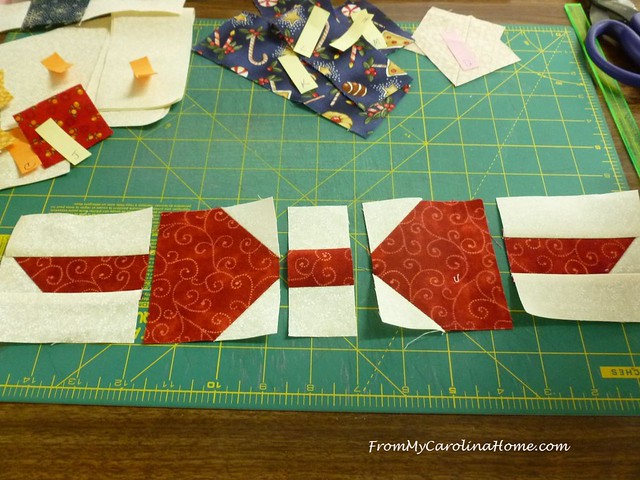
I pulled four different colors for the Christmas lights. Following Susan’s tip, I covered up the smaller block cutting so I would only see the 12-inch block.
As each of the sizes was cut, I stuck a label on the stack to keep them straight.

Note that the sizes of the squares are not the same, the top ones in this picture are bigger than the bottom ones.

Sew slightly to the outside of the lines.
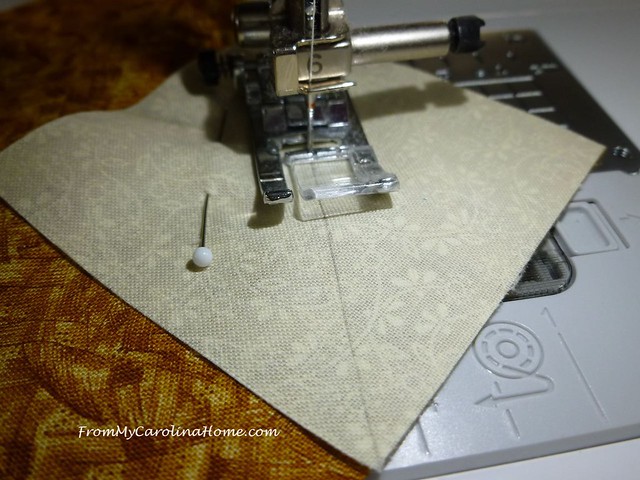
Press with the entire square flat on the back side, pulling the corner ever so slightly until the edges are straight.

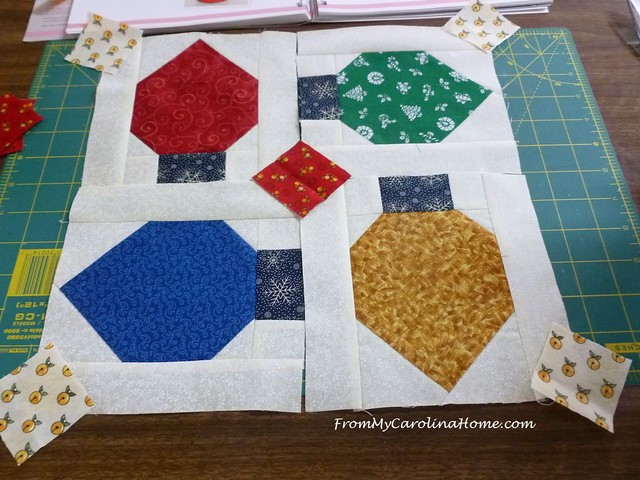
Four lights done, and now I looked at the little corner bits.

My original thought was to use this jingle bell print, but I really thought this was just too busy.

This is your quilt, and you do not have to do every block the way the designer says. So, I took away a few. Better, but still not great.

I auditioned a darker print.

Then I mixed prints.
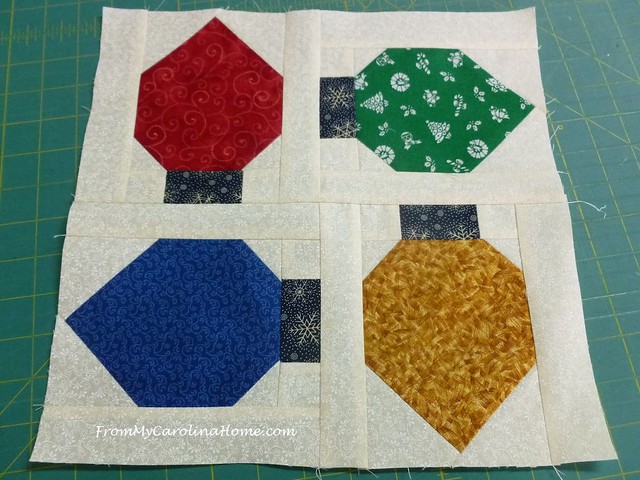
Ultimately, I decided that any extra bits would be too busy, and take away from the lights themselves. Since I plan to sash the blocks, I just left off those last bits. My quilt, I can do this if I want to.
Next, the ornament pieces were cut and labeled.

Take that extra moment to switch feet to an open one for the diagonal lines on the corner squares. Then switch back to your quarter inch foot for seams. Begin sewing on the line in the center of the base piece instead of the corner to minimize distortion.

This bow was just a bit tricky with mirrored units, so I lay out the units as they were done to keep them straight.

Looks like they are correct for sewing together.
I changed the colors on the ornament, so had to pay close attention to the labels for the right pieces in the right places.

Once again, note that the squares are not equal, and be sure to place them correctly.

Sew just outside the lines for the best result.

All done, note that the bottom does not come to a point.

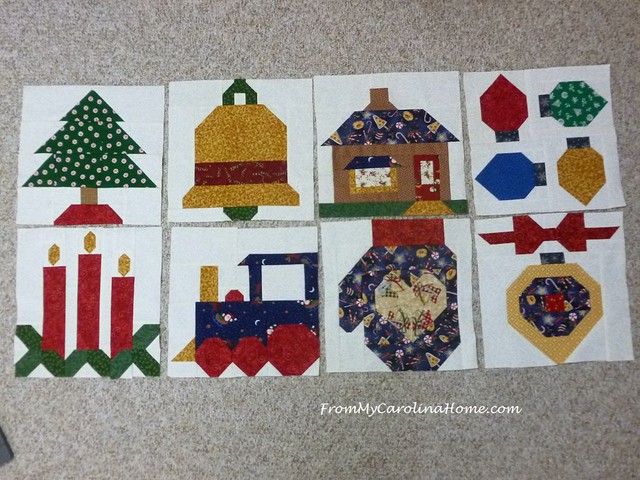
We are now eight blocks in, with four to go. I’ll add the hand embellishments later, like the train smoke and the ornament string.
Here are the tips for the Vintage Christmas Quilt Along, all together and I’ll add more as each month’s sewing is posted. I’ll also be adding your tips, too, so leave yours in the comments.
- Read the entire block pattern carefully before beginning sewing.
- As you cut your pieces out, label them with the letter associated.
- Use a fine line pencil to mark your lines on tiny squares.
- Re-read each step, noting the number of elements to make. When she says make ‘a’ unit, she really means only one.
- Lay out the pieces for each step so you can chain sew where possible.
- Use your quarter-inch foot where possible for accuracy, change to a straight stitch foot for diagonal lines on squares.
- Sew slightly to the outside of diagonal lines.
- Press your units with a Wool Press Mat, pressing toward the outside edges.
- Press diagonal squares folding the excess behind flat to make the sides come out straight.
- Be sure to square up your units as you go.
- Begin sewing in the center of a base piece when adding a square to flip.
- Using just a dab of glue in the corners you cut off will help keep the edges lined up. (Thanks, Elaine!)
- Use a folded Post-It note to cover the chart you aren’t using to reduce cutting errors. (Thanks, Susan!)
Share your progress on our Facebook group, Friends of From My Carolina Home, and be sure to see Mary’s adorable Santa face in her train.
How’s your Vintage Christmas coming along?

Thank you so much for doing this. I am loving my blocks and you are keeping me on track even though I don’t even know what the day of the week is!!!!!
Hello Carole, Every block that you have shown how to make during this Quilt Along are all great blocks for any Christmas Quilt! This is one book that I truly want to buy. I never worry about buying the books and tools that I want, at some point and time, I always seem to be able to purchase them and usually at a very nice discount. I hope that you continue to enjoy any project you decide to do! Have a fabulous day and stay well!
A lovely collection of blocks.