
Finishing this project, here is where it gets tricky. There are a lot of steps and it might seem daunting, but just go slowly, taking each thing in its turn, and you’ll be done before you know it. If you are just now finding this article, click on How to Re-line a Winter Coat for part one. For the finishing, pin the lining to the facing of the coat right sides together. To do this, the lining should be wrong side out and the wool shell right side out. Place the lining over the outside of the shell. This will take a bit of maneuvering, just try to match up the center back at the top and align the shoulder seams. Then pin all the way down the front on both the right and left shell facing. Sew the seam around one side of the front then over the neck and back down the other front side.
Remove all the pins, then push the lining sleeves down the shell sleeves. Then, turn sleeves wrong side out with the lining on the outside right side out.
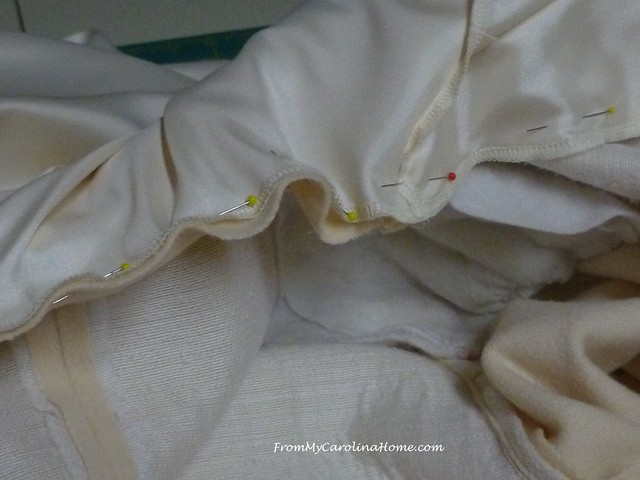
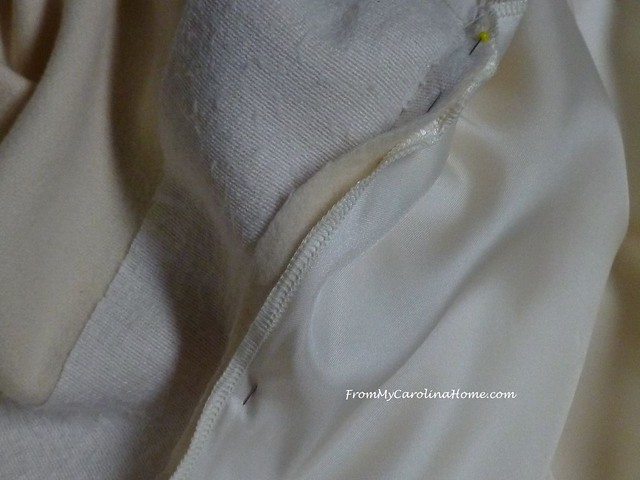
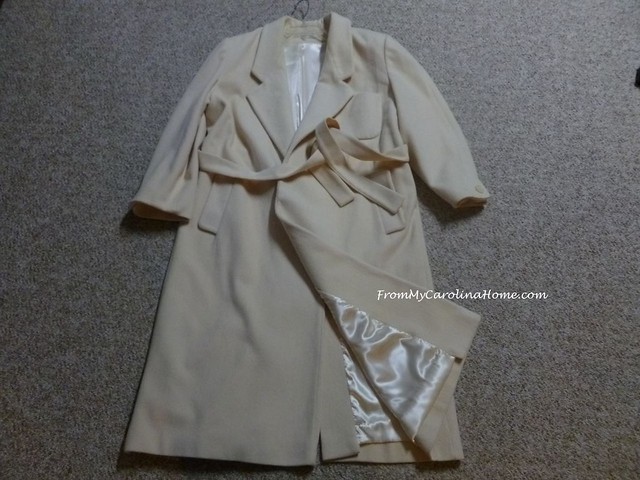
Pin the lining to the cuff on the inside of the cuff, turning under the raw edge.
It is helpful to have the coat hanging to do this step to be sure the length is correct. Hand whip the lining to the sleeve. If your sleeve doesn’t have the overlap and button like mine, you could turn it wrong side out (pulling it from the bottom between the lining and shell) and machine stitch the lining to the sleeve right sides together. I found it easier to hand stitch, it only took about 20 minutes to do both sleeves.

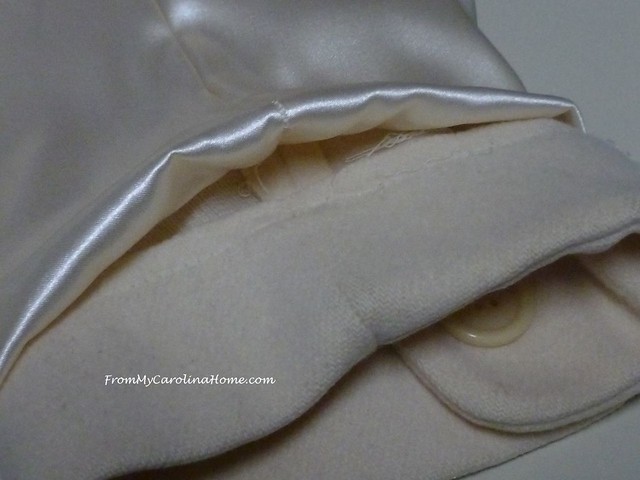
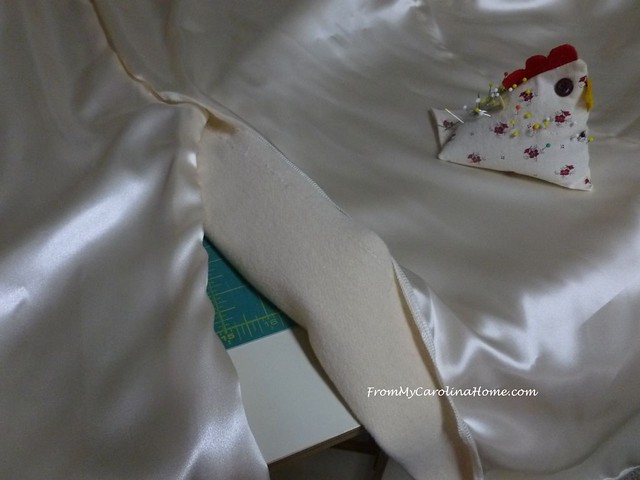
Hang the coat right side out and pin the back vent lining to the shell right sides together, turning the lining under. Hanging it up ensures that the lining isn’t pulling on the shell. Repeat for the other side of the vent.
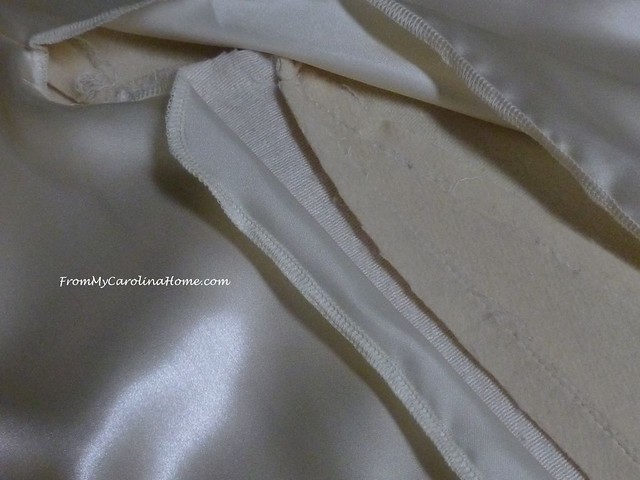
To get the raw edge free, reach under the hem between the shell and lining, and pull it to the outside. Machine stitch the lining to the vent right sides together.
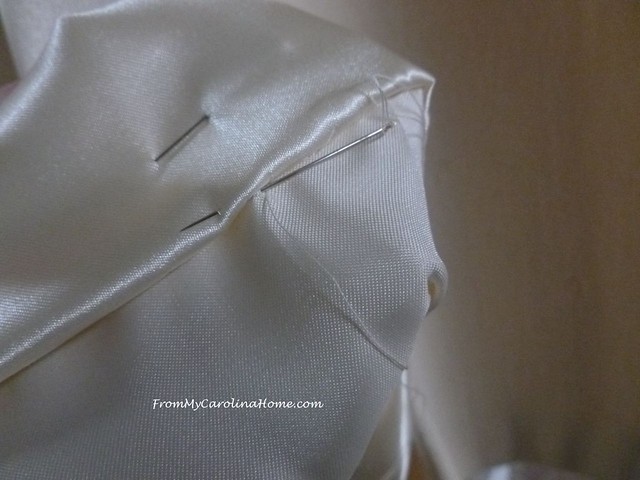
Hang it up again, and check to be sure that the lining is properly inserted, not pulling the outer shell out of shape. I had to restitch one edge as I didn’t get it right the first time. Hand stitch the point at the top of the vent that may still be open. It was impossible to get this completely machine stitched.
Pin the hem at the proper length to end about one inch shorter than the shell hem.
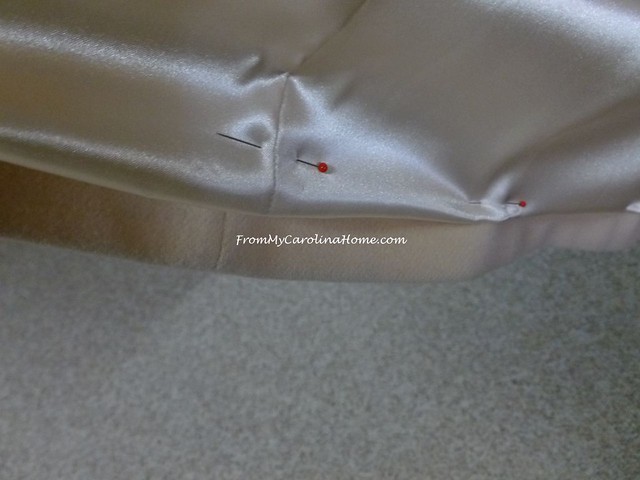
Hand whip or top stitch the lining hem. Don’t stitch the hem to the shell, it works best to have these separate. Then the coat will hang nicely and move comfortably with you.
Finish any corners or joining points not sewn. For my coat, this included the front corners at the bottom, and the center lining at the top of the back vent. Also, put in the tacks that you may have to keep the lining in place. I tacked at the shoulder seams and under the arm seams. This helps keep the lining in place while putting on and taking off the coat.

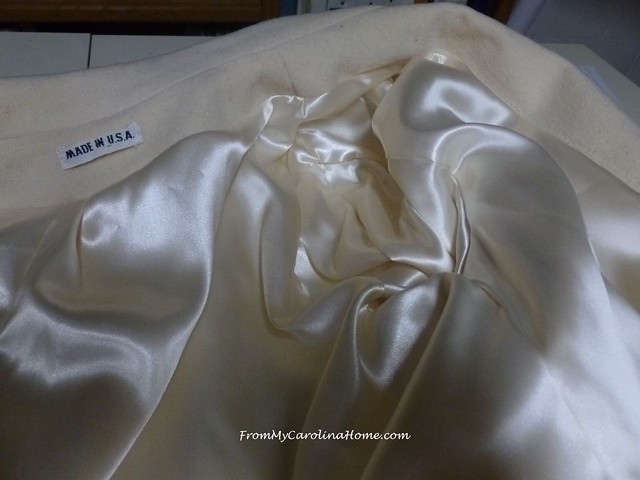
The extra bonus is the new lining is thicker than the old, making the coat warmer. Plus the higher quality lining will last another 20 years.

All done, and already worn once last week. It was warm and I wasn’t embarrassed about the ratty lining anymore.
Have you ever done a big project like this? Do you have a coat that is just too good to give away but needs a new lining?

This is wonderful. You did a really nice job here. This is how my mom taught me to sew. She started sewing before and during WW2. She made clothing for her dad and repaired the clothes. Incredible. I was 10 when she taught me how to make my own patterns, but she encouraged me to sew and play on her 316G that I still use today. This winter coat is going to be beautiful with the new lining. That is one detail I am fussy about too
Happy Windy day. I am going to Bristow Va 35 miles away to play with tiny babies today.
Nice work Carole. You made me want to sew a garment!!!!! I haven’t made a piece of clothing since I started quilting over 20 years ago.
I don’t have a coat but a friend recently asked about lining a wool hat. I think hand stitching the lining may be best for her wool hat. Thoughts?
Definitely!
This is quite the undertaking and you did very well. I did tailoring (one of my former younger lives) for a long time and this was one of my least favorite things to do.
Wow, what a major endeavor, but such a bonus to have completed and made your coat like new again. Good for you! I’ve never attempted such a project, but I am reminded of my very clever grandmother who handmade a “basket purse” with woven pine needles and organic embellishments (shells, etc.) and she lined it with woven lining from an old coat. I have this treasure and I’m still amazed at her workmanship and creativity.
My mother was Japanese and went to a design school in Tokyo! She absolutely hated doing repair work like linings! She made us coats, prom dresses and our wedding dresses! She also did lots of alterations for us. When you decided to reline your coat after you were declined twice, I thought you were a brave woman!!! You did a great job! My mom would of been very impressed with your skills! I am always amazed at your quilt repairs but that lining was equally impressive!!!!
I’ve repaired linings before, but never a whole lining in a loved coat. I have two wool coats right now that are okay, one long and one knee length, I hardly wear the longer one. But you did give me an idea for the light rain/snow jacket I wear: the lining is stitched to the hem and drives me a bit nutty, esp since it’s machine washable and I have to do a lot of blocking when I wash it and barely tumble it just enough to make it shake out wrinkles. I needed a nice lighter coat just for wet situations, the heavy coats are for when I have to be out in it!
Problem with all the cold places I’ve lived? they are high, and your car has heat from sun, but your feet are cold. Heavier coats impossible to drive safely in, and when you go shopping you have to remove all your outerwear because stores are kept at shirtsleeve warmth! I remember loading a shopping cart with all the kids’ coats and mine, and no room for groceries! Thanks for the tutorial..
Looks great!
Hello Carole, You have done a marvelous sewing job on this coat lining. It has turned out to be so pretty and you definitely have bragging rights for creating a tutorial along the way. Thank you for sharing your adventure with us and teaching the process. I have come across a few other posts on how to create your own patterns, but have always passed thinking there was no way I would ever try to do that. Yet, you have proved that it is not impossible and not a problem that can not be handled with patience and really being aware of what you are doing along the way. Thank you for sharing this excellent tutorial. Your finished coat lining is lovely and definitely something for you to be very proud of! Have a wonderful day!
How satisfying is that, Yes, a brand new coat.
I just replaced a zipper in a jacket and was proud of that. lol
looking forward to the next tea cup
cheers Myrna
I really don’t know whether to bow humbly or genuflect! amazing…….
Carole what a fabulous job on your coat. Now you will enjoy it even more every time you wear it when you go out. You ask if anyone has done a job like your coat! ggg Well, when I got divorced (no child support of course) I did bridal alterations but one lady came to me with a coat that she had started but couldn’t finish and put it in my lap. To my horror it was a fur coat all cut out with no instructions but I didn’t dare say no. It sat there for days even a few weeks when she called and asked if it was ready and I had not even touched the darn thing. So, with a last second rush I got it done and have no idea how I did but it came out fine but I do recall the night-mare of having never, at that time, ever made a fur coat. Since then I have gotten much braver and done wedding dresses (much more fun), evening gowns, etc. Of course, there was the time I was mending a wool skirt for a lady and left the iron on it too long……
A lovely finish and well worth doing.
Beautiful job, and you are enjoying it already!
Just what I need! I was just talking to my husband this morning about relining my vintage LL Bean coat which I still love and refuse to give up! But the lining is shot! I’ve saved your article in case I can’t find someone to do it for me.
Thanks!