
This idea of a cute, painted watering can has been circulating around the internet for a while now, and I wanted to do something like it for my garden. It was one of those projects that was planned quickly, but went low on the project list as other projects with deadlines took priority. Then with the heat and humidity of the early summer this year, I just couldn’t find the optimum time to do it until recently.
Some time ago I picked up this watering can at a thrift shop, and used it to plant an annual flower in it last year, but the flowers didn’t grow well in it. The one thing I did not like about it was the engraved sentiment on the side. It also had some rust around the handle., but the metal was still in pretty good shape otherwise. So, I cleaned it out and scrubbed it to remove all the dirt and as much rust as I could. Using a primer first made sense, to fill in the engraved area and stop further rust.
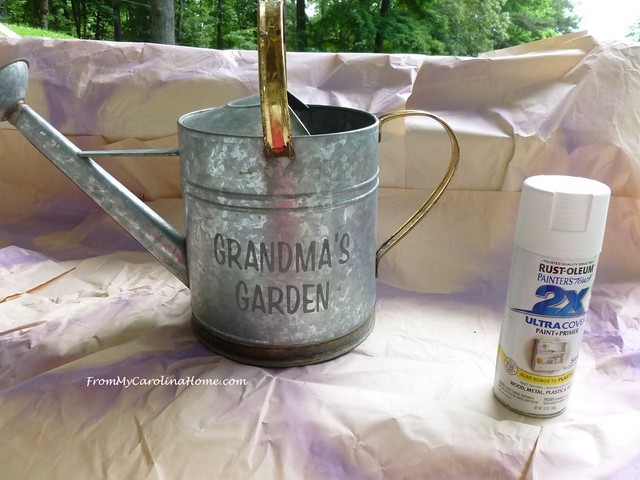
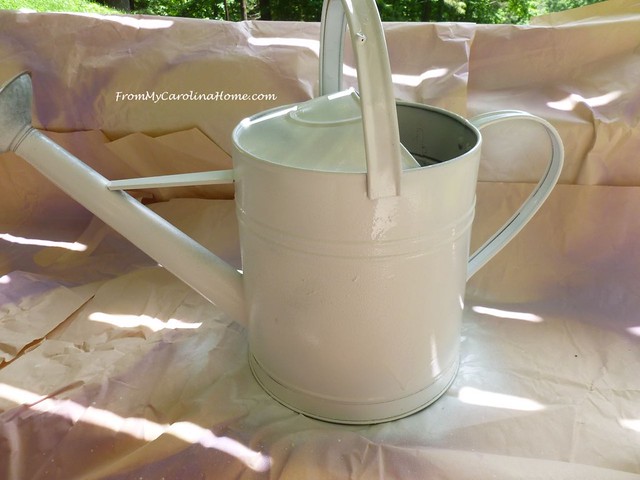
I used two coats of primer, turning the bucket around several times to get nice even coverage. Only the outside was painted, the inside was left mostly natural, except for a light overspray at the top.
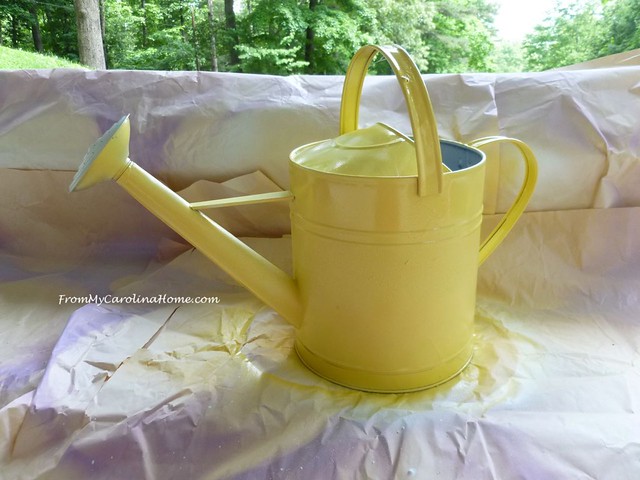
Then I painted it yellow, using several light coats of spray paint, and turning it between coats. It was allowed to dry for an hour between coats.
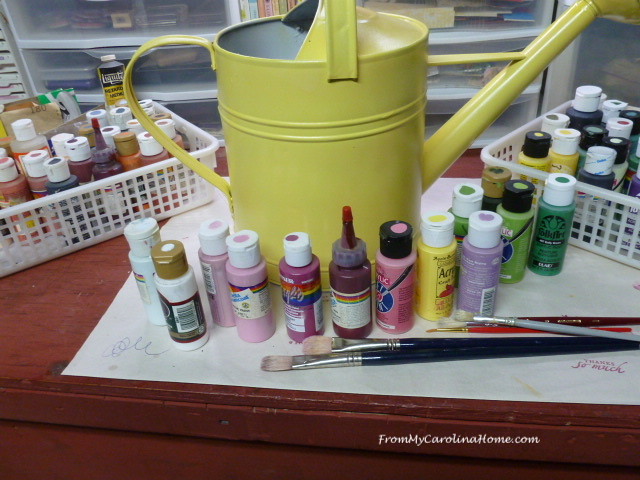
After a couple of days to thoroughly dry, it was put on my workbench to decorate. I selected some colors from my extensive collection of acrylic paints for flowers and leaves.
I have a book, The Big Book of Decorative Painting, that I have been studying a bit to try to do more painting. It is the how-to book for the clueless with little natural talent, LOL!!
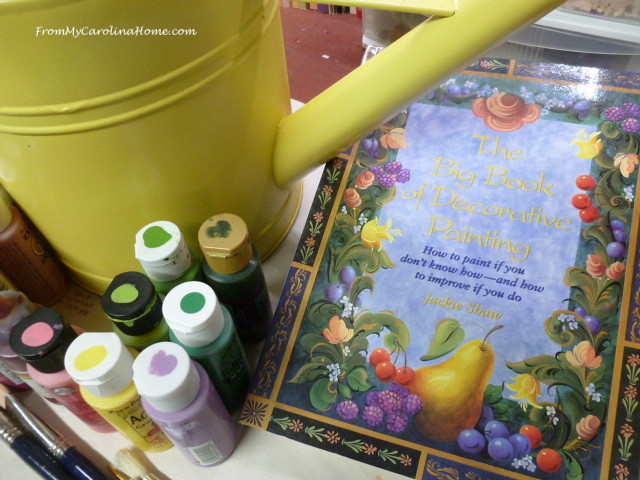
Following the principles of putting layers of color on top of color, and double loading colors, I pour some acrylic paint on a palette in two tones of green for leaves.
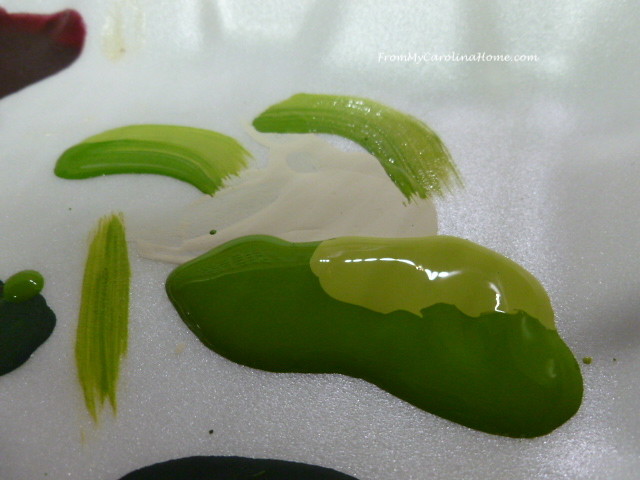
Then begin making long leaf spikes.
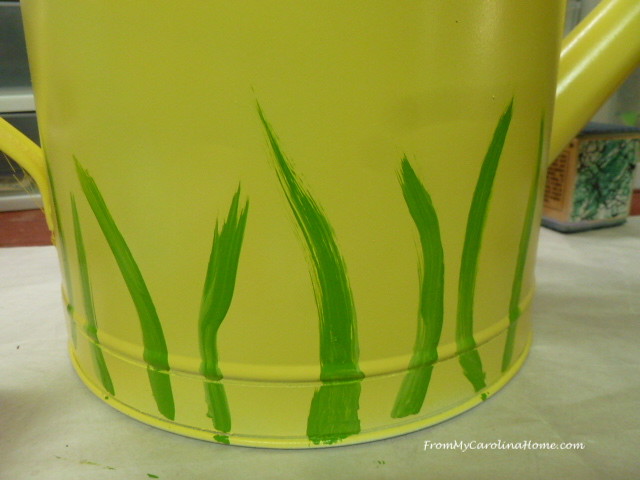
I had the idea that I might do some irises, but that was quickly abandoned as my practice ones on paper were awful. So, I went with hydrangeas, as those could be suggested with just pounced dots. I made the leaves bigger too. They are not really shaped exactly like hydrangea leaves, but who cares?
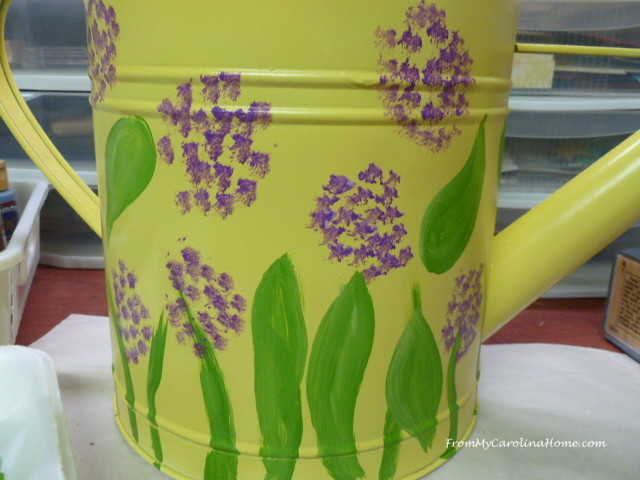
I added more pouncing to the flowers in a lighter tone, and more variation in the greens of the leaves. I did quite a bit more after this photo too, all around the can.
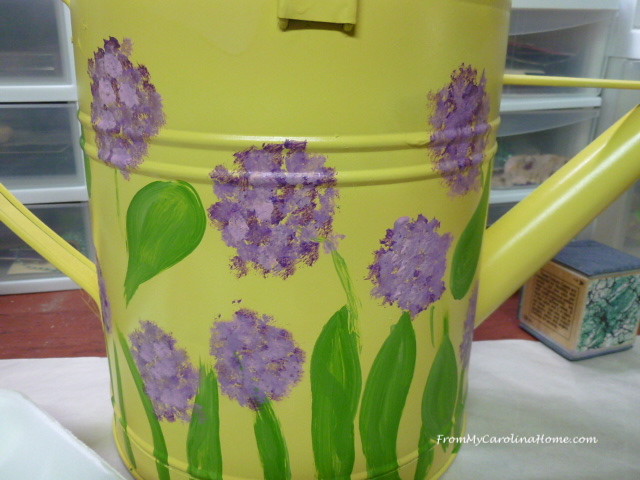
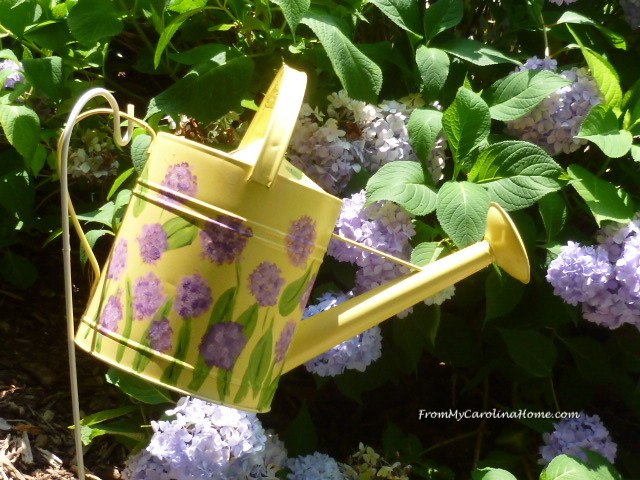
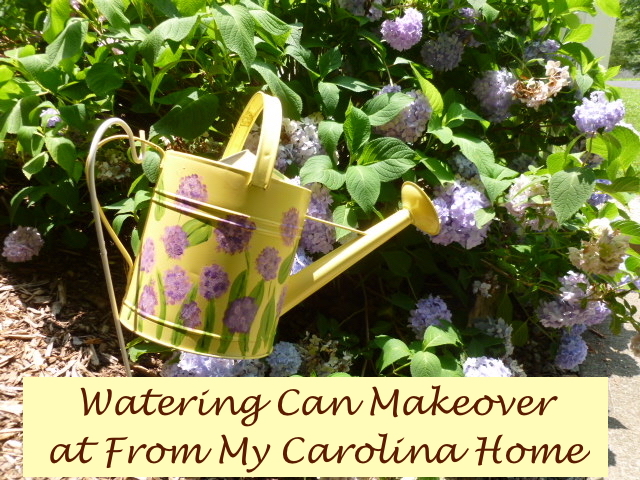
This side looked the best at the end. I added a coat of clear varnish to protect the painted flowers and leaves. Then, placed it in the garden.
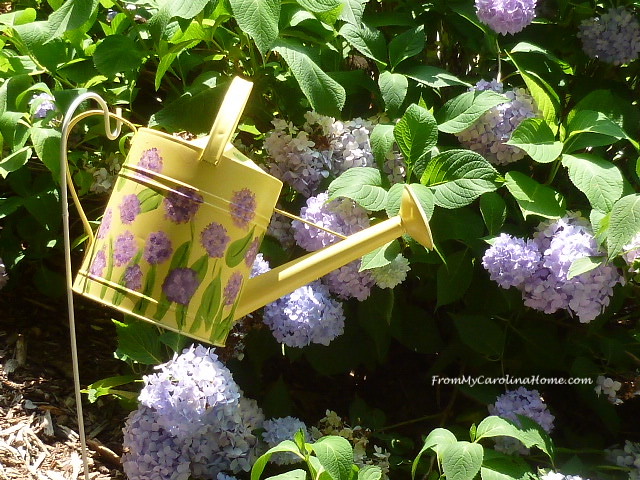
I hung it from a little shepard’s hook beside the abundantly blooming hydrangea so I can see it from my sewing room.
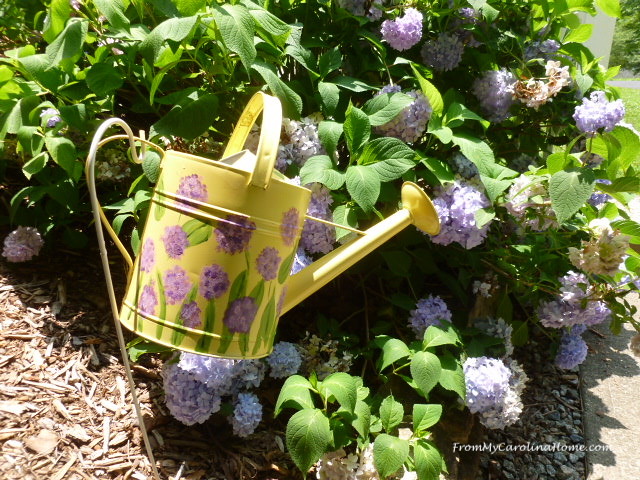
So, another garden art project done for summer. I had a fun time painting, even though I am not really that good at it. I will do some more painting projects soon. I have several more ideas for other items ready for decorating that are stored in the craft closet.
Are you doing any crafting or garden projects?
Amazon has Deep Discounts on Open Box Kitchen Gadgets!
Fat Quarter Shop has 20% Off Moda Grunge, June’s Basic of the Month, and 30% Off Dritz, the Notion of the Month, plus check out the Daily Flash Sale – something new at clearance pricing every day!
Feel free to pin this photo!

Adorable!!!
Great job with the hydrangeas, Carole. You’ve done a great job! Do you think the inside will rust?
Adorable – you truly have a creative mind!
Carole, I love your watering can, it is so cute!
Painting for the clueless, that’s the type of book I would need! The watering can looks great now, and I knew those were hydrangeas immediately, so well done! I don’t paint anything but walls, generally, but did have a success painting the orange 😳 brick wall downstairs in the family room. I painted it a light gray then sponged layers using a purchased darker gray and a tiny bit of black before mixing my own shades with the three. What a scary thing it was at first, but it turned out great in the end. DH thought I was nuts, but was very happy with the result! Still makes me laugh when I remember how scared I was. So covering ugly brick is the extent of my painting skill.😄
Wonderful job on upcycling an old item to a pretty one! You always inspire me with your ideas. Thanks.
That is very cute – great, happy colors!
Carole your watering can is adorable and when I first looked at it, I thought you had bought it already painted…it looks greet! I love the yellow, as both yellow and green are my favorite colors, and you captured both colors beautifully. Good job!
Kari@meandmycaptain
Good morning, I love it!! Your watering can turned out just lovely and perfect for your garden.
I would need a book like that too as I am clueless about painting too-hugs
That is a cute project, I have not seen this type of garden decoration before. I still haven’t had a chance to go shopping at the thrift store, so now I have another idea of what to look out for. Lovely job with your painting.
What a cute garden art idea! Your watering can is so colorful and bright. I have an empty shepherd’s hook that I can no longer use to feed the birds (the bear cannot resist!) so this is the perfect option for my garden. My husband repainted a cute wooden wheelbarrow for me this year, a gift from a dear neighbor years ago, and I planted short little daisy flowers in it for the deck. That was our only addition this year. Love your garden “tours” and bird pictures!
I loved the watering can.
Hi friend! Your project reminds me of my tole painting days….so relaxing. I love your yellow and chosen flowers! Cute cute cute!
Both cans are beautiful. What a steady painting hand you do have.
So cute Carole!! It looks adorable now!’
Jenna
I love your pretty painted watering can! Thanks for sharing at Vintage Charm–pinned!
i did something like it but i added crystals hanging from the spout and it looks like you are watering plants i have it on a sheperds hook also and its hanging over my wheelbarrow filled with pretty little pansies and when the sun hits it it is really pretty
Hi Carole, how clever! You’ve done a beautiful job with the colour scheme, the hydrangeas are lovely and not too “carefully “ painted. They look beautiful. Thanks for sharing. I love what you’ve done!
I bought one already made at a thrift store but you’ve inspired me to make one myself! The only recommendation I would make is to drill a hole in the bottom. It gets heavy with rain water and will fall and/or becomes a host for mosquito larvae.