
Now I know what you are thinking, and I used to say the same thing – I don’t have the space to do this. But, you do. It is easier than you think. I have to say, this is absolutely the best turkey you will ever eat. The true test of how moist and juicy the turkey can be is not the day you cook it, but the day after. Most every turkey will be wonderful right out of the oven, but it is the next day when a truly dry turkey shows itself. Brining the turkey adds moisture to the meat, and contrary to popular belief, it doesn’t make the turkey salty. I wanted you to have enough time to get your turkey defrosted and a bucket at the store so you can begin this recipe on Wednesday evening. Updated again 2016 – I learn more ever year and have made some additional adjustments.
Before we start, I want to tell you that you don’t need a fresh turkey for this recipe, in fact, I always use a frozen turkey that I have defrosted. It is great for the store brand, frozen ones that go on sale the week before Thanksgiving, this year it was 57¢ a pound. I allow four days in the refrigerator to defrost up to a 20 pound turkey, go to five days for larger. It is OK if the very center is still partly frozen when it goes into the brine. This brine is a much lower salt-to-water ratio than others you’ll find, so it takes into account the saline that many turkey producers put in their frozen birds. You can add anything else you like – citrus peels, herbs, onion, garlic, whatever makes you happy. The primary purpose of this method is to add moisture, so I just do the salt water.
Start by rinsing the turkey and removing the giblets bags from both the body cavity and the neck area. Oh, and just so you know, the pictures are from last year’s holiday. I saved the them to share now. My turkey has just gone from the freezer to the frig today so it will be defrosted by Wednesday.

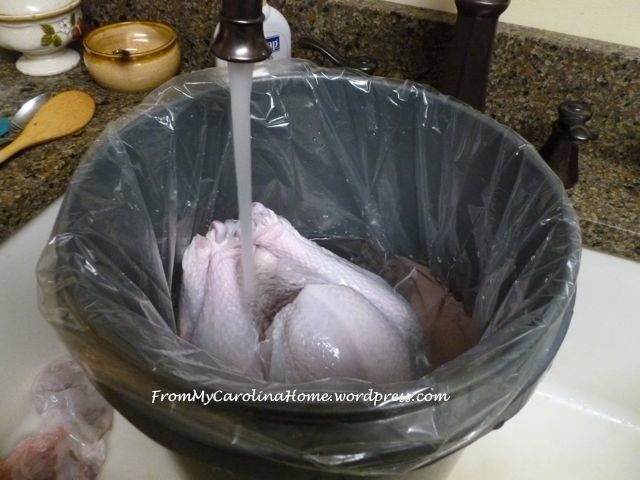
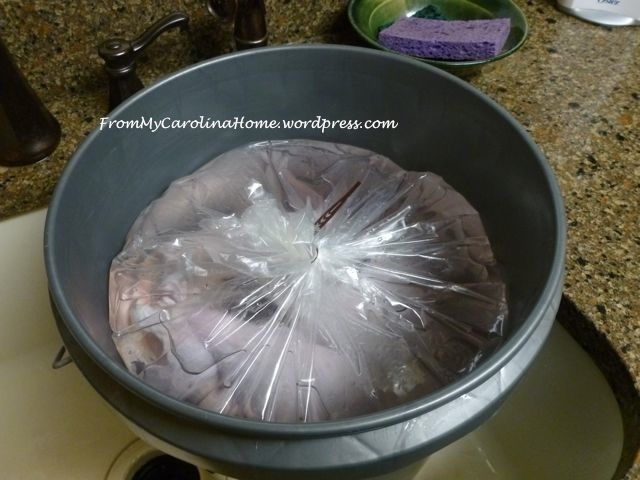
Now, prepare a bucket large enough to hold your turkey. I found a 5 gallon paint bucket from the hardware store was ideal for up to a 20 pound turkey. I wash the bucket, then line the bucket with a browning bag, which is all those bags are good for. Years ago, I used them to cook the turkey, but realized that the meat was so dry the next day a mountain of mayonnaise or gravy wouldn’t help it. I saw Rachel Ray’s show earlier this week on turkeys, and the one in the browning bag got to 193 degrees on the breast in just two hours! Talk about overcooked and dry! So just put the bag in the bucket.
Mix salt and cold water, pour into the bucket. I use less salt than others, just 1/4 cup for 4+ gallons of water. Add the turkey. Fill up the bucket around the turkey with cold water, swishing it around with your hand to mix the salt-water in.
Tie the bag closed, using the tab in the box.
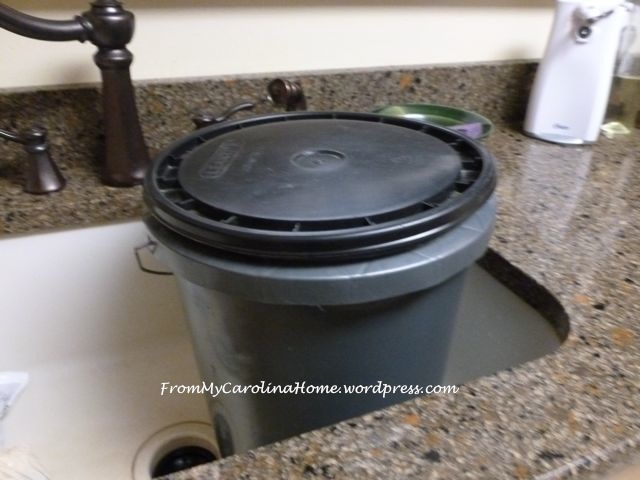
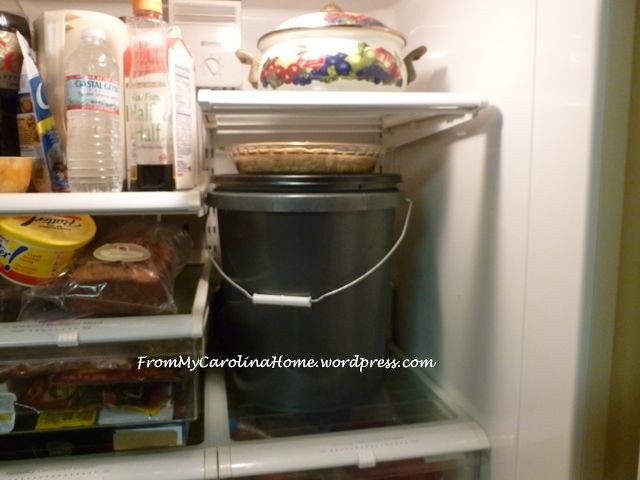
Put the lid on the bucket. This is how you get your shelf space back. Remove one of the shelves in the frig, and place the bucket in the space. There is enough space to fit the pie for the next day’s dinner on top of the bucket. Let it sit overnight.
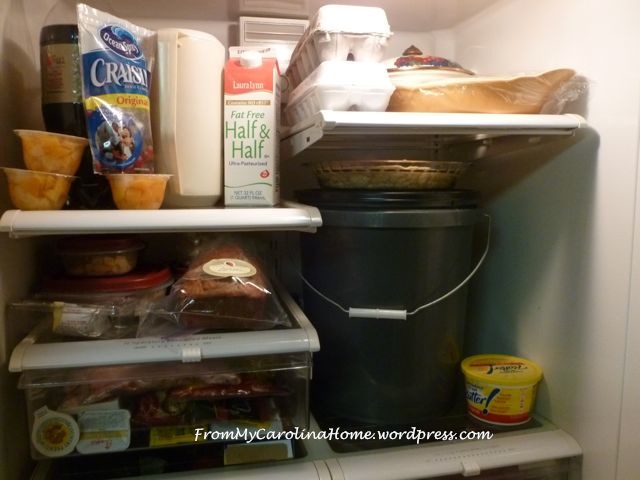
Later, I stuffed in more pre-prepped dishes and a couple dozen eggs, remember, it is only one night and you’ll get that space back the next day. The turkey can stay in the brine overnight and through the next morning. I typically leave it for about 16 hours.
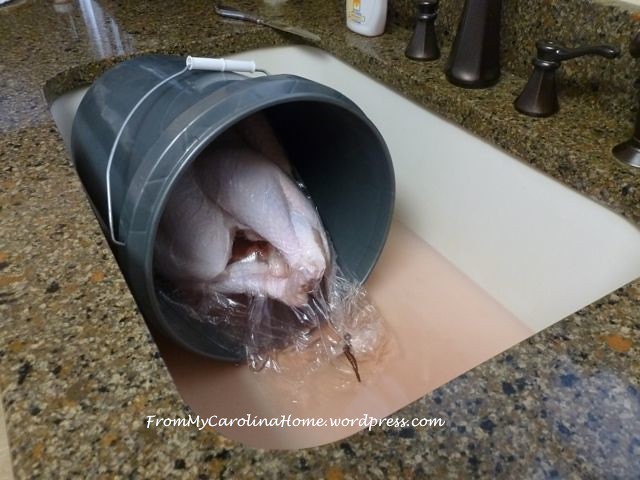
Drain the water. The salt water will add moisture and flavor to the meat, while any remaining blood gets washed away. Rinse the turkey inside and out to remove any excess salt water. Don’t forget to sanitize your countertop and sink afterward – I use a disinfecting spray and paper towels so I don’t transfer bacteria on a sponge.
Place the turkey on a baking rack sprayed with cooking spray in your roaster. If the bird has one of those pop-up timer thingys, remove it. They never work.
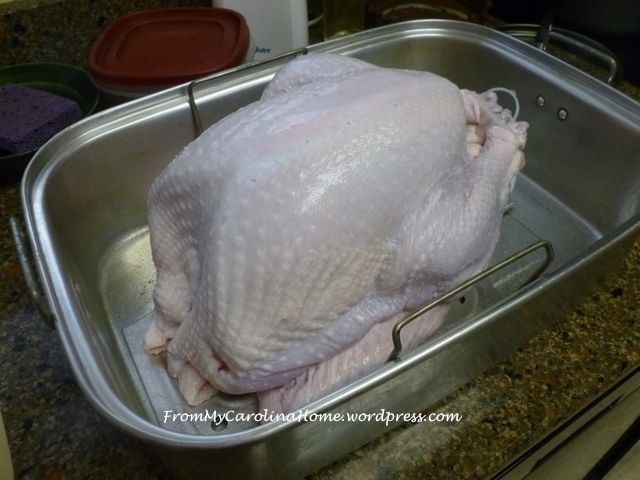
Season as you like, I used garlic, lemon-pepper, sage and oregano this time. Stuff the cavity with onion, garlic, leeks, rosemary, bay leaves, or whatever other aromatics you like. Don’t stuff the turkey with your dressing, it takes too long to get the internal temperature of the stuffing safe at 165 degrees, and in the meantime your breast meat will dry out and overcook.

Now, cover the breast meat with foil for the first hour 30 minutes of cooking. This will give the dark meat a head start, so the entire turkey comes out at the right temperature at the same time. Many other recipes say to cover the breast after it gets brown, but by then it is too late. The breast continues to cook under the foil to overdone and dry, and the skin sticks to the foil.
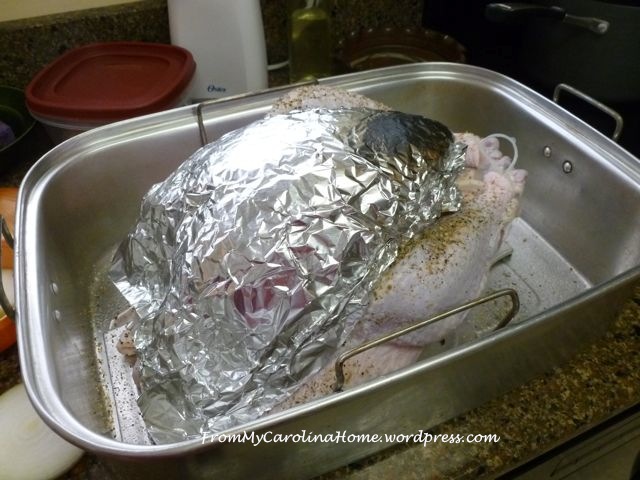
Bake one-half hour at 350 degrees.
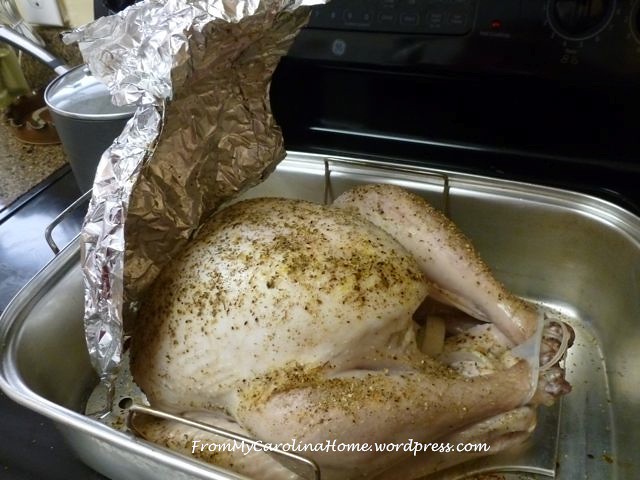
Remove the foil after half an hour, return to the oven, lower the temp to 325 degrees and bake for a total of 10 minutes per pound. Check it with a meat thermometer about half an hour before time in case it is done a bit early, with different ovens this can happen. [I found in 2016 that 10 minutes per pound brought the white meat to the perfect temperature, and the dark meat was perfect too. The temperature will rise while resting to a higher temperature, so next year I am going to take it out with 5 degrees to go. The turkey meat, both dark and light, was moist and juicy for days. In previous years I did 15 minutes per pound and it came out overcooked with the temperature around 180 in the breast and 195 in the thigh, but still juicy. This time, at 10 minutes per pound, it was perfect. I checked the temperature every 30 minutes to get the perfect timing this year so I could tell you.]
Check the temperature with a meat thermometer, I use a digital one. The breast meat should be 165 degrees, while dark meat needs 180 degrees to be more tender and be sure it is done all the way to the bone. Let it rest at least 20 minutes before carving. It will stay warm tented with foil. [In 2016, I let it rest one hour and it was still warm at dinnertime, and even more juicy than before.] This allows the proteins to relax and reabsorb the moisture into the meat. Wonderful! One caution, if you use some of the turkey juices to punch up your gravy, only use a couple of large spoonfuls, and don’t add any salt to the gravy. If you accidentally get the gravy salty, put a peeled potato in it and let it cook for a while. The potato will remove some of the salt. Just taste and when you think it is good, serve.

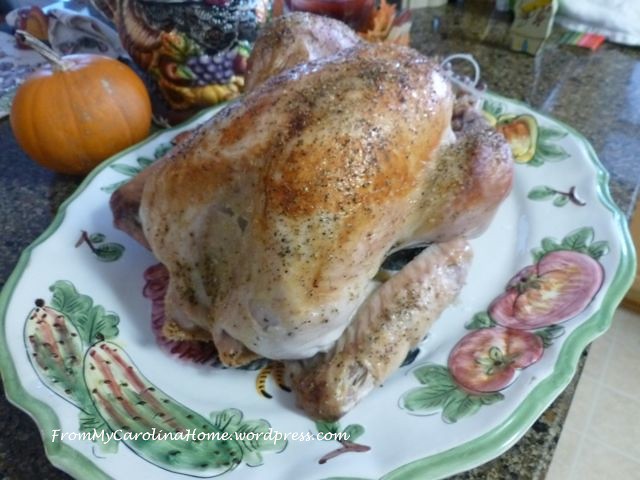
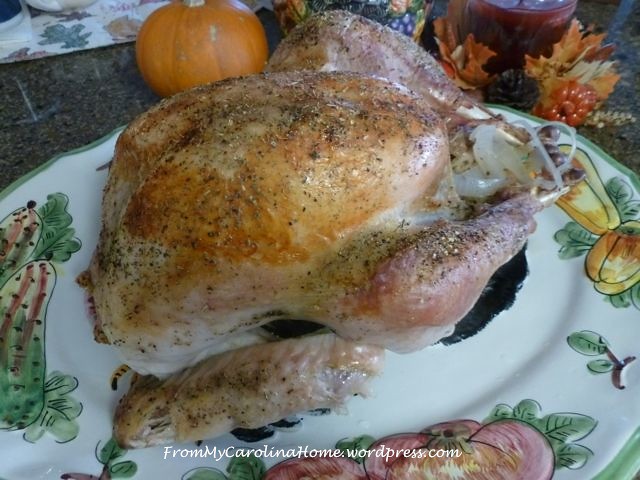
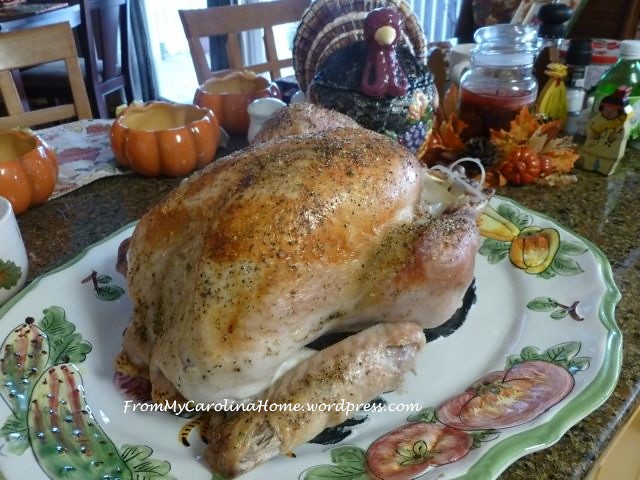
Perfect turkey, dark meat done and white meat tender and juicy.
Days later, the breast meat will still be juicy and flavorful! Perfect for sandwiches.
Enjoy! Happy Thanksgiving! Have you ever brined a turkey? Do you plan to try it?

Good morning, and thank your for this awesome tutorial!! I have never brined a turkey-mostly because of all that salt, and I just wasn’t familiar with it. I like Bobby Flay and he doesn’t believe in brining turkeys-but he does use tons of turkey or chicken stock and butter. and I am not into constantly basting the turkey all day either.
I have been considering trying this though-last week I saw a recipe that brined just a whole turkey breast in hard cider-said you got a little apple flavor and the bubbles tenderized the breast.
I like your thoughts on the cooking bag too-as I always thought the breast got too done too-so good tip on that. thanks for the inspiration!
I have brining my turkeys forever. I use Emerill’s recipe of 1 cup kosher salt, 1 cup brown sugar, 2 oranges quartered, 2 lemons quartered, 6 sprigs of fresh thyme, 4 sprigs of fresh rosemary and 2 gallons of cold water. I use the oversized Hefty plastic bags purchased at Lowes to put everything in, zip it up and into the refrigerator it goes overnite. Next day rinse and pat the bird down and it’s ready to be seasoned and into the oven it goes. The turkey is always moist and delicious.
I have never brined but now I don’t have to worry about it. My daughter and son-in-law do the cooking and all I need to worry about is some stuffed celery and some stuffed dates!!! Kind of nice to be retired from cooking the big family meals.
PS I wouldn’t dare try to tell them how to cook the bird. They do a great job and this mother/mother-in-law knows that silence is golden……
Carole, Wow how fascinating! I was telling Kevin about this process as I was reading and my brother is here, not one of us have ever heard of this method. In all honesty, I believe we will be giving it a try because this year we are hosting Thanksgiving. Most likely, it will be just a few family members. Yet we are really looking forward to the whole day and everything that goes with it. My Dad just called and wished me a Happy Birthday and I was telling him about your brining tutorial and even he had never heard of it. Now I am definitely going to do this! I have a couple more emails to read and then I am going to finish the quilting. Thank You so very much for sharing this information and tutorial on how to do it. Have a wonderful creative day!
I have never tried this method. Your turkey looks wonderful.
We are not much for eating turkey but I always make a little one.
I will try this method. The only thing my mother in law suggested to me, that I have followed for the past 20 years, was to turn the turkey upside down. It bakes better. The juices go right down to the breast meat.
You made lovely photos of the process from last year. Well done!
Thanks for the great tutorial, i think I will be doing just a turkey breast for Christmas do you think this would work? Being in Ontario Canada, we had Thanksgiving last month ☺
Please, what oven temperature.? I would like to brine my turkey & use your methods. Thanks.
Pingback: How To Bake A Very Moist Turkey | Insurance-Global
Carole, I’m writing this comment on Thanksgiving Day, 2018, after brining my first turkey, following your well written instructions. It was PERFECT!! So moist and tender and it did NOT taste salty. We love the dark meal, but ate slices of juicy breast on sandwiches for a late supper. Thanks for giving me the idea that I could brine a turkey….loved it!!!!
Thank you so much for these recipes. Brined a turkey years ago, hoping the results this time will be better. (For sure it was not the recipe’s fault, rather the cook’s, ha ha). Hoping mine looks and tastes as delicious as yours do.