I like working with wool felt for projects in the fall and winter. November is still pumpkin season, with the colors of fall abundant. I designed this in September, then got sidetracked and didn’t pick it up again until now. I’ll show you how far I have gotten with it, and give you the pattern so you have a chance to do it too.

The pattern is a fat pumpkin with words above. I cut out the pumpkin so I could use it as a template to cut my wool.

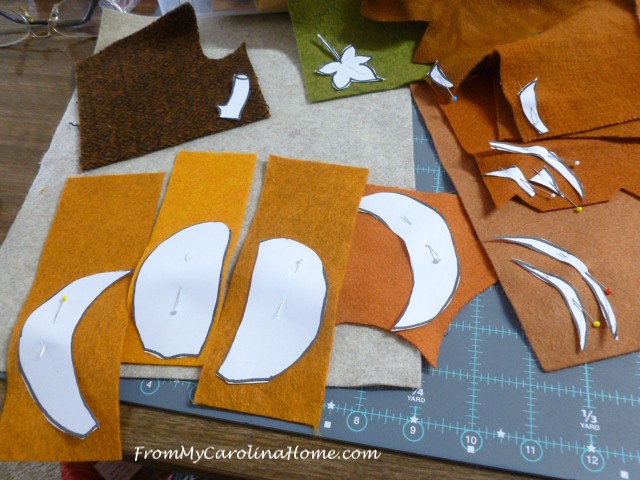
I pulled out the wool felt I had in orange tones. I have several that will work to make a nice shading in the pumpkin.

I cut the pumpkin apart first.

Then arranged the pieces on the wool with the center on the lightest tone and the others getting darker towards the back. I pulled a brown for the stem and a nice green for the leaf.
If you like doing wool, and you don’t have a pair of these Perfect Scissors, you need them. The microserrated cutting edge grips the wool and makes perfect cuts.

I pulled wool threads in matching or near matching colors for the stitching. I had a heather beige for the base that looked nice with the warm colors of the pumpkin. Note that the pieces are cut just a bit bigger than the template allowing some overlap.

Arranging the pieces the pumpkin is looking pretty good. I like the color selections and decided I didn’t need to make any adjustments.

Next was to pin it down, ready to stitch.

Here is the pattern – Pumpkin Season Wool Work Project. The pattern could also be used for fabric collage by tracing it onto parchment paper. I plan to do that, too.

So, load up the needle and start stitching. I began at the top of the pumpkin with the smallest piece. The others will overlap going towards the center.

I turn down the next piece and pin it out of the way so I can stitch the entire piece down.

Two football games later, the main pumpkin is done.

Next will be to stitch the wording, and I am not sure how I will do this. I usually mark with chalk, but that won’t work on this light background. I tried sewing tracing paper, but it wouldn’t make a mark on the wool. A friend said she draws on press-and-seal then stitches through it. That doesn’t appeal to me as I don’t use the stuff and I don’t want to buy a whole roll of it to do one project. The water erasable pen is not an option as I cannot get the piece soaking wet. I think I will use Golden Threads paper to stitch through and see if that works. Then I’ll need to decide if it is going to get any beads. Lastly, I need to decide how to finish it. It will either become a small decorative pillow or a mini-hanging for my little quilt stand. It remains to be seen if I will get it done for this season.
Do you enjoy wool work? Do you have a method of transferring markings to wool?


Hey! That looks great! I did your Thanksgiving one before and loved it. I am definitely going to start using your turn down trick where you pin it back- good idea! I was so jealous of your sleep at home retreat! I wish someone around here did it! Hope you and your Sweet Baboo have a great Thanksgiving! Mary Anne
Press and seal is a grocery store itemLike about the cheapest quilting notion aroundIf you don’t like it you can use it