
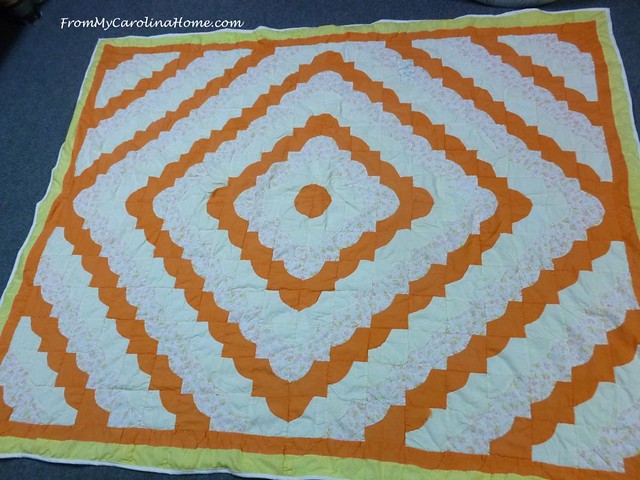
Over the time that I have done quilt repair, I have noticed that most of the quilts I receive for repair are tied and not quilted. This one was like that and really demonstrates how this method really does not hold up to use. It had the usual splits and fabric tears, and the binding was gone.

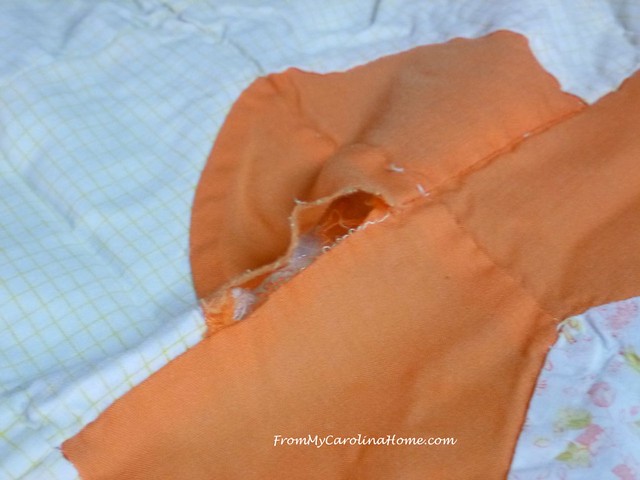
Only one spot was really bad, with the fabric badly shredded so it wouldn’t come together in the middle section. This would need a patch.

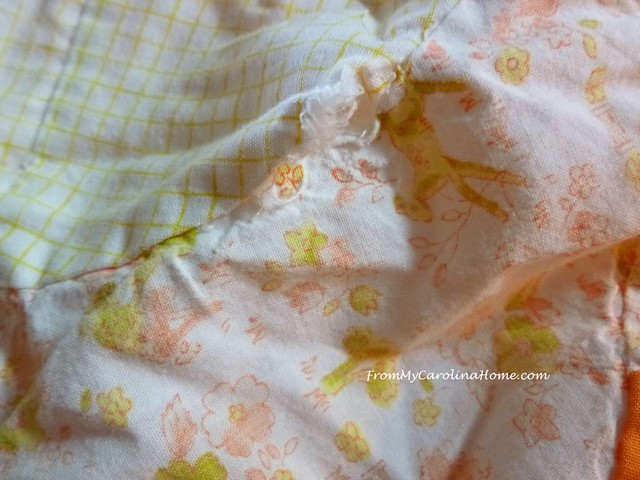
Popped seams here and there could be hand stitched back together.
The biggest issue was the binding was gone. Plus, since it wasn’t there, the edges of the border fabric were fraying. Another issue was that the batting was bunching up, and in places missing from the edge.

Tied quilts do not provide the structure of stitched quilting, so the batting will bunch up and shred during washing. One way to help avert this if you have to tie a quilt, is to use a batting with a scrim. The batting used here was an inexpensive polyester without a scrim.

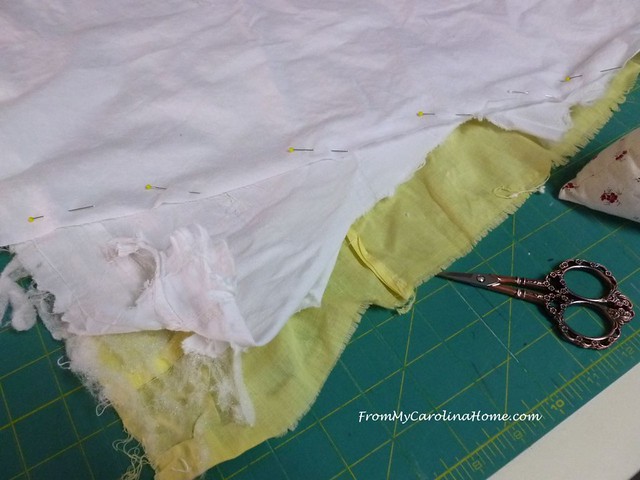
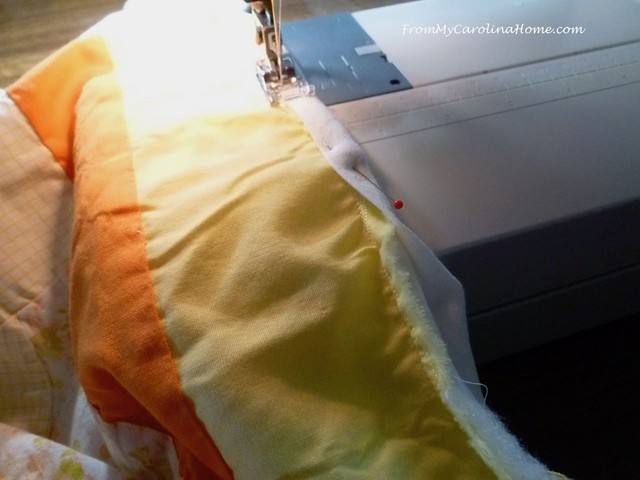
On the edge, you can see that it has become lumpy, and in some spots no longer reached the edge of the quilt.

To counter this, I pulled the batting lumps apart where I could, pulling gently to the edge if possible. Where that wasn’t possible, I added pieces of polyester batting, making sure to place it so the edge seam would catch it, and hopefully hold it in place. The excess batting sticking out will be trimmed after it is stay-stitched.

On the backside, a major rip in the backing near a corner would need repair and batting added.

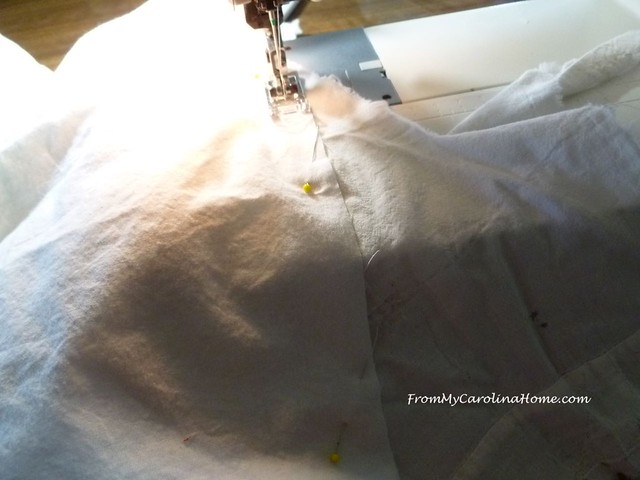
I pinned a section of new backing to the existing backing.
Then I took it to the machine and stitched a seam in just the backing. The new part was flipped down, and the excess fabric underneath was clipped out. I added a bit of batting and stay-stitched the new corner.
New binding was made and attached to the backside first.
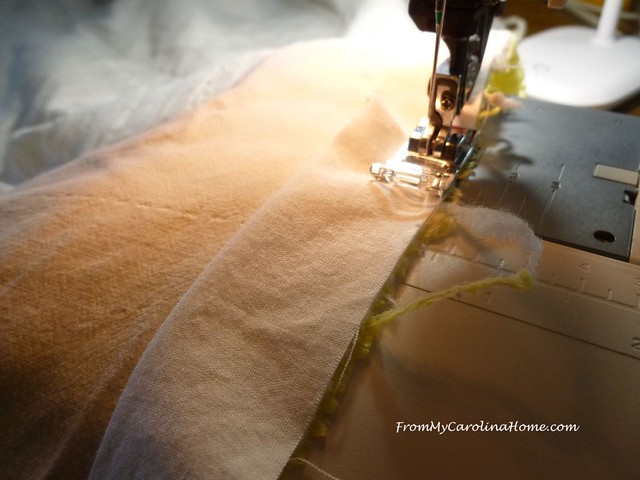
Then it was folded to the top and machine stitched.
Here’s that corner all done.

The customer provided a print for the patch on the top. I made the patch to fit the space, and top stitched it in place.

A bit more sewing on this seam, it had enough fabric to turn it under with some careful pressing.
Then it was topstitched to close the seam.

All finished, it was shipped back to the owner. She was so pleased that she has two more quilts for me to repair next year.
If you have a quilt needing repair, click on my page Well Loved Quilt Repair, also accessible at the top of the blog. It has all the information you need to submit and how to contact me for repairs.

Are you sewing this week?
If you missed the post last Friday about the Quilts of Valor event and prizes you can win no matter where you live, click HERE for that post.

Another amazing quilt rescue!
I’m always impressed with your repairs. No wonder she’s got more lined up for you!
I was a little surprised that she didn’t ask for it to be machine quilted. It seems to me that it would hold up better in the long run with more stitching. You did a nice job.
Fantastic fix!! I can feel the love of that quilt through it’s well worn edges. You are a miracle worker!❤️
Great job, Carole!!! Thanks for sharing via photos and explanation!
Well done!! You have a gift to be able to repair damage like this!! I have a few from my grandmother that my mother gave me to use for my kids when they were little, which i did use for awhile, until i realized what treasures they were and saved them. Now i use them for display only. They were flannel backed with no batting, more utilitarian quilts. Thanks for showing us there could be a way of saving them should they need repair!!
I’ve quilted a few quilts that were brand new and tied. I really don’t like tied quilts and I’m happy to pop the finished quilts on my longarm and quilt them properly so they will last longer. You do such great repairs. I need to repair a few of the quilts my great grandmother made…or ship them to you!!
I went to the Repair Site and you are a Saint. Dog vs. Quilt had me laughing (because it wasn’t my quilt that the dog ate.) The sad state of affairs these quilts were in testified to great love of the quilt. When I give away a quilt I send an envelope of patches “just in case” understanding that I want them to use said quilt. Thank you for being the patient caring person to do this for people. This was also very informative. Thanks.
Another great save, Carole! I agree with you on tying, but I think the older quilts (at least in my family😉) were tied much closer together, and wear better than the ones I see around. What do you see in your area?
I haven’t seen many tied quilts. I imagine it was done because the quilt was needed to be on a bed quickly and there was no time to sit for many nights quilting as it would mostly be done by hand. Probably a case of cold nights need bed covers!!
I can remember my mum sewing fabric squares to old blankets when I was very young. Pretty and warm but not quite a quilt.
Love seeing how you go about your repairs. Very interesting and if you allowed yourself you could probably, just about, remake the quilt. You would have to restrain yourself from doing too much.
Thankyou for another interesting post. Loved your plants and garden one yesterday as well. Always something good to read :))
Good job on that repair. It’s not an easy job, but you do such a great repair. Did you suggest to the owner that the top be quilted to keep it usable for longer? Love your posts on repairs. There are so many like this out there that could be potential repairs. Thanks! Bonnie in South GA
You have done a wonderful repair Carole, I always enjoy looking at the photos to see the steps you take. I can understand why the customer has more lined up for you to repair, family heirlooms coming back to life.
These are some of my favorite posts of yours! I love seeing treasured quilts being repaired so they can continue to be used.
Another great save Carole! I don’t know how you even get started on such a mess! The quilt repairs are my favorite posts! Looking forward to seeing the next two quilts!
Oh my, an exercise in patience, patience! Well done.
I’m always amazed by your quilt repairs! Lovely work!