Every year, I get behind on stamping and creating cards for holidays, so let’s get a head start this year. There are lots of ways to make your own cards, some using stamps and ink, some using elements of cards you received in the past, some with elements of stickers and die cuts. No matter how you make your cards, the fun is in the making and sending. Let’s start off with some of my favorites from last year, using stamps and die cuts. These two are such fun, with stamped sentiments and die cut accents of ornaments on the left and a train on the right. You can attach these flat with glue tape (I like the Tombow Glue Tape, and I use the Tombow Refills in the economical 3-packs,too).

The other way to mount them is with foam dots, which gives the card more dimension. There are lots of die cuts on Amazon, like THESE which make wonderful cards in a jiffy.

On the inside, use stamps and stickers for extra fun.

These envelopes are stamped “Merry and Bright”, and they are sealed with ornament stickers, like those in THIS SET.

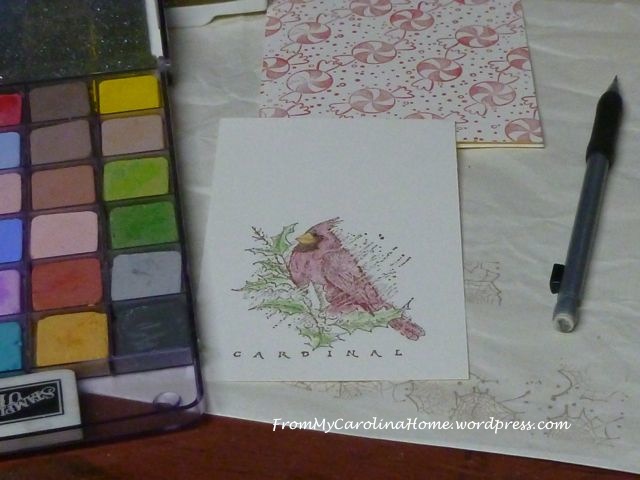
Some stamps lend to coloring with chalk pastels or color pencils, like this cardinal. Recently, I’ve added these Oil Pastels to my studio, for use on cards as well as collage quilting!
Try heat embossing with powder and a heat gun. This glittery green stylized tree on gold card stock is elegant and shiny. For this technique, you’ll need to stamp the image with a Versamark medium, then cover the image with green glitter heat embossing powder. Shake off the excess, and set with the heat gun.

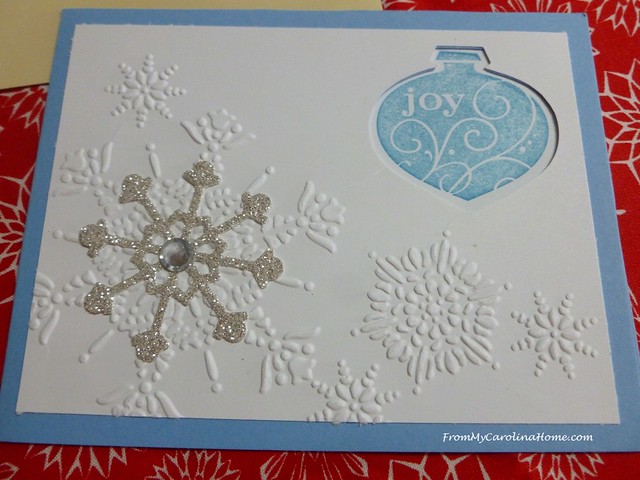
I also like using white embossing powder on dark card stock. Here I did a snowflake on deep blue. The card on the left is a sticker, double mounted with white snowflake die cuts.

I also frequently use white trees on dark card stock for a snowy tree effect.

Using a punch with a matching stamp makes an interesting card like this one from 2016. This particular punch and stamp are from Stampin’ Up, and is discontinued. But they do have other shape/stamp sets. Just punch the shape out of the top, then stamp an image in the space. I stamped the ornament in blue to go with the base card stock. On top, the white is embossed snowflakes, and the silver star sticker was added to the top.
Using elements cut from cards received in years past with ribbons and textured papers, you can make wonderful cards without stamps. This one has a die cut on a horizontal ribbon layered on embossed white paper and dark card stock. On the envelopes, a tree is stamped, but you could also use stickers on the envelope. Inside, this card has two sentiments stamped in two colors, one in red and one in green. You can just as easily print a sentiment on your computer and glue inside. I use a liner in white on dark papers so the sentiment can be seen.

These use the same embossed background white card stock, with cut outs on vertical ribbons. You could use stickers here too.

Pull out the cards you saved from last year, and put them to good use with my post Christmas Card Crafting. I show how to recycle a retail store gift bag into a holiday gift bag, and use your punches to make gift tags, place cards and bookmarks.
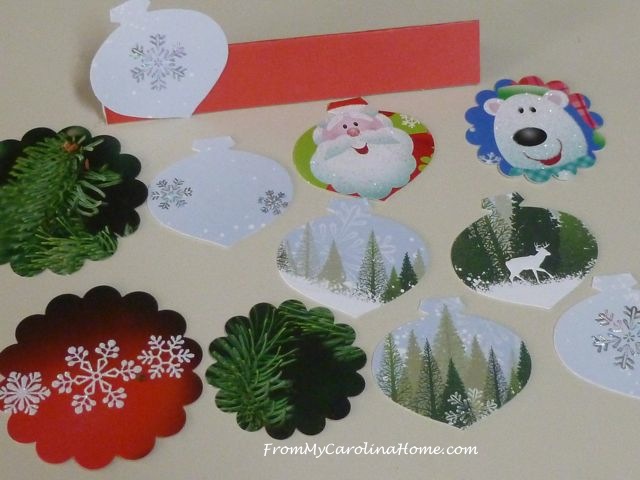
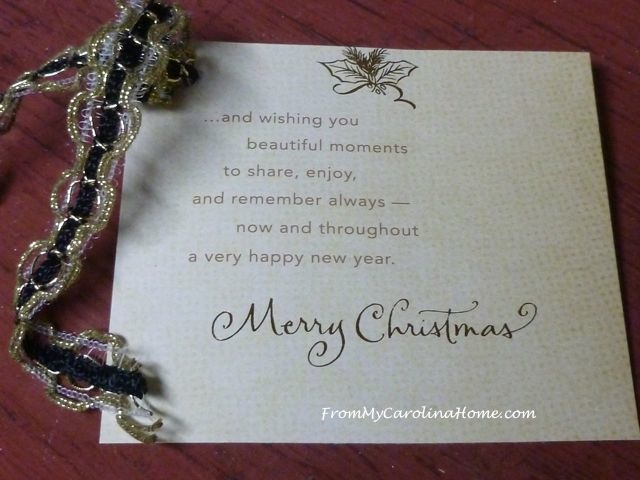
Cut out the inside sentiment, then punch a hole in the upper corner for a ribbon, and you have a lovely gift tag with plenty of room for “To” and “From”.
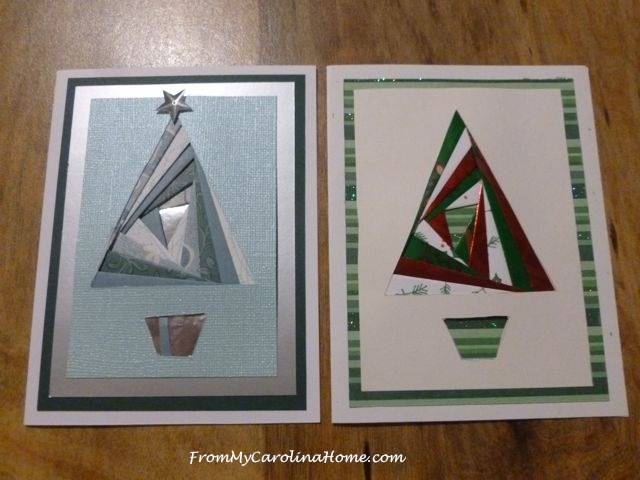
Iris Folded Christmas Cards are amazing and not that difficult to do. See the post for a tutorial.
And now, to really set the mood for your holiday sewing and crafting…
Here’s a Christmas card for you, dear readers, in July!
Enjoy your holiday card making! Make your cards in advance this year so you can be the first to mail to friends and family when December gets here.


Carole, your cards are fabulous. My granddaughters love to make cards. I am going to show them your post and I think it will give them some great ideas. Have a beautiful day!
It’s so smart to get a head start on the project. They are lovely and would be such fun to open at Christmastime.
Thanks for the Jacquie Lawson card. It made me think of my friend Susan who I miss, she used to send them for many years.
Your Christmas cards are so fun, Carole! You’ve got so many creative ideas for them. And thank you for the Jacquie Lawson card – I love those!
Goodness you are off to a fast start….I love J.Lawson cards..so magical
Carole, lovely cards. I make about 50 christmas cards every year, will include some of your ideas. Thanks for sharing
Niki
Thank you for the inspiration and that beautiful Christmas card! I so enjoyed watching/opening it!!
those are very pretty cards. I have never been into making cards but they sure are pretty.
These are so fun! You really make the best of all your crafting and artist skills!
Merry Christmas in July!
LOVED your Christmas (in July) card! I love Jacquie Lawson cards, and yours is no exception. Thank you! Jenny from NH
What a delight, from your beautiful cards to the animation! Hard to pick a favorite technique you used between the embossing powder & the 3D stamp. I’ve tried making cards but they look like they were made in elementary school.
I loved the card, with the animations and a heartfelt message.
thank you so much…wouldn’t mind a little snow now…LOL…
Such a great idea to start early on the cards. I’m usually rushing at the last minute making up cards but it is so nice to send a handmade card. Thank you for the lovely card which both my husband and I enjoyed watching more than once. :))
Mary :))
Wow, Carole, so many great ideas and such great explanation on “how you do it”. I enjoy making cards, but never seem to achieve the quality that you do. I need to practice!
There are so many here that are really cute and you do such a beautiful job with them. It’s a good reminder to me to get my tail in gear and do some this summer.
Adorable. In this summer heat it makes me look forward to winter’s cooler temps. Thanks
Carole-thanks for all of these great ideas. I am going to use your links to order some of the cute die cuts and the embossing base and powder.
And that card at the end was SO cute. I forgot for a few seconds that it is really hot down here in Texas!