
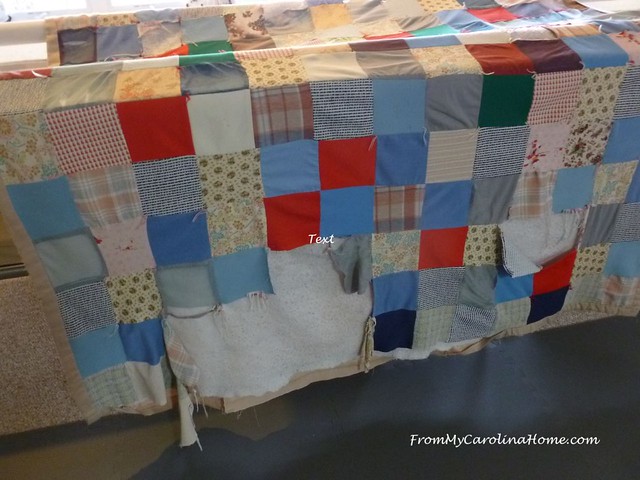
Staying at home most of the time right now gives me a chance to make some headway on the backlog of quilt repairs. This one was so typical of damage on tied quilts. The ties just don’t hold the layers together well, and the top is often a different size than the back. In this case, the backing is significantly larger than the top, yet in places the top has more fullness than the backing due to the ties not being consistently placed. An added problem is the binding is ‘wrapped over’ from the backing fabric. Honestly, the very best thing to do with this one would be to separate the layers, add the patches to cover the holes, and properly quilt it, but there were several problems with that. First, the fabrics are mostly knits and some heavy weight fabrics like corduroy and houndstooth that wouldn’t be easy to quilt. Second, the customer’s budget wouldn’t allow that. So, the only thing to do within his budget would be to machine stitch patches over the holes, and reattach the binding.
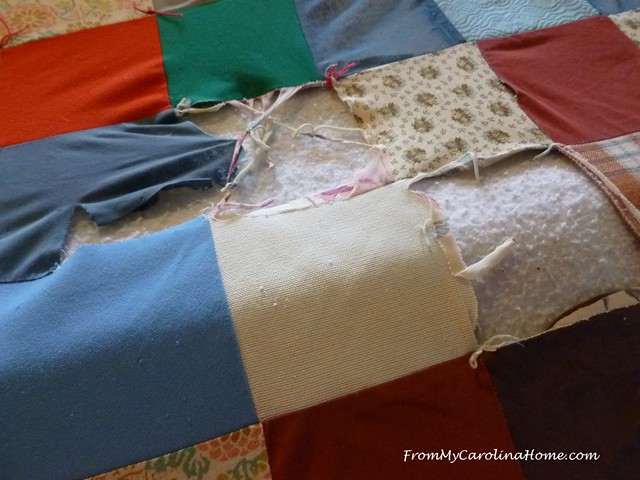
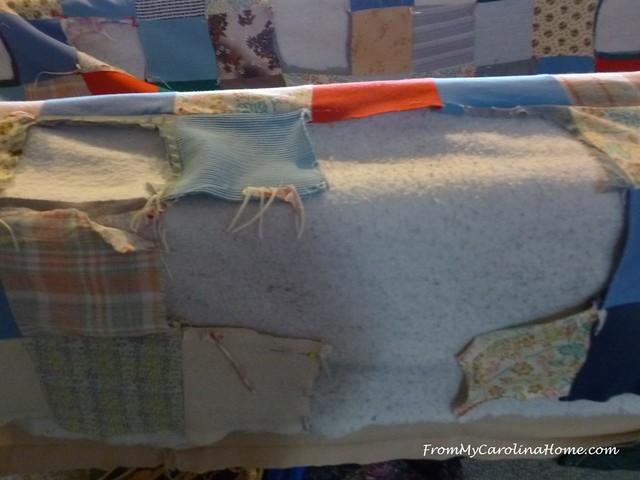
Luckily, he hadn’t washed the quilt with the holes, or this batting would be gone.

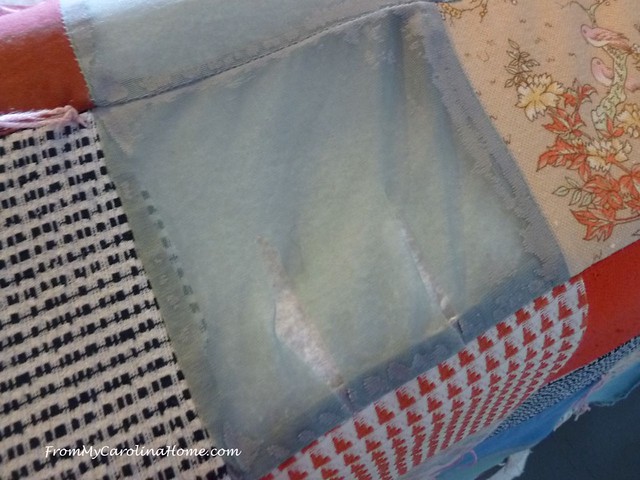
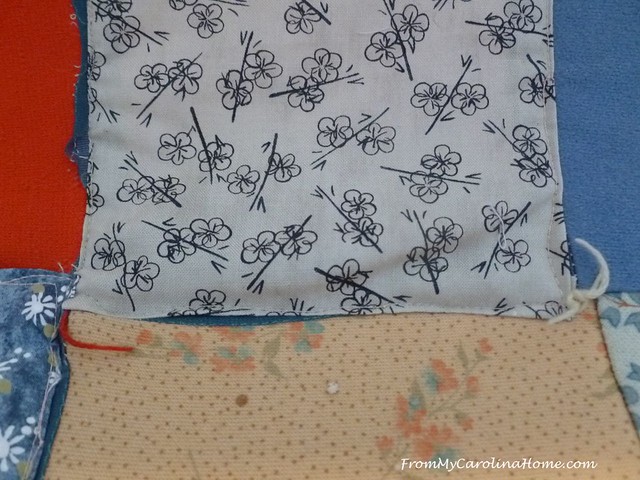
Some patches weren’t completely gone, just torn. This one was a very thin knit fabric, like lingerie fabric, so thin you can see through it. It was sewn to heavy weight upholstery grade tweeds on two sides, and shirting weight on the right.
In spots, the owner had taken the strings left and tied them together.
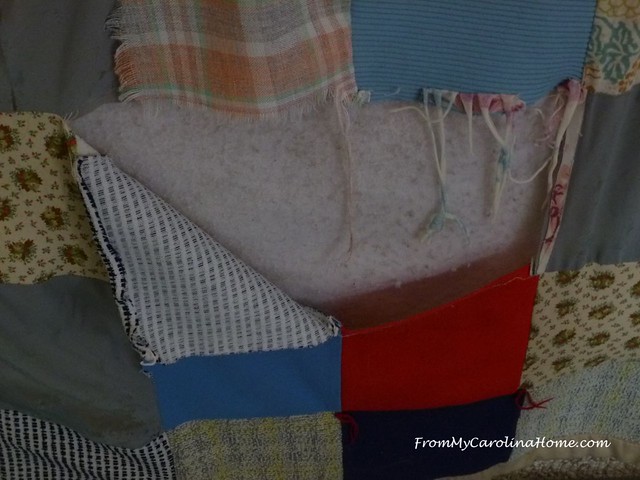
In other spots, the patches were OK, like this black and white one hanging. The plaid one above it, though, was raveling.
Laying the quilt out flat, you can see how much bigger the backing is side to side, while the top is larger top to bottom between the ties in this section. This is going to create issues doing a machine repair. I explained to the owner that the backing would end up with pleats where the patches would be stitched on top, but he didn’t care. He just wanted to be able to have it on his bed as it was his father’s quilt.

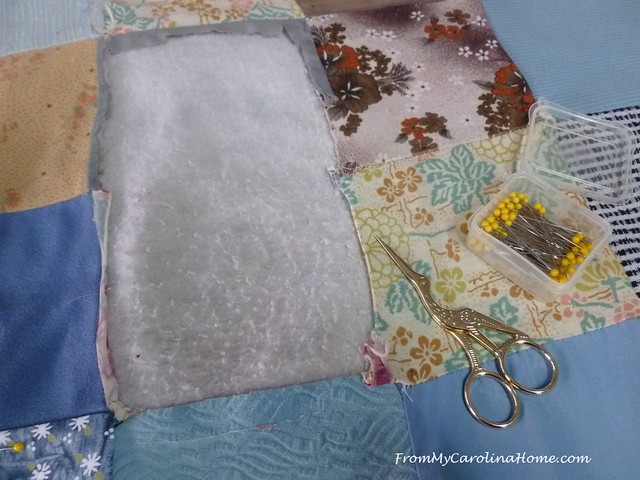
So, I began making patches for the holes, starting with the largest one.
I sewed patches together before pinning them over the large hole. The entire patch will be topstitched into place on the edges.

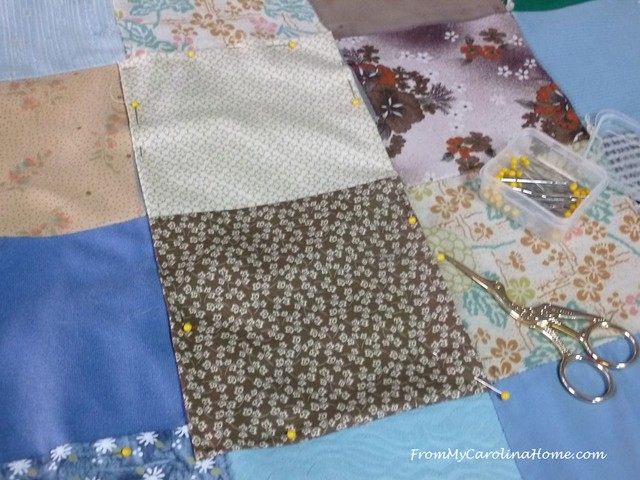
Then I began making patches for the smaller areas. This one would need two sewn together.

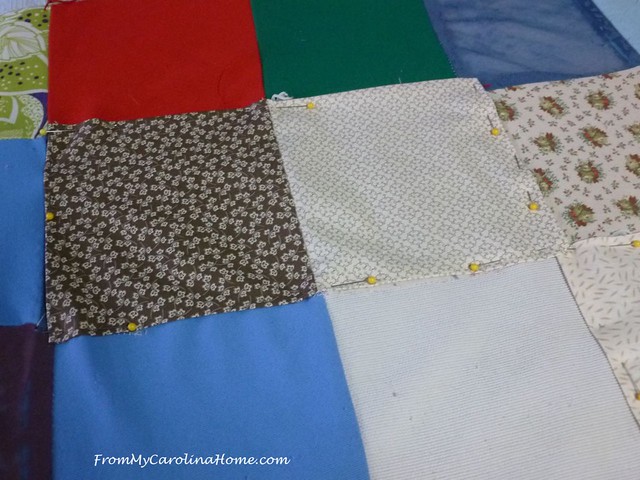
Here they are pinned in place.
Patches for edge sections were made and pinned, then the binding was refolded over the raw edges.

Another section needing two patches is shown here.
The prints I chose for this seem to blend well with the existing colors..
When I had all the patches made, I began with the edge, sewing those patches with my domestic machine then restitching the binding all the way around.

In places, that excess had to be worked in as best I could. Finishing the edge first would allow it to be loaded on the longarm for the majority of the repair. It was much too big and heavy to do the interior patches on the domestic.

So, loading it was next. Once again, the disparity in size of the patches created fullness all over. I just flattened it out as best I could, working some of the fullness under the new patches as I went.

Unfortunately, the thickness made it difficult to sew a straight line in many spots. Once again, I pointed this out to the customer, but he really didn’t mind. I did give him a discount on the work, which he actually refused. So we met in the middle, as I didn’t feel that this was my best work.
It did teach me a lesson, though. Quilts like this can only really be repaired by hand, but that would have been way beyond his budget. Thank goodness I had a customer who didn’t mind that I learned this lesson on his quilt. He was delighted to have it repaired and usable again.

He thought the new patches worked in well, too. Cannot argue with a happy customer!
So, now I have another tied quilt to repair, and it has 80 patches that need replacing, all by hand. It will take a while, but the next customer doesn’t mind paying the cost of that kind of work. I’ll show it to you when it is done, but that will be a while, LOL!!
What are you sewing this week?

How do you decide what is worth repairing and what is not. ?
That is a conundrum sometimes. Mainly I ask to see photos so I can determine if it is something I am able to repair, then discuss what is needed with the customer and the cost. Sometimes the damage is just too great and I’ll suggest that they do something else to preserve the memory like framing or making pillows. Sometimes the cost will cause the customer to change their mind and not do the repair. Sometimes it is something that I just don’t want to tackle so I’ll decline to take on the task. Then other times, like the one I am doing now, it is a simple repair, just a lot of it, and this customer said money was no issue as it is so precious to them. It is going to cost them close to $500 to do their repair, but they said they’d pay more if needed.
Jeepers you have courage, Carole! Oh my. But every time I see you do one of these I think maybe I can repair my old twin quilt that my grandmother made for me in like 1958 or so. I think there is only one fabric that failed, and your inserting new patches with topstitching looks doable. It would be a joy to just have it out to see, not to use hard again, just like your customer said. Thanks for sharing!!
Thank you for the walk thru. I think I will repair an antique quilt I have.
Jackie
You have alot of patience, Carole. Given the constraints you worked woth, I think your repairs are brilliant.
Your quilt repair skills are a gift of love. Stay well!
How do people let them get that far gone? You do beautiful work. I’m always impressed with your repairs.
What an enormous task…..I’m sure the customer is so grateful for your expertise!
I have tackled a number of repairs, all by hand and never machine, because for one I had no machine. This was a great tutorial for me. I appreciate your work and skill 🙂
You have a lot of skill and patience to make such a clever repair. Congratulations, no wonder your customer was thrilled with the result. Good luck with the next job, that sounds a marathon.
I love that you have the gift to return loved family quilts to continue to be used, almost as much as the fact that there are really people that hold dear the work of the family members long gone. Beauty is in the eye of the beholder and to your client it is beautiful!
The patches do blend in very well, and knowing that you have a happy customer is priceless.
You are such a quilt miracle worker, Carole!!! Great job! And thanks for sharing how you did it with us all.
I think you did a great job with this repair. Your new patches blend in so well you don’t notice them at all. Appreciate you sharing the steps with us. Fascinating but nothing I want to do for someone else. Did it once and said never again! Can’t wait to see the next one you tackle! Have a great day!
Carole, seeing the first few pictures I thought there must be a lot of sentimental attachment to this quilt because it is just not worth repairing! Corduroy and knits; oh no! Then you wrote that it was someone’s father’s quilt and so I understood! You did a wonderful job with what you had to work with!
Wow. I felt like I had sewn every stitch with you and worked on this love quilt. Glad the customer was happy. You did a wonderful job
Keep up this great work repairing quilts. You appreciate the new quilt process even more. Stay safe and healthy
I hate to hear you say this wasn’t your best work. You did the absolute best you could with what you had to work with. Your customer was happy with the quilt that was returned to him. It WAS worth fixing! Clearly, this was very sentimental to the owner.
Great work on repairing the quilt. I’ve got a commercial comforter here that the customer would like saved if possible…..note the word if!
Hello Carole, I enjoy reading these posts on you repairing quilts. It takes a lot of guts and patience to figure it all out with all of the steps from start to finish. I do not think in the past that it had occurred to me, how much time and emotions on everyone’s part there is to making the decision as to if the quilt is repairable and then going into figuring out all of the other details and coming to the cost and then having to once again make the choice if the family can afford it or if they still want to. Wowsers, there is a whole bunch of emotions involved. So, I give you and anyone else involved in this process a high five and so much respect!!
My Mom has asked me to do some repairs on the very first quilt I ever made. It was a scrap log cabin and it has some small areas here and there, in the seams, that have come out and need to be fixed. I told her I would and now, I know it is time to stop lolly gagging and just do it! Thank you for continually showing these repairs and even though it took me a long while, it finally connected for sure that it is not something to just wait on for awhile.
I am having a tough day getting going. I hope that you are having a better day and hopefully playing outside in your flowers some or finding another full filling activity to keep yourself happy! Have a wonderful day!!
I think you did a fantastic job with the quilt Carole, so many problems to sort. Your customer sounded like he just wanted it useable again, it obviously meant a lot to him. Thanks for showing us how you did the repair.
You are The Repair Goddess! And to it it once for this gentleman and for a lot of others as well…
We applaud your strength. That was so over the top – Loved to Bits my mother would say. Since I read the last post about repairs you inspired me to repair one of mine as well. AND you have given us some helpful tips about tied quilts, odd fabrics together, I always feel the equation of “when you do this – this is what to expect.” But would love to hear the stories of all those fabrics. Maybe a favorite shirt, a favorite apron, looks like there was some personal items as well. Thanks again for inspiring us to get going on our own repairs.
That is impressive!
That is a very big task to take on. Great result. Not surprised your customer was happy.
You are amazing Carole. To tackle. Repairing quilts which are so damaged. Pity people don’t come to you before. Their quilts are falling apart. Admire you greatly. Stay safe.