
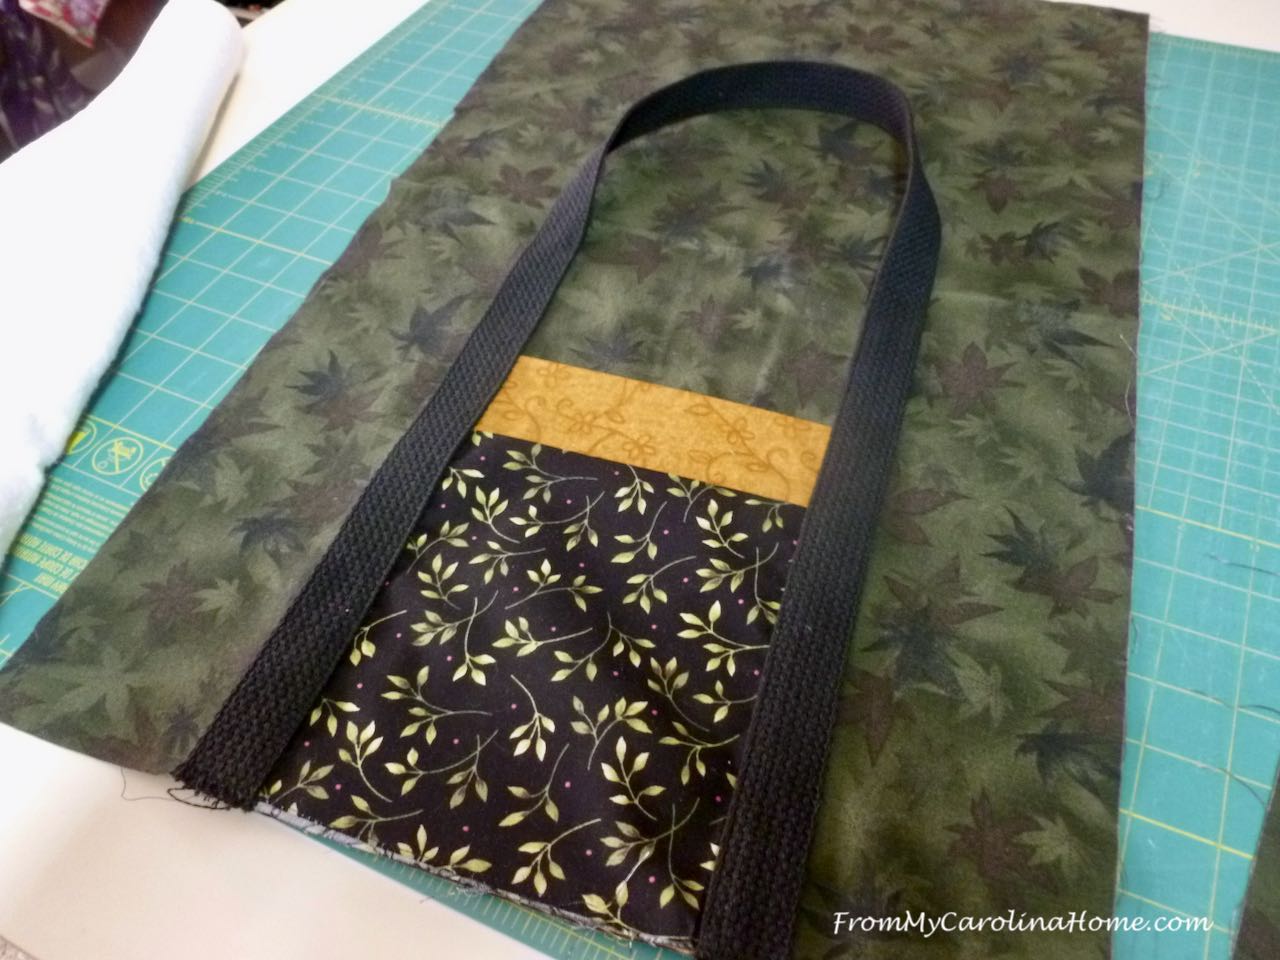
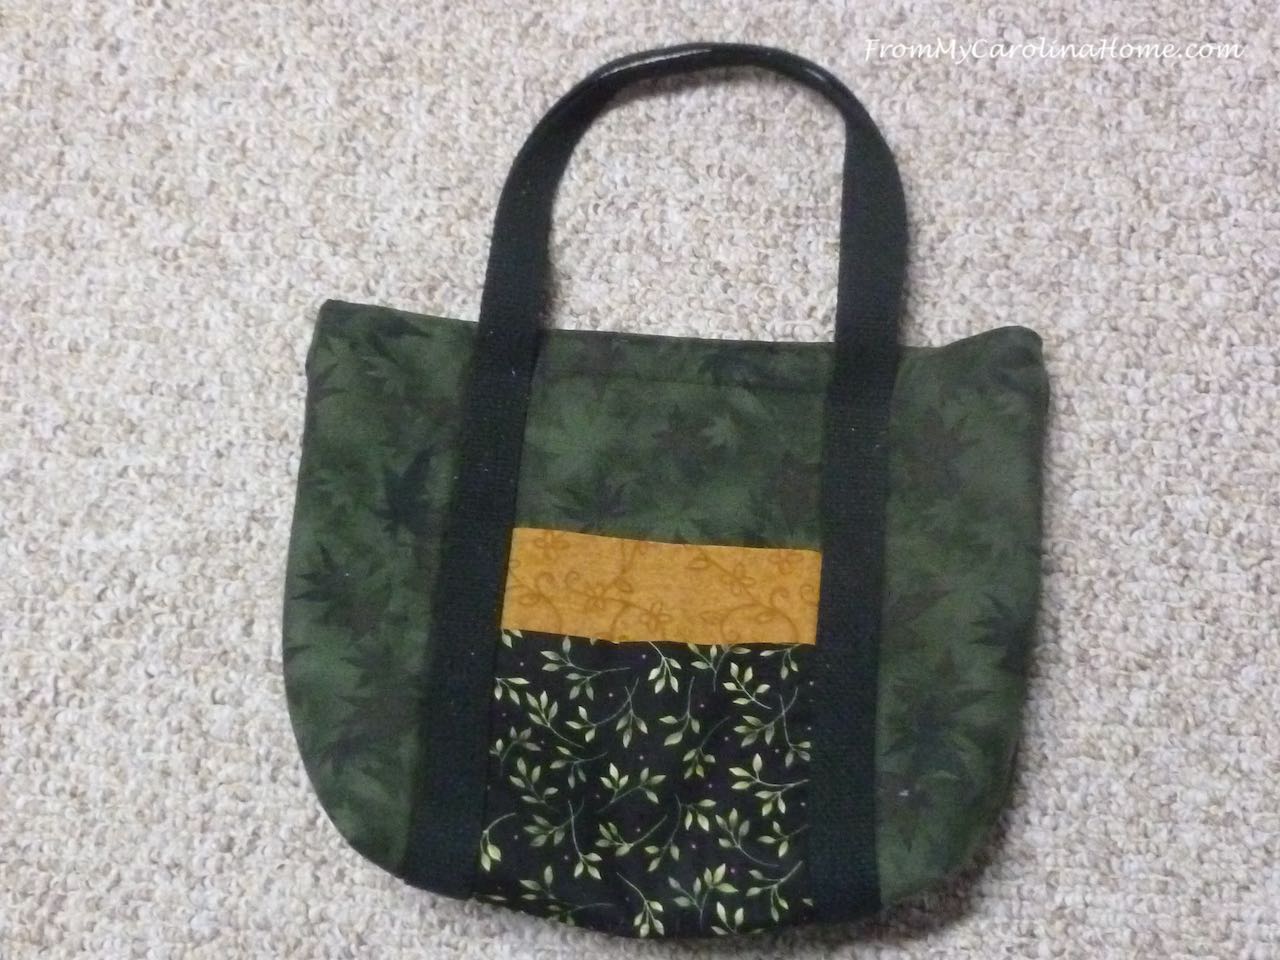
Today we finish up our Autumn About Town handbag. I am already getting comments from strangers as I carry this purse around town doing errands. I added a little lagniappe to it, and I’ll show you that at the end of the post. When we left off, the sides of the bag were done. Did you get this far stitching down the webbing handle?
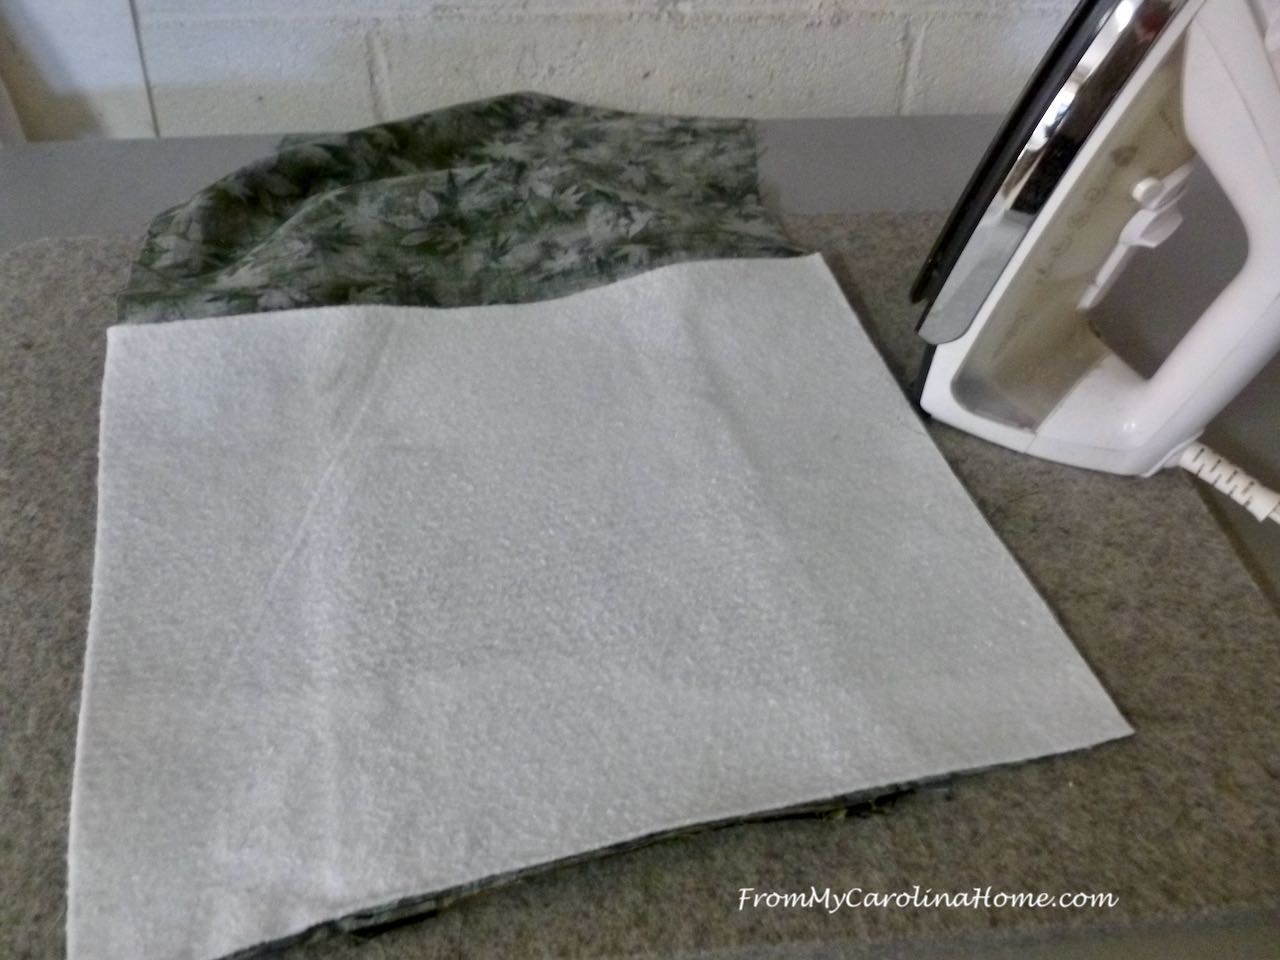
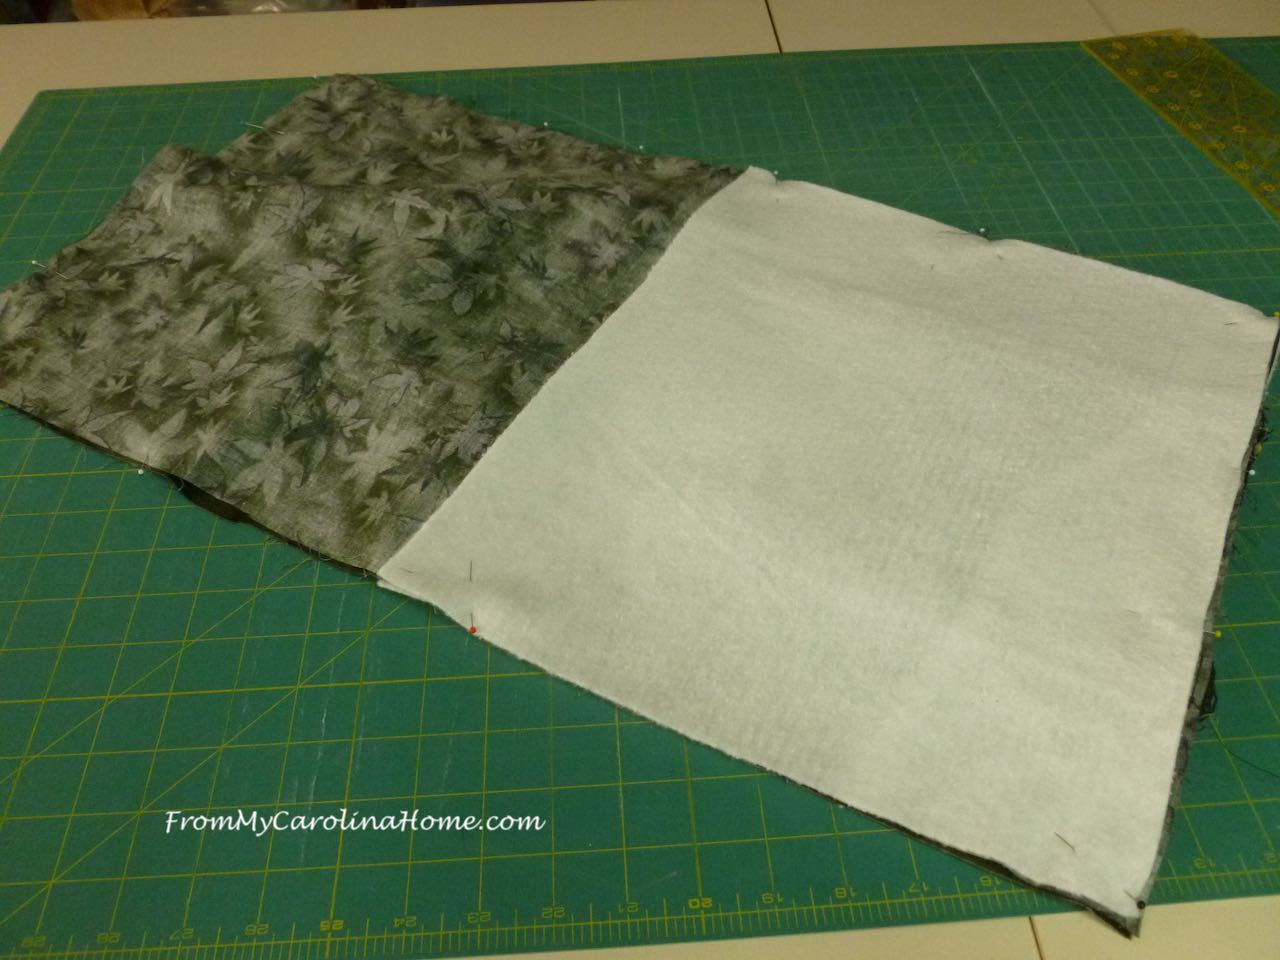
Next, on the wrong side of the fabric, on the end with the pockets, fuse batting to the base following the manufacturer’s instructions. Repeat for second base unit in the same way.
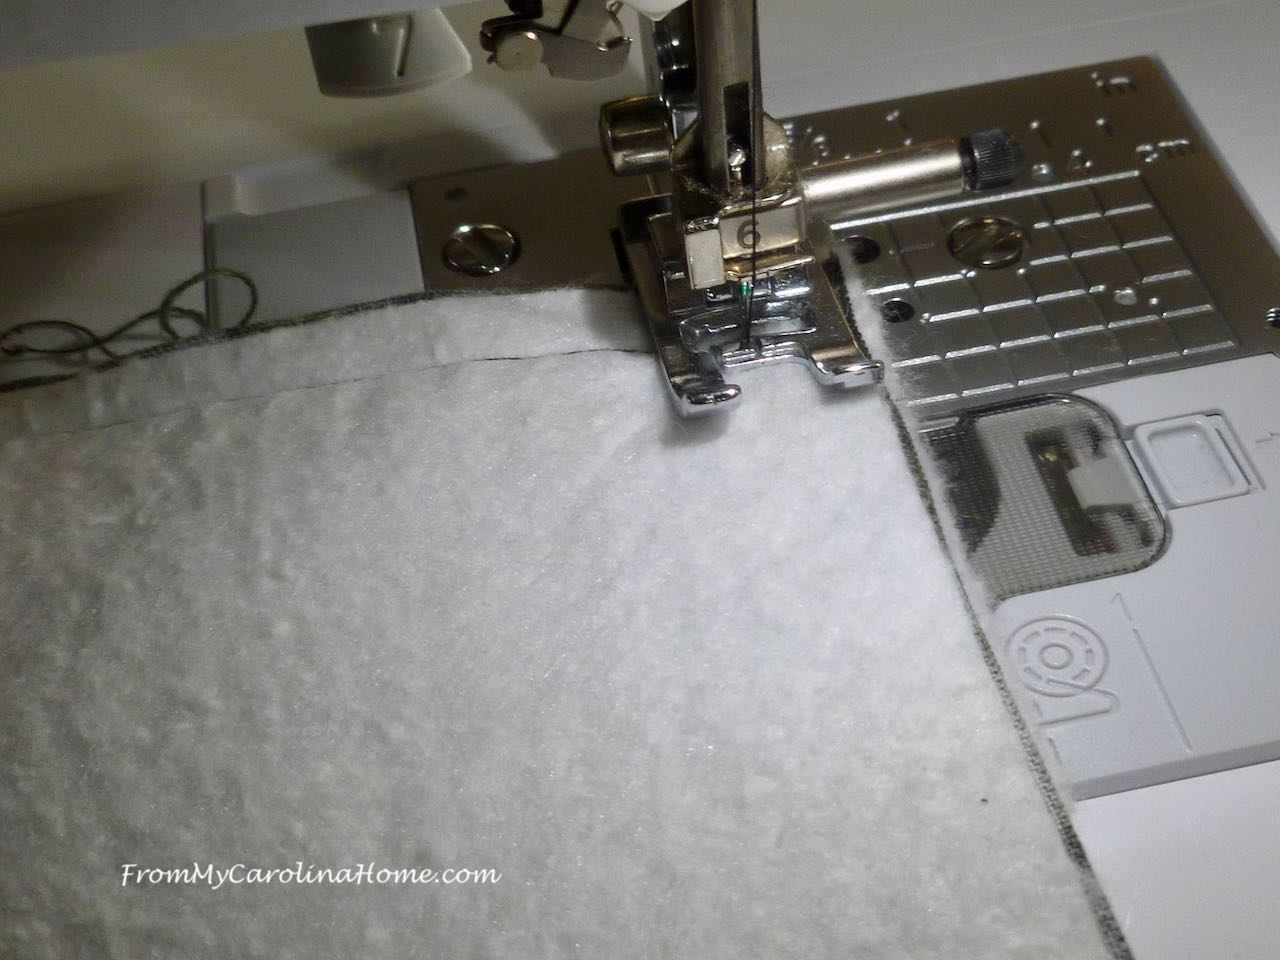
Meet units right sides together, matching webbing points on the bottom and ensuring the loose handles are not in the path of the stitching line.
Leaving an opening in the lining end, stitch around the bag, pivoting at the corners, and ending at the top edge. Clip corners.
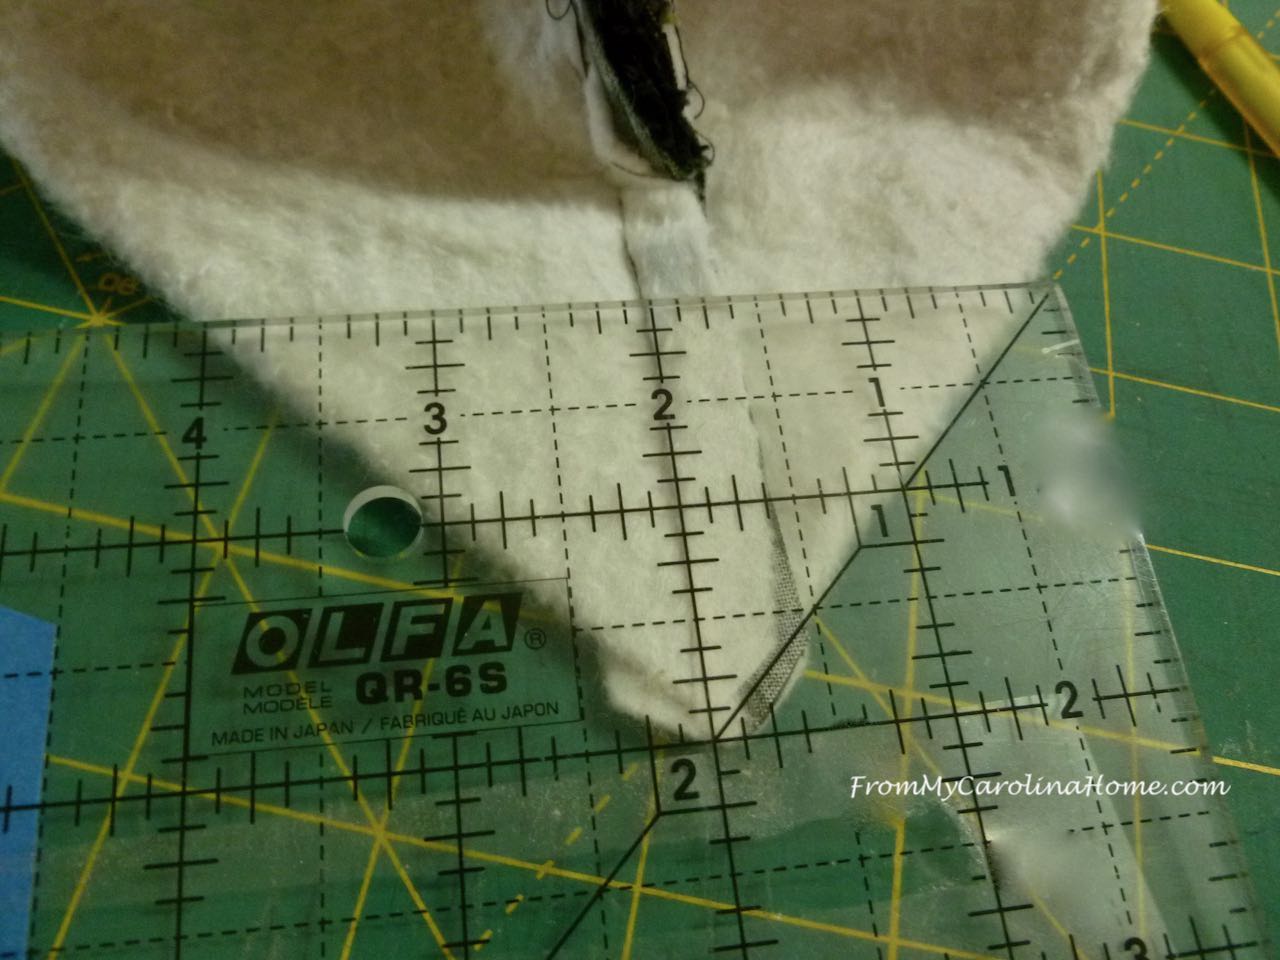
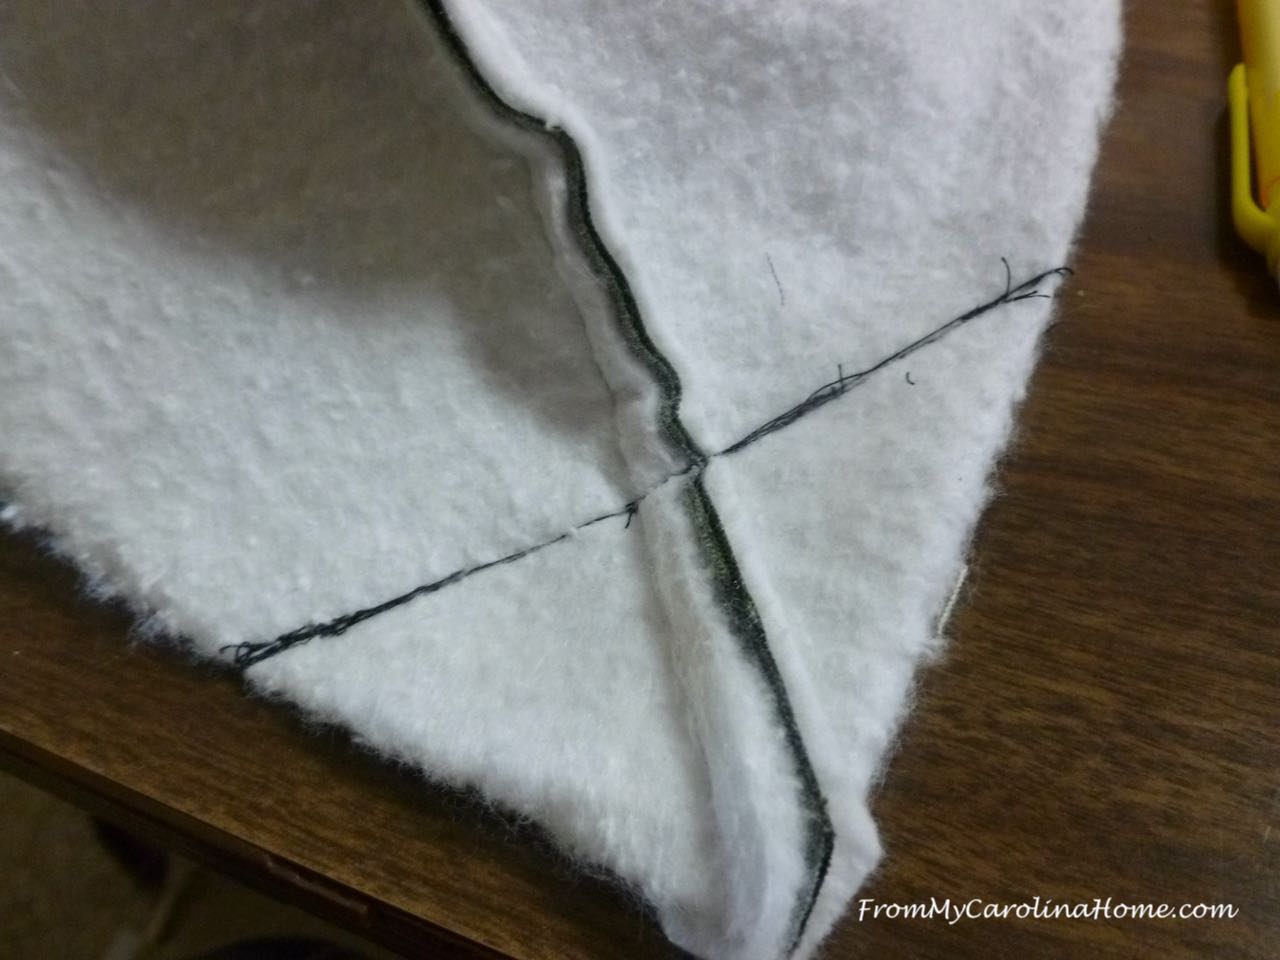
Box the corners on the bag and lining. Fold the bottom corner out with the seam in the middle creating a triangle point. Draw a line perpendicular to the seam two inches in. Sew across the seam on the drawn line.
Repeat for the other corner.
Turn right side out. Push the outer shell corners out with a chopstick or similar. Fold in the seam allowance on the lining and stitch closed.
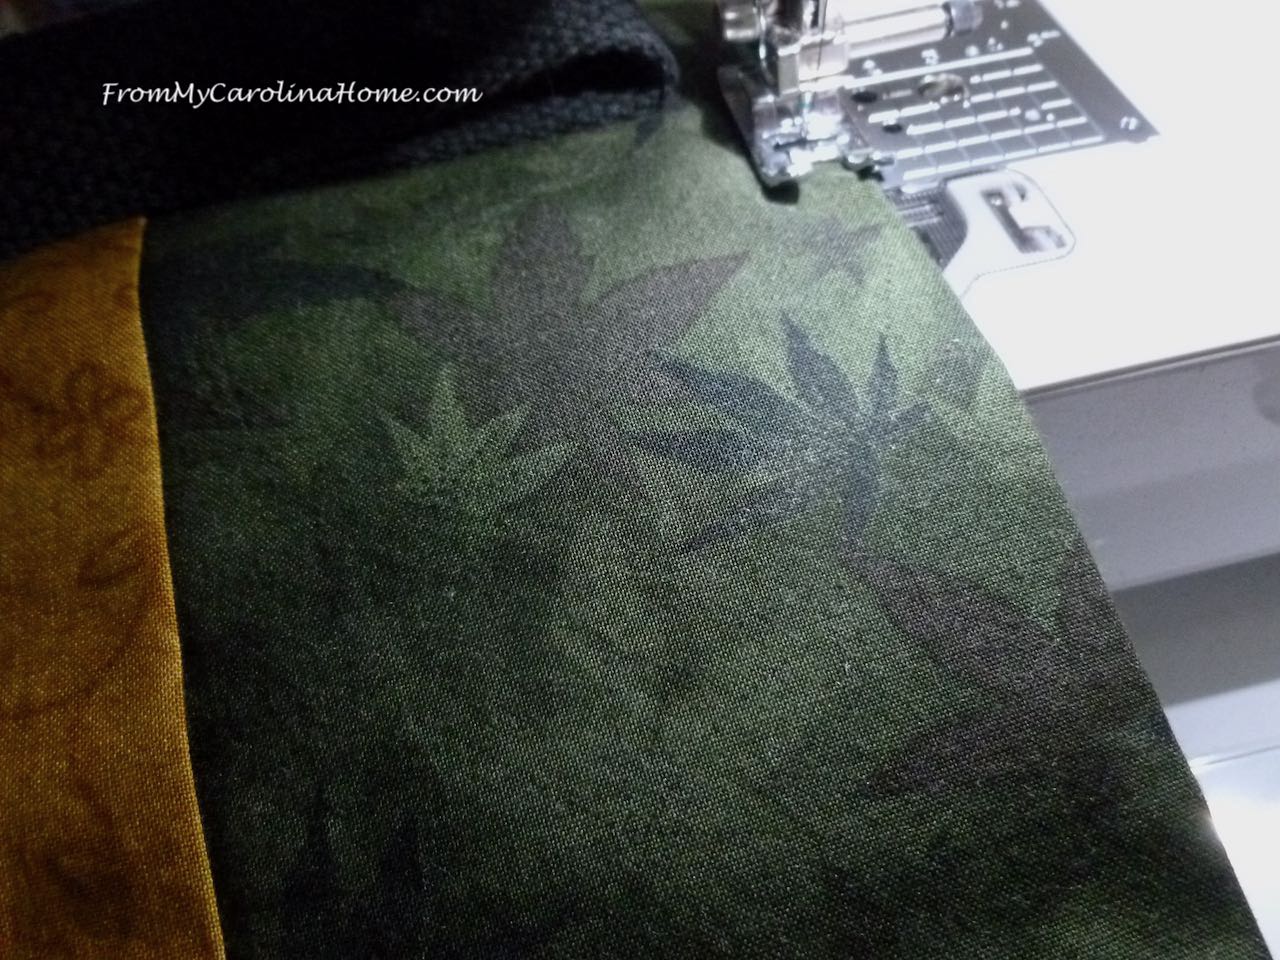
Push lining into bag. Finish with a line of top stitching around the top of the bag, under the handles.
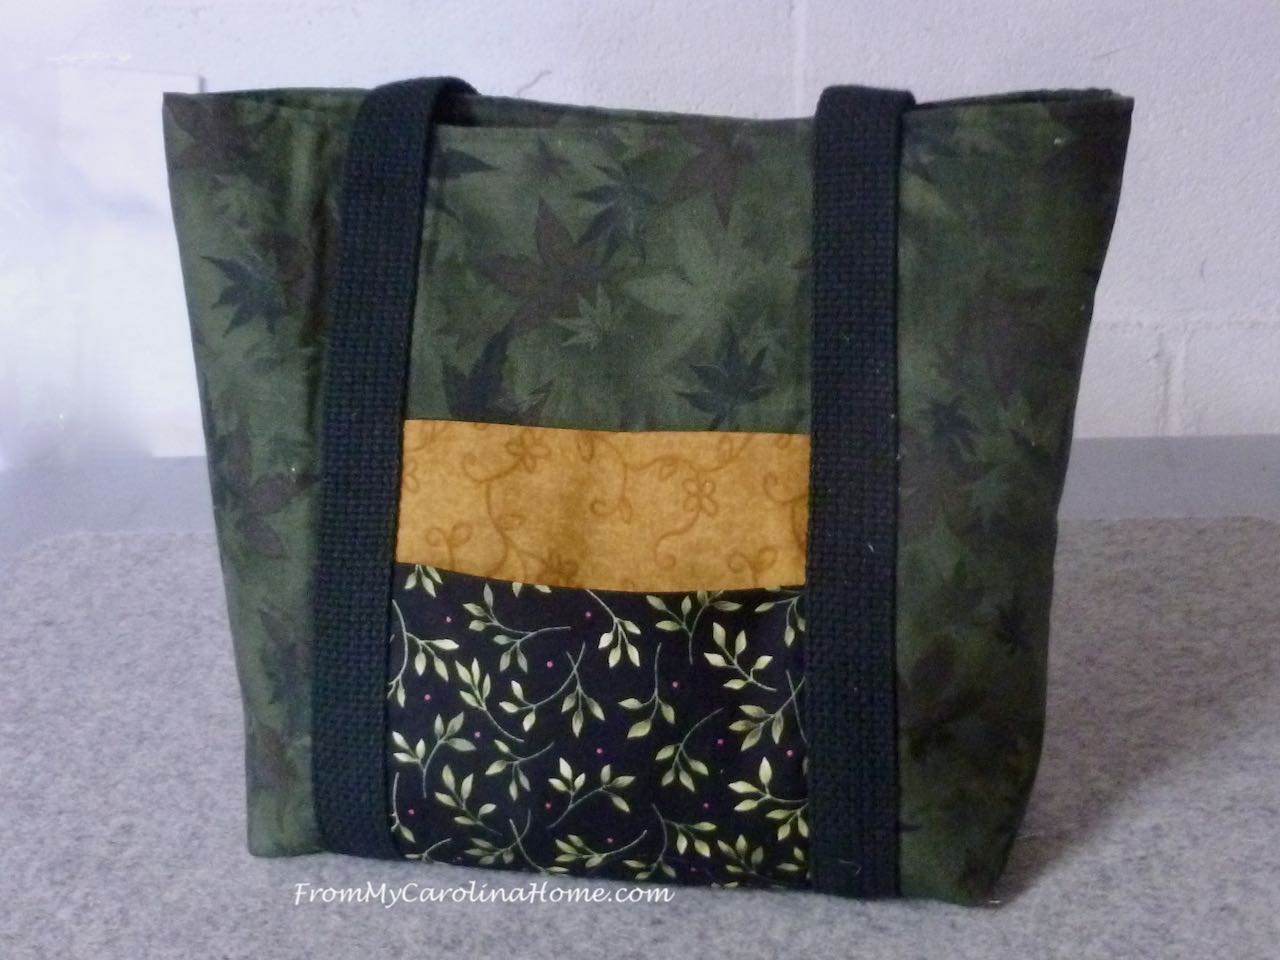
Now you have four pockets, two on each side so both the front and back are the same. If desired, add velcro as a closure. I also stitched a line across the bottom where the bag sits when open, to prevent keys from slipping too far down.
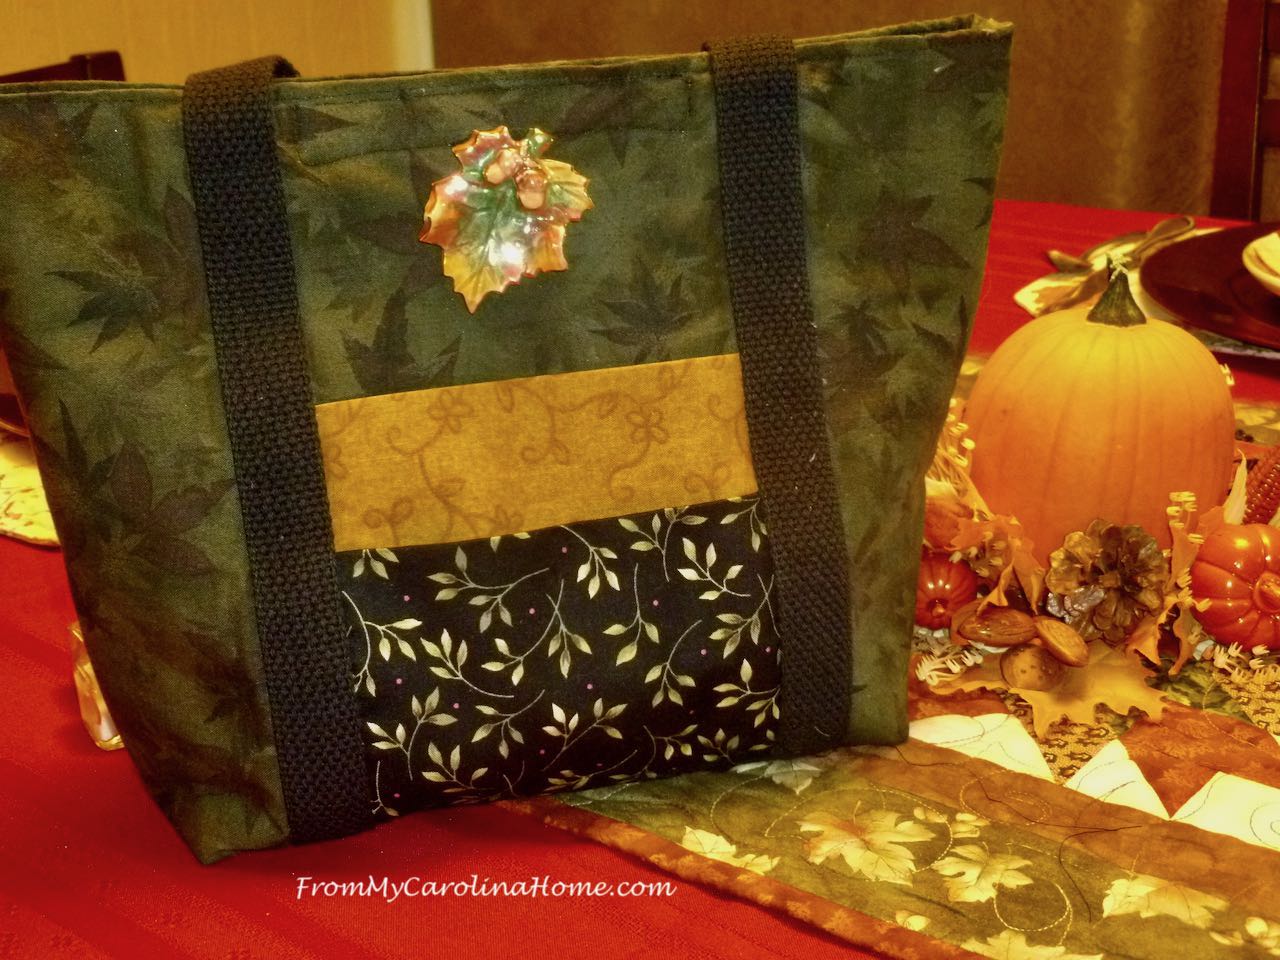
I thought I needed just a little extra for the side I would consider the front. So, I added a decorative pin. I’ve had that leaf pin for a while, but I’ve been seeing lots of them in the thrift stores lately. I might change it out with a rhinestone one, because you all know what a magpie I can be when there are sparklies in sight.
Keys and cell phones stay apart to prevent scratching, and lip gloss is easy to grab. These days a mask might live in one of those pockets too. Here’s a pdf for your sewing room – Autumn About Town Purse Finishing.
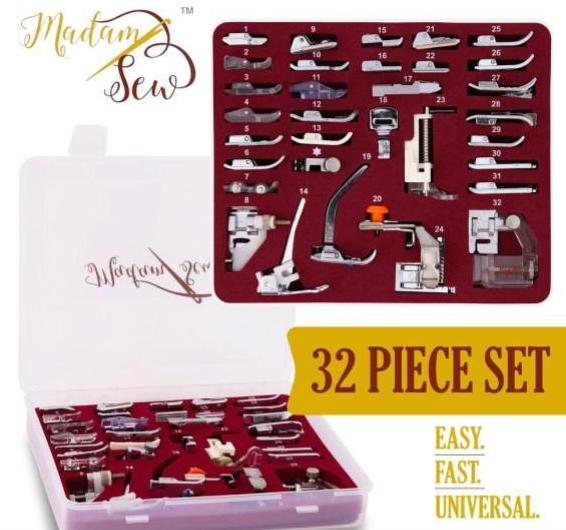
Today’s giveaway is sponsored by MadamSew, an Ultimate Presser Foot Set! I have this set, and it is so very useful!! The adapter makes it usable with most machines. Right now, MadamSew is having a Customer Favorites Sale with free gifts with your purchase. Thank you for using my affiliate links when you can. The rotary cutter blades are the best price I’ve seen in a long time!
What Customer Favorite would be your choice? Leave a comment on this post, then click on the Rafflecopter button below to enter.

Great project…..esp. love that green leaf print.
I could go crazy with Customer Favorites! Heat erasable gel pens, rotary blades, rotating cutting board, and a quilt storage bag. Oh, my!
Love your bag!
Thank you for another great tutorial. I love making bags. And seeing the rotary blades on MadamSew’s site, is making me ask myself when I last changed mine!
I’ve made other tote bags from your website using jelly rolls, but this one looks so handy with all the pockets. I’m interested in the heat erasable fabric marking pens from Madam Sew’s.
See many favorites to choose from. The rotary mat is essential and I love the pre-wound bobbins!! Thank you for the giveaway!!
I love your easy double pocket construction. I’d love to get the pincushion for organizing needles.
Love the bag. They make great gifts! I like the rotary blade refills. I never can seem to have enough of those!
Hard to choose a favorite item. I noticed recently that my rotating cutting mat is getting pretty worn out so that’s a good choice.
Thank you for the tutorial for the bag. That is on my to do list now!
I love the deep green leaf fabric in your purse, it feels like a walk in an evergreen forest. I look forward to finishing mine. I’ll be using the it for knitting, it’s the perfect size for a sweater or scarf. I’m always looking for help sewing straight & I see Madame Sew not only has just what I need, it’s a favorite, so I guess I’m not alone in that department.
Your purse is very pretty, practical with pockets galore! Thank you for sharing your directions.
Such a great idea to make a double pocket! There’s always enough “stuff” to fill them!
I’d choose the Heat Erasable Fabric Marking Gel Pens from MadamSew.
duchick at gmail dot com
That’s a great price for zippers for making bags. Love the variety.
That is a perfect bag for errands. I bought a cheap wool mat I don’t like, so I’d like to try theirs!
My customer favorite would be the wool pressing mat. I have a small one and would love to go BIG! Your purse is really nice and looks to be so handy!
The wool pressing mat is appealing.
Wool pressing mat OH MY! I find upholstery fabric samples from time to time. This pattern is perfect for this type of fabric. One I have filled with “essentials” that I leave in the car, dog bowl, tissues, flashlight, new toothbrush, folding slippers, a paperback book, extra dollar store glasses just in case the spirt moves us to keep moving on (or bad weather catches us out and we have to stay in place). Thanks
Your bag is lovely and oh so perfect for Autumn. Fun to have a seasonal bag. I love to see customer FAVS when I shop. I’m particularly drawn to the wool pressing mat (I have never used one – shocking) and the set of zippers!
Sew straight sounds interesting.
Thanks for sharing the lovely bag. I think I might need a new wool pressing mat or maybe a new rotary cutter.
How wide is the strap webbing?
Any size you like, mine is 2 inches wide.
I would choose the Rotating Cutting Mat 12″ x 12″.
You can never have too many totes and this turned out wonderful! Thank you for the tutorial.
Lots of favorites..but for now..I’m saying my fave is the “Sew Straight Set (5 Piece Set)”
Thanks for the tutorial. I also use a wool pressing mat and love it because the quilt blocks end up so flat.
The assorted zippers (for bag making) look interesting and also the large rotary cutter.
Nice purse. I would love the wool pressing mat.
The bag is perfect for the season.
Marion
I’d love to have a rotating cutting mat from Madam Sew! I’ve gotten some webbing for my bag handles, but haven’t done any sewing on the bag yet. I’ll get there! Yours looks great!
Your bag is beautiful! Thank you for sharing the tutorial. I’m definitely going to make one of these. As for customer favorites from Madam Sew, that magnetic seam guide looks intriguing. I could sure the help in sewing straighter seams!
Is there also a pattern for the tiny tote pictured?
See the first post for the cutting instructions Autumn About Town Purse Part 1. And follow my blog so you don’t miss a thing!
Rotary blades , always needed 🙂
Cute bag! rotary blades are always a good thing to have on hand
I have several of their favorites, and the customer service is excellent. Anyone who wins this set will be thrilled, as I was about 2 years ago when I won mine! the wool pressing mat is definitely worth the investment. So glad to see that Madam Sew now has the 60mm cutting blades!!
I like the larger wool pressing mat. Mine is really too small when pressing multi-piece block parts.
I love the wool pressing mat and need rotary blades! Love the bag!
I like the Machine Embroidery Thread – 40 spools of 500 yards set. I did not have any embroidery threads yet!
Awesome bag. Thanks. I would love either the rotary blades or the fabric marker pens. Thanks
I am just going thru my e-mails. I have finishing the purse, but I cannot find the start for fabric etc. Is ther anywhere I can go to see this info. Thanks.