
Before we get started, I want to let you know about special sale. Impression Obsession has fabulous stamps for cardmaking and scrapbooking and they are having a flash sale until tomorrow!! Get 25% off with promo code FLASH, just click on my affiliate link.
Moving on to sewing today, the final two blocks in our Vintage Christmas Quilt Along are the Mug and Stocking. After doing ten other blocks, these went pretty fast. By now we are all familiar with how these instructions are written and where to look for extra information on the illustrations.
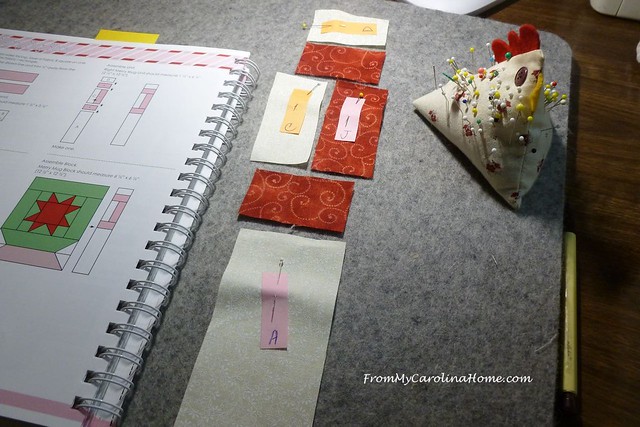
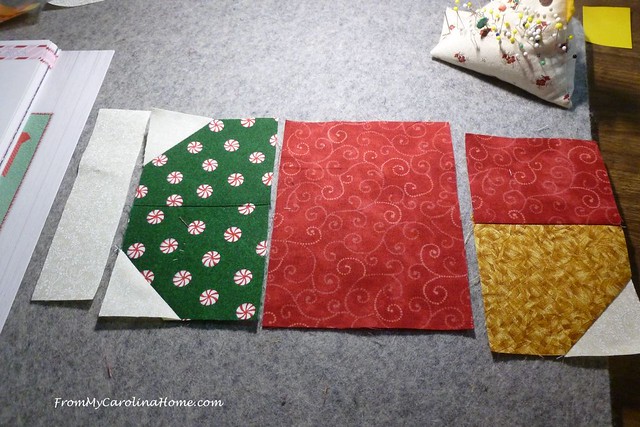
Once again, I chain pieced as much as possible. I am using a light fabric for the center star on the mug, so I put a dark on the background for that area for contrast.

Press seams opposite for nesting.
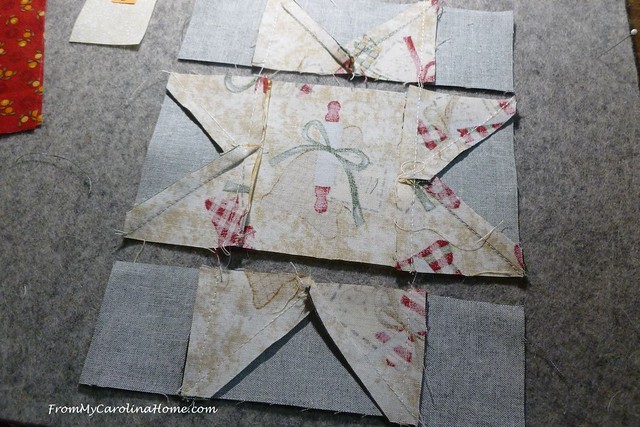
I fussy cut the center of the star with a cute Christmas kitchen print.
On the second step, the squares on rectangle E are placed on only ONE of the rectangles. When the instructions say ‘a’ rectangle, she means just one. The other one is used for the top of the mug. Mug bits ready for assembly.
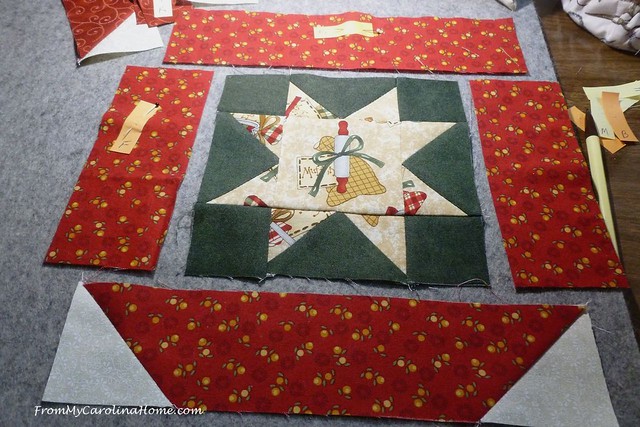
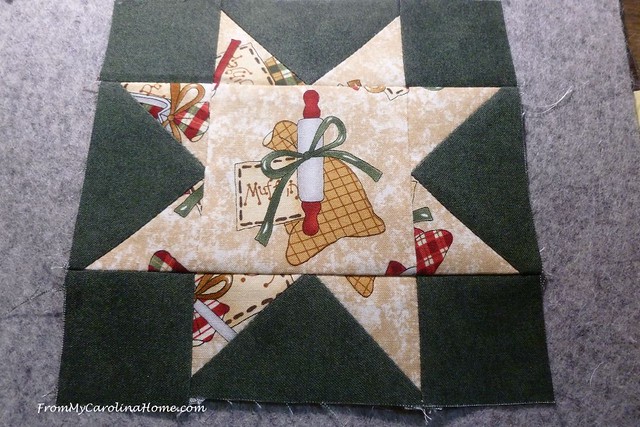
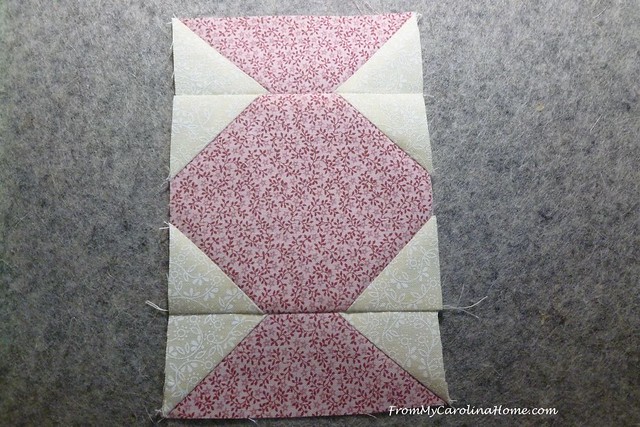
Next, lay out the handle section. Some chain piecing can be done here, too.
Almost there.

And all done.

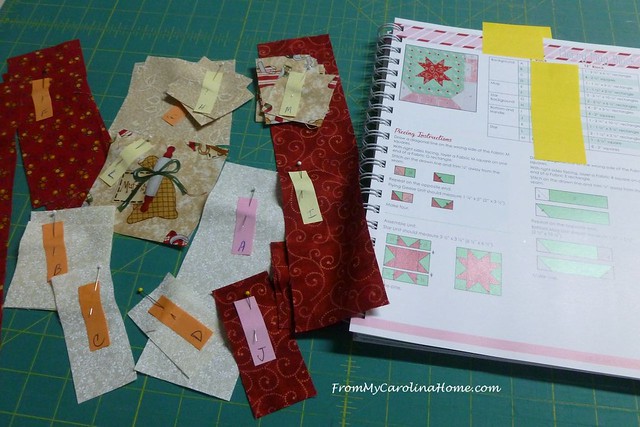
The last block we will do together is the stocking block. I cut all the bits and labeled them.
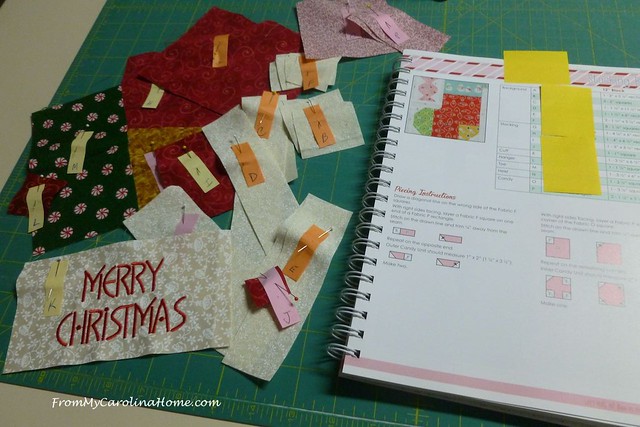
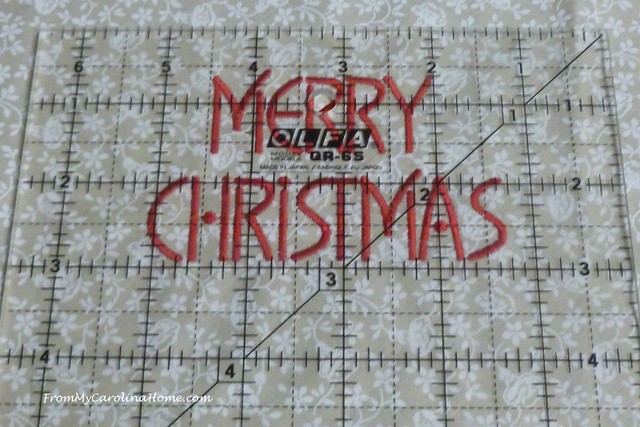
Did you notice the embroidery for the cuff? I actually had this in my bag of Christmas scraps. I did it a couple of years ago and never used it in a project. There was plenty of fabric all around, and I was able to fussy cut it to fit the ‘K’ cuff piece.
The little candy section gave me fits. I actually had to make it twice and I still wasn’t happy with it.

Even carefully sewing a scant amount outside the lines, and trying a couple of times, I could not get the seams to come together where they should. After messing with it for quite a while and starting over once, I gave up. It just isn’t that important.
So onward, adding the sides and the bottom piece with its own annoying little tiny red corner.

I love this green fabric with the peppermint candies, and I wanted more of it in this project. All I have left are some 3-1/2-inch squares, but two together made a piece large enough for the toe.
Finally, all done.

There isn’t enough contrast between the cuff and the background, so I’ll outline this one in floss at the same time as I am doing the other block details, like the smoke on the train and the skate laces. I’ll get to the handwork soon.

Here are my mug and stocking blocks.
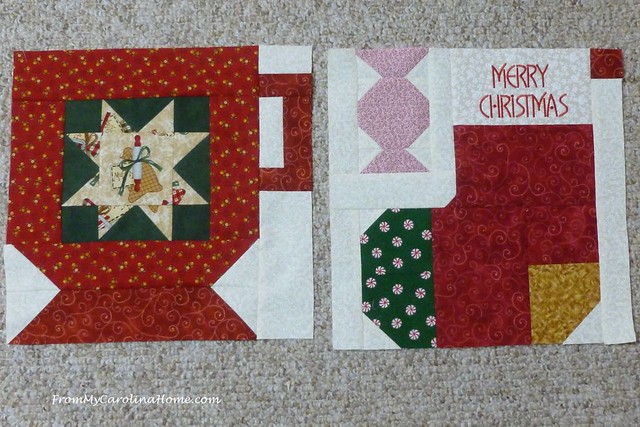
So we have 12 total now. Next will be adding the details in floss.

All of these blocks designs come from the book, Lori Holt’s Vintage Christmas Book, available at Fat Quarter Shop. It is also available on Amazon – Vintage Christmas Book at Amazon.
Are you ready for some more Christmas fun? I’ll be having a blog hop in July, along with a few more posts on the theme. It all kicks off on the 15th!

I’ve decided to put mine into placemats. I found the perfect fabric to finish them recently at my local quilt shop, Beginnings Quilt Shop in Hendersonville.
Here are the tips for the Vintage Christmas Quilt Along.
-
- Read the entire block pattern carefully before beginning sewing.
- As you cut your pieces out, label them with the letter associated.
- Use a fine line pencil to mark your lines on tiny squares.
- Re-read each step, noting the number of elements to make. When she says make ‘a’ unit, she really means only one.
- Lay out the pieces for each step so you can chain sew where possible.
- Use your quarter-inch foot where possible for accuracy, change to a straight stitch foot for diagonal lines on squares.
- Sew slightly to the outside of diagonal lines.
- Press your units with a Wool Press Mat, pressing toward the outside edges.
- Press diagonal squares folding the excess behind flat to make the sides come out straight.
- Be sure to square up your units as you go.
- Begin sewing in the center of a base piece when adding a square to flip.
- Using just a dab of glue in the corners you cut off will help keep the edges lined up. (Thanks, Elaine!)
- Use a folded Post-It note to cover the chart you aren’t using to reduce cutting errors. (Thanks, Susan!)
How are your blocks coming along? What do you plan to do with them?

Using my affiliate links helps me to bring you free patterns and fun giveaways, I may receive a small commission if you use the link and make any purchase. You still use your own existing account if you already have one. Thank you!
Impression Obsession has fabulous stamps for cardmaking and scrapbooking. Sale until 6/23!! 25% off with promo code FLASH
Fat Quarter Shop has a special 20% off the Basic of the Month, 30% the Notion of the Month, and check out the Daily Flash Sale – something new at clearance pricing every day!
C&T Publishing has great sewing and quilting books. See my post on New Quilting Books for reviews on some of my favorite new titles.
MadamSew has great deals on their Wool Press Mat, Ultimate Presser Foot Set, and MadamSew’s Weekly Deals.
Amazon Prime Deals!, Shop Amazon – All-New Kindle deals
Sharing – Main Crush Monday,

What a great way to change the focus from our current situation to a more cheerful future occasion!
Good morning Carole. What a great idea to use the blocks as place mats, and look forward to seeing them. Our quilt shops are not open yet, so I still have no sewing machine, as I had to give the borrowed one back some time ago. I’ll be way behind on my Christmas gifts this year, and will have to hurry and catch up when they open up.
Just darling ~ placemats will be perfect 🙂
This is such a fun project and I have picked out a few more blocks to make. I am a LITTLE behind though and need to catch up with May. Thankfully, they are all cut out and kitted up ready to sew. Just love that you were able to work your embroidery project into the stocking top.
Your work is so good and your information is so understandable. Makes it so easy. I am not making these but wishing now I had! So cute! Thank you for the link to the quilt shop. Love looking at shops and if I ever get near one I have the info on it. Thanks!
This is a fun project! Lori’s book was easy to use and love her comments. I used the Christmas lights to make a table runner. On the candy – if you pretend it’s not candy but an English cracker, you can add a tie and bow where it “gathers” while you are adding the other embroidery. Maybe you could sneak the 1/16 inch ribbon in there and tie it. I was thinking of using the candy pattern as a border but if you are having trouble I’ll rethink it. Thanks also for the added tips.
I love your blocks Carole, doing something Christmasy right now was a good idea. 😍
Love the embroidery on the cuff! And the fussy cut rolling pin!
That is such an awesome sampler!